playing live
My Philosophy
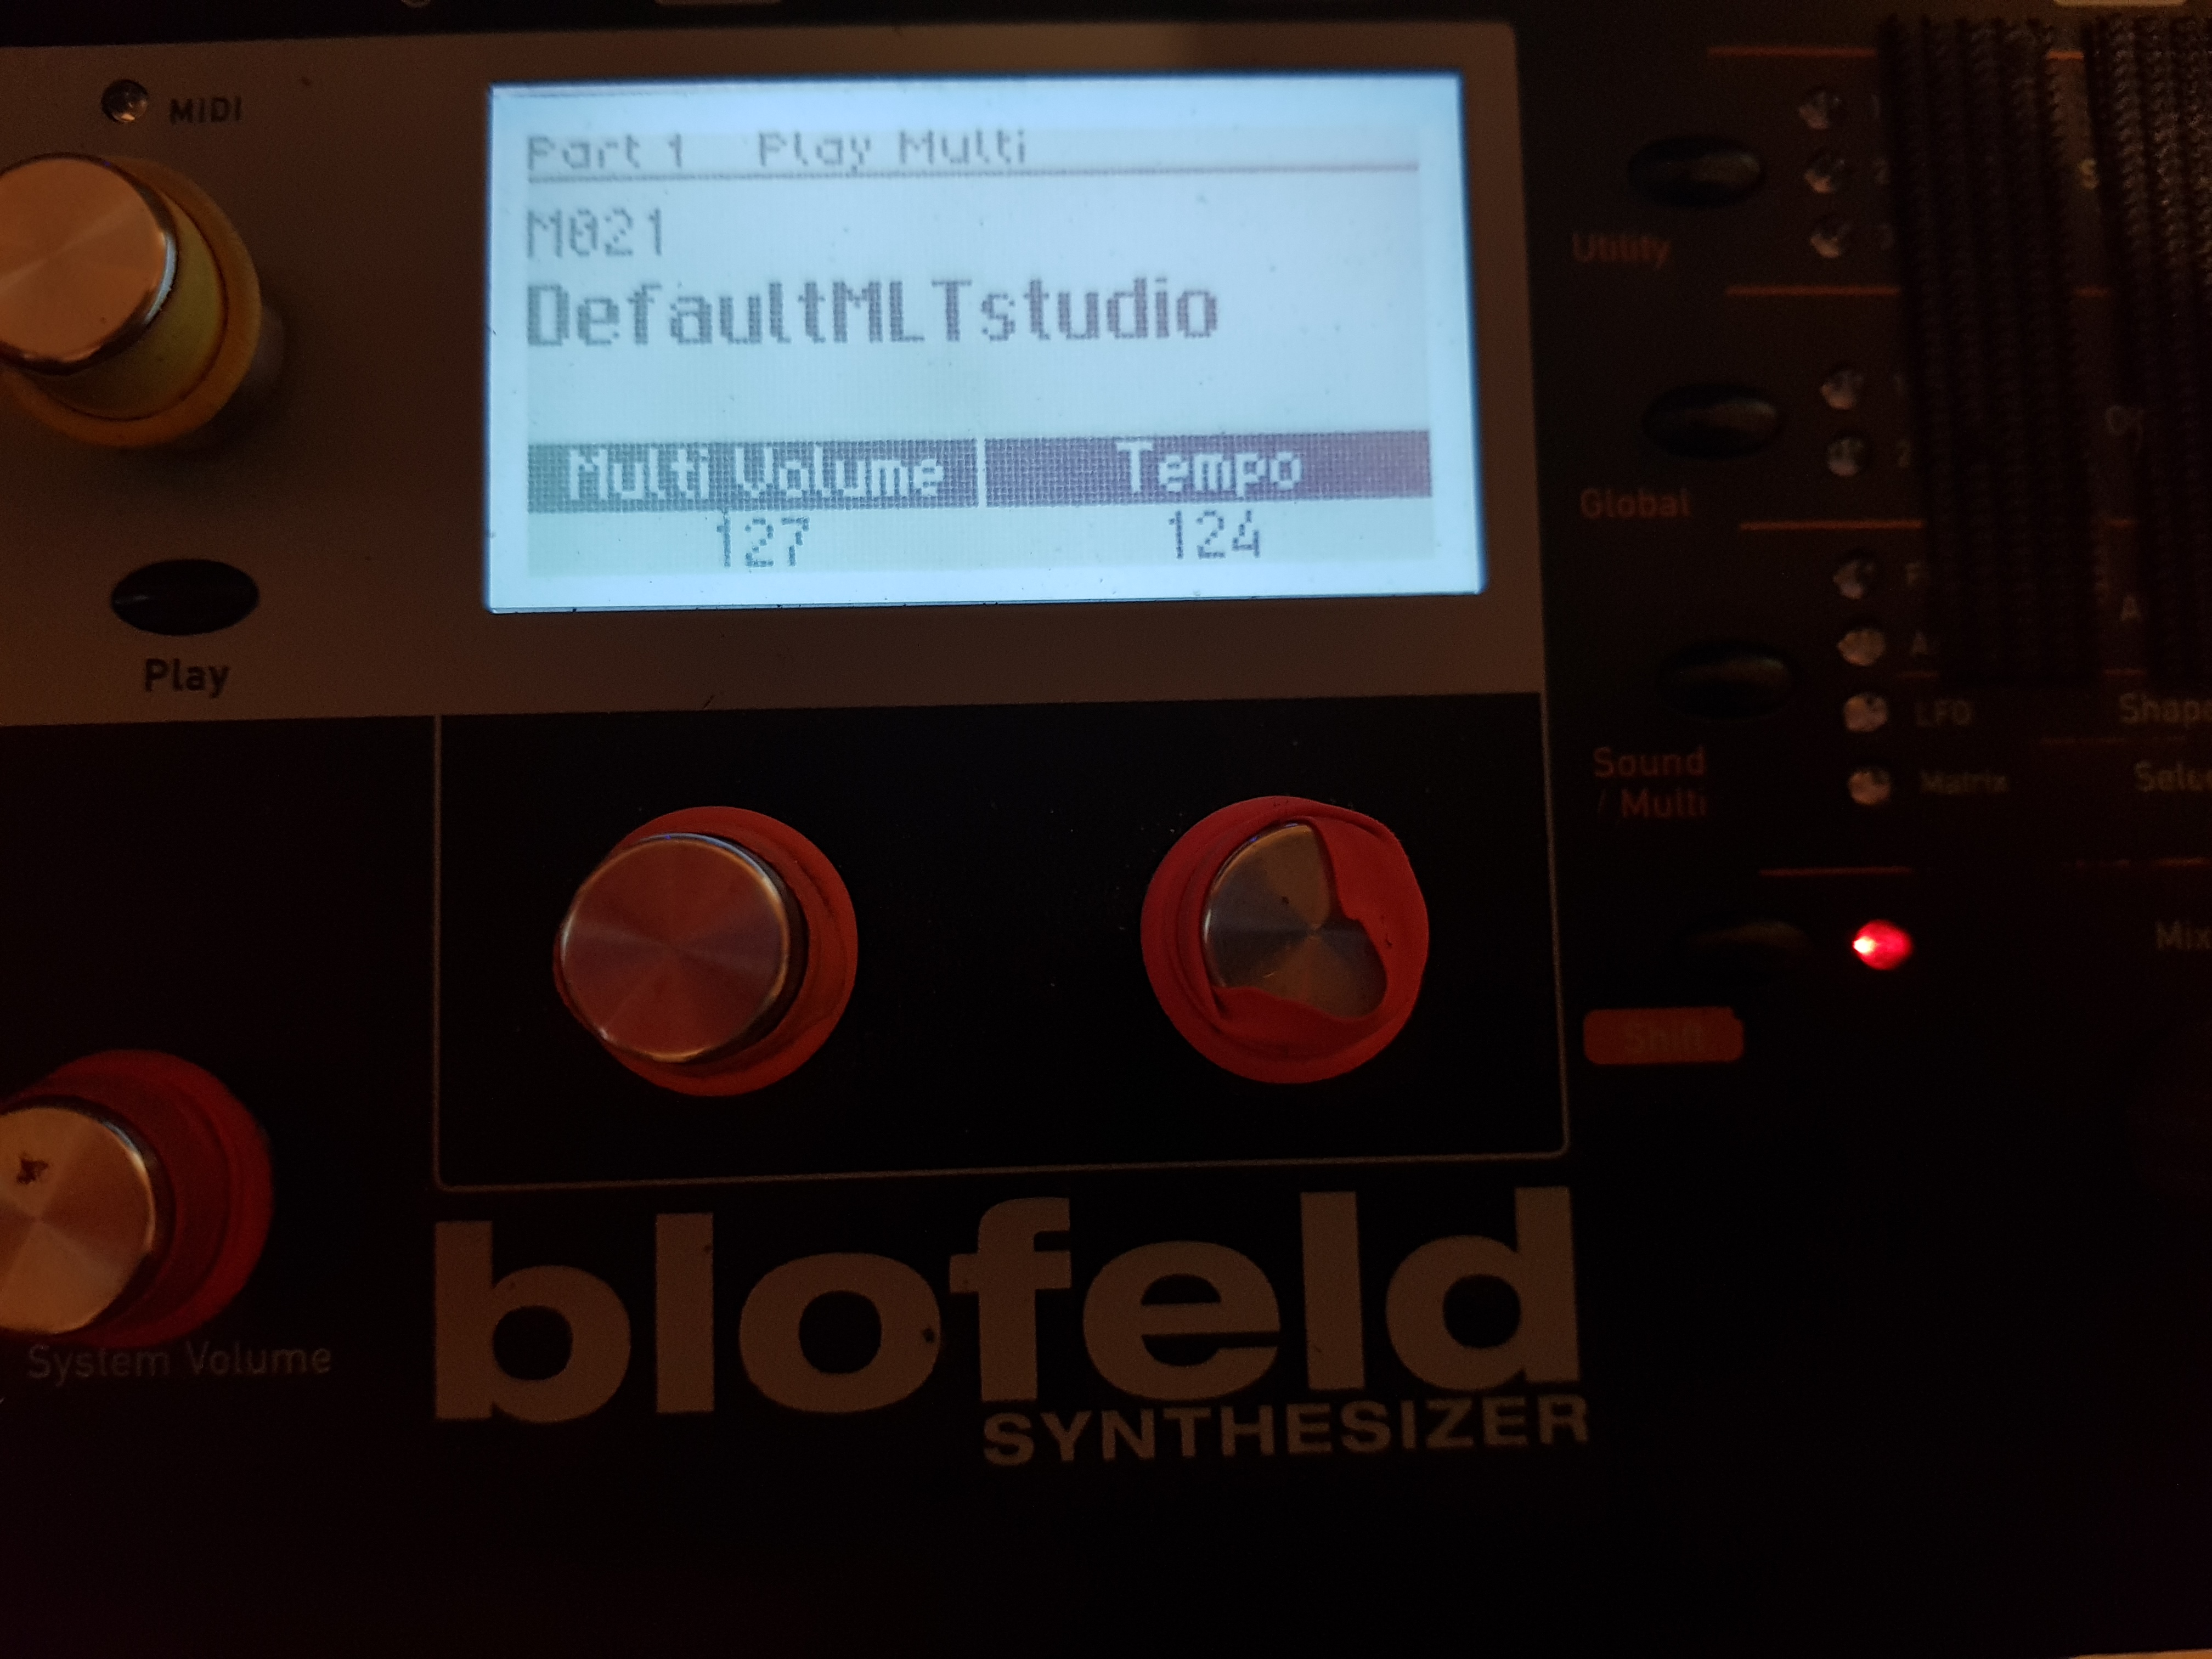
Waldorf Blofeld
My musical goal, in its barest essence, is to play fully produced tracks live, just like DJ’s do, but using only hardware and without a DAW. Summing it up in one sentence doesn’t really begin to describe what this involves, however. To do this requires that every track be approached with the idea of playing it live first, and anything that can’t be reproduced live is not allowed. It also means that I had to come up with an unchanging setup that is able to handle any ideas I throw at it, which consequently means that I will not be buying any more synths or hardware until such time as transporting them becomes financially viable. And it requires an “outside-the-box” production approach, where as much as possible is handled inside the synthesizers themselves, whether it be levels, EQ, or whatever. The only other thing that is important to me is that the tracks make me want to dance, if they don’t, then they are scrapped or added to some other set that doesn’t necessarily need to be danceable. I also want to keep pushing the boundaries of what is possible in an all-live setup.
Advantages
To me playing this way has many advantages over most computer-based setups I’ve seen. One is that I don’t have to deal with software/computer obsolescence, latency, glitches/crashes, or any of the other hurdles to an inside-the-box approach to live shows. Another is that every single sound you hear can be tweaked live, which keeps the songs alive and “breathing” and offers unlimited opportunities to add or subtract in the moment. And as long as my setup stays stable, I can play any track from any era at any time. Also as I continue to expand my library of songs, there should be no issues combining tracks from any era of my music to make live sets so that 5, 10 years from now I can still perform a song that I created in the last couple of years exactly as it was when it was created, using the original instruments. And if I find ways to improve a track over time, then the tracks should continue to get better.
Disadvantages

the 4U rack
Obviously the biggest disadvantage is the amount of gear needed to pull off a show. Most of those I’ve seen from other artists have a very large number of instruments and bewilderingly complex setups. The cost in time and money of transporting and setting these up for shows means that they are usually only used by larger touring acts who are getting paid enough to make it worthwhile. Another disadvantage is that for a set to sound smooth, they must all be at or around the same level, so I have to carefully watch my levels when creating and have a plan in place beforehand to do this. I don’t use a compressor or limiter at the end of the chain so this becomes extra important for set continuity. It also requires a comprehensive backup system so that in case any piece of hardware goes down, I don’t lose all my work; I can just buy a replacement piece of gear and restore everything exactly as it was.
Here’s some detailed information on my setup.
The Setup
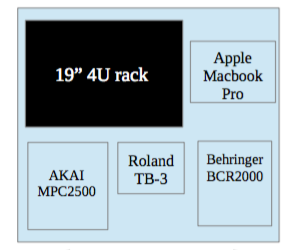
diagram of setup
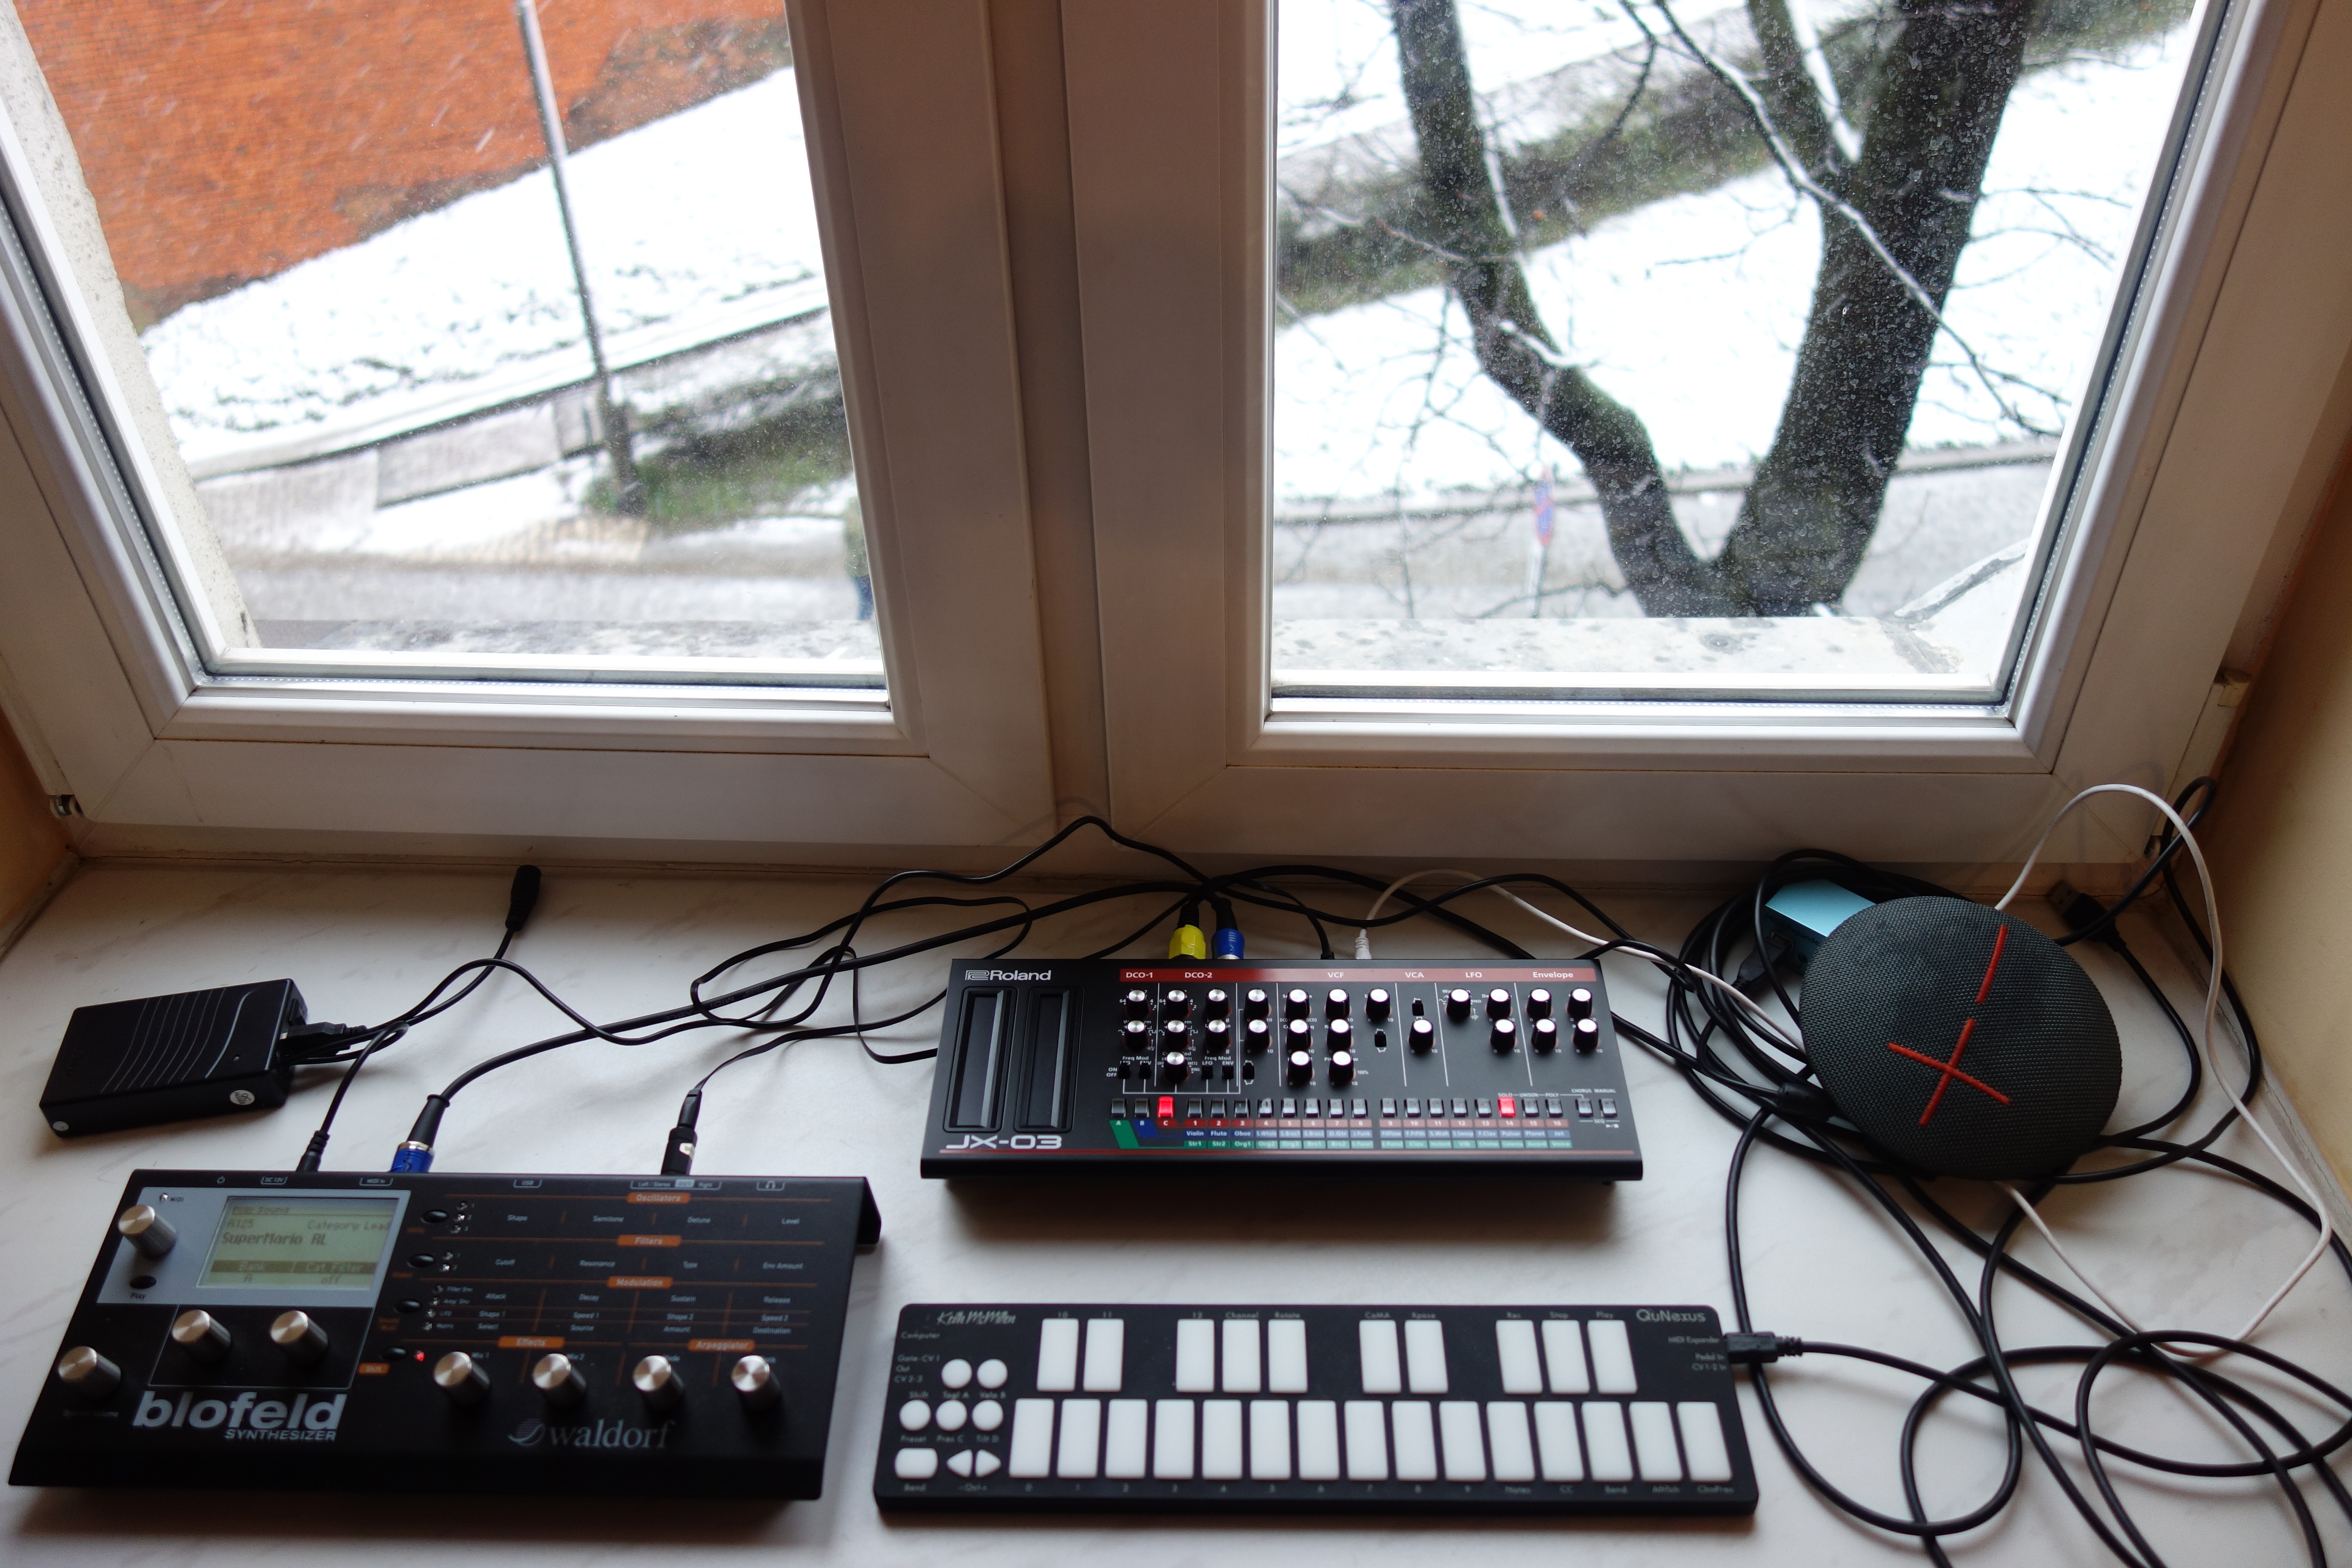
To achieve this, my live setup goal was to be able to take my gear onto a bus or airplane without any help, and so I tried to choose versatile and reliable machines with a wide range of tones that weren’t overly large in size. Another factor when choosing which synthesizers I use is replaceability, that is, should some hardware break, can it be replaced with relative ease? The last factor is, the machines I choose must be able to be completely controlled with MIDI, freeing me to just perform and not have to physically switch patches or change settings. That’s what brought me to my current setup, and here are the hardware pieces I have chosen and how I use them.
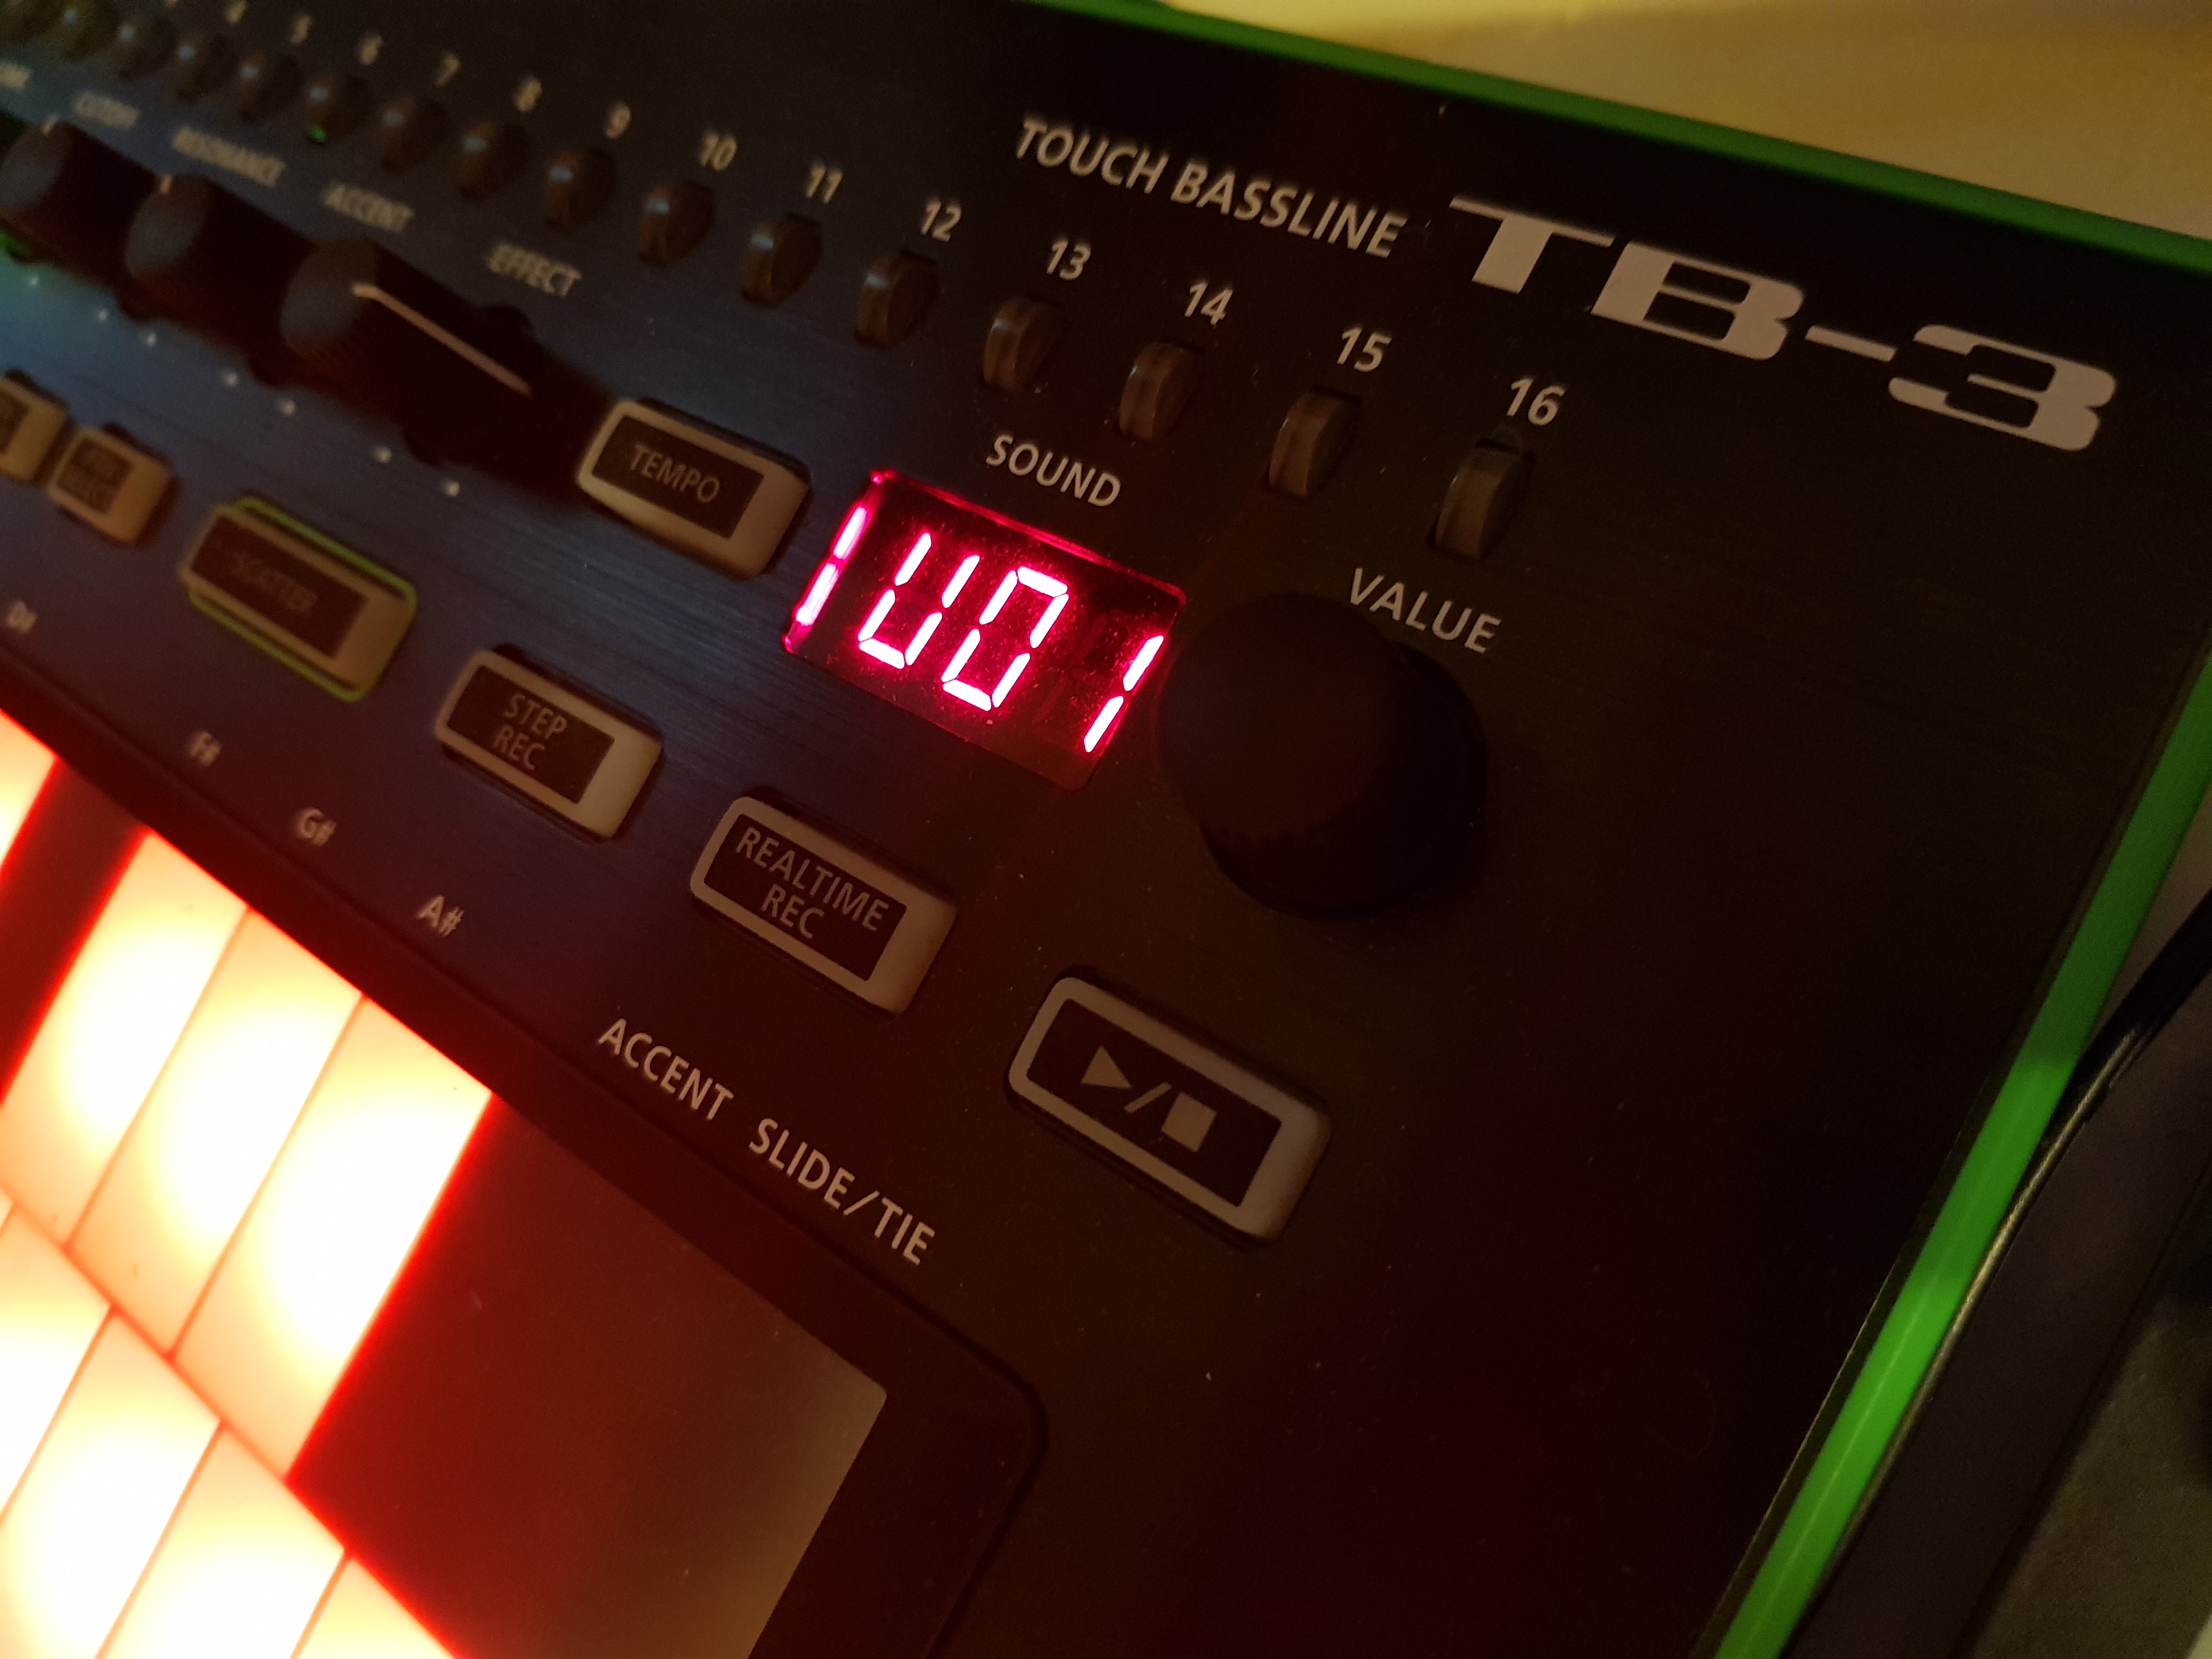
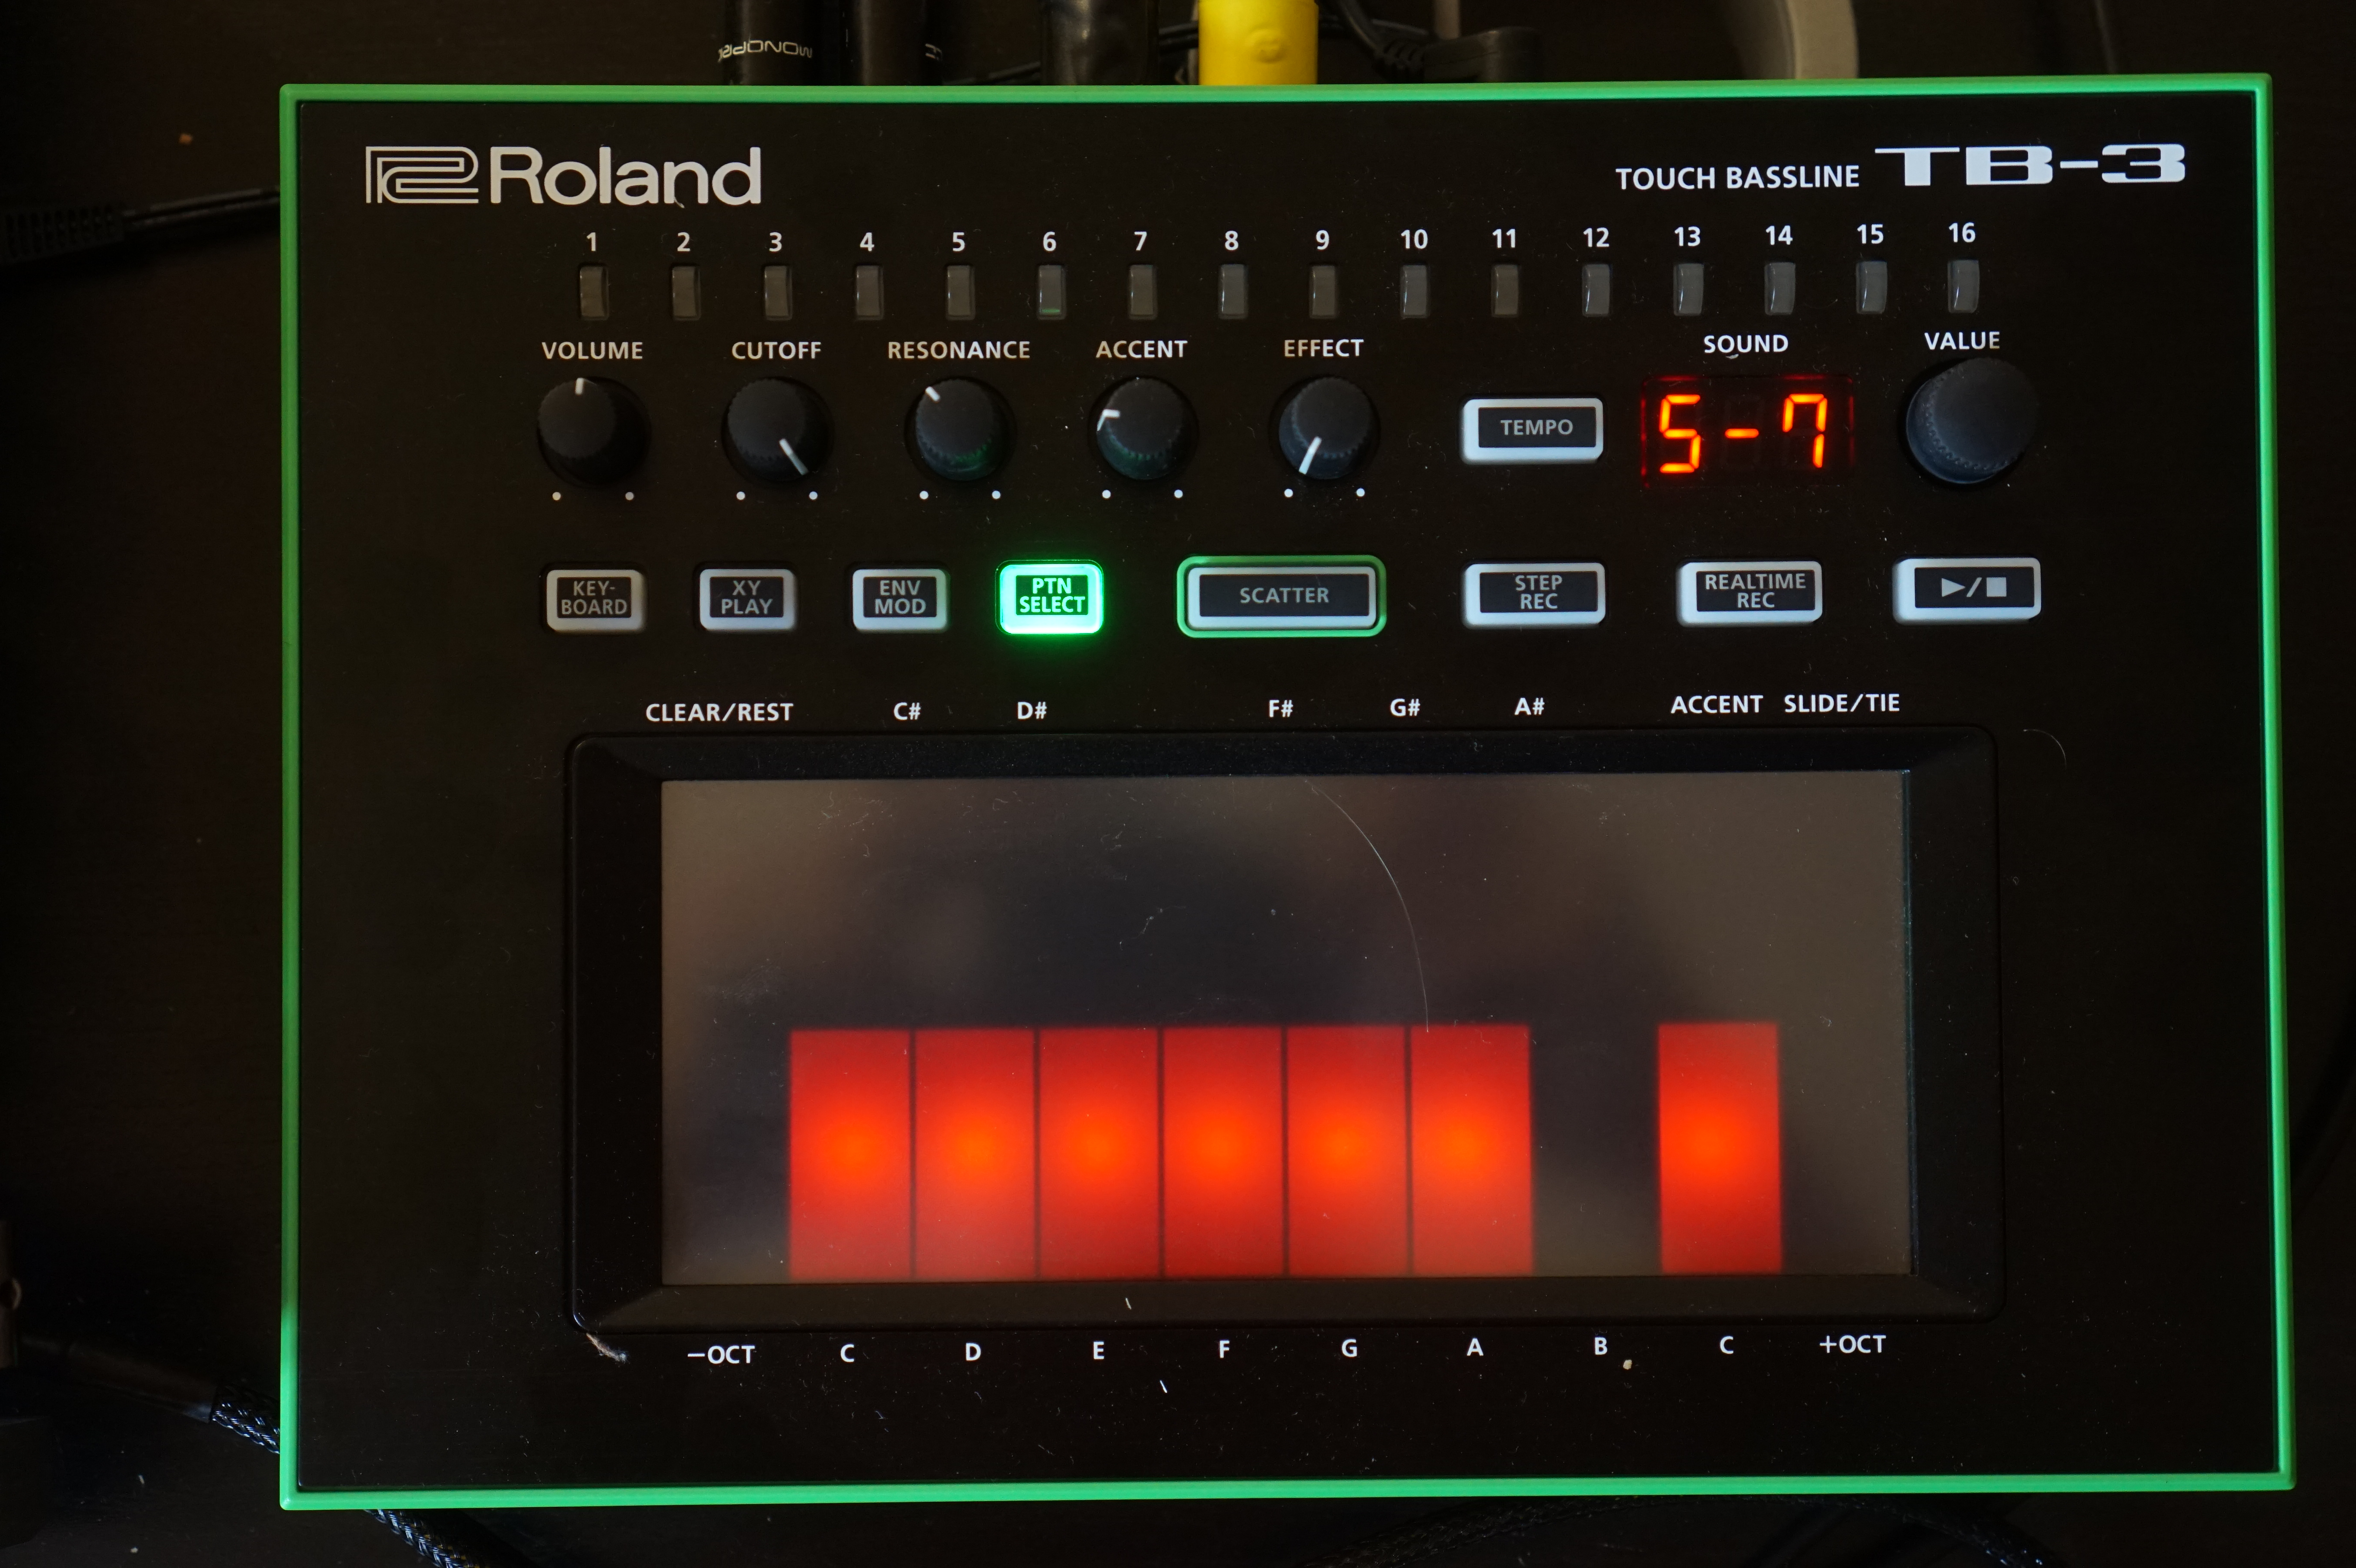
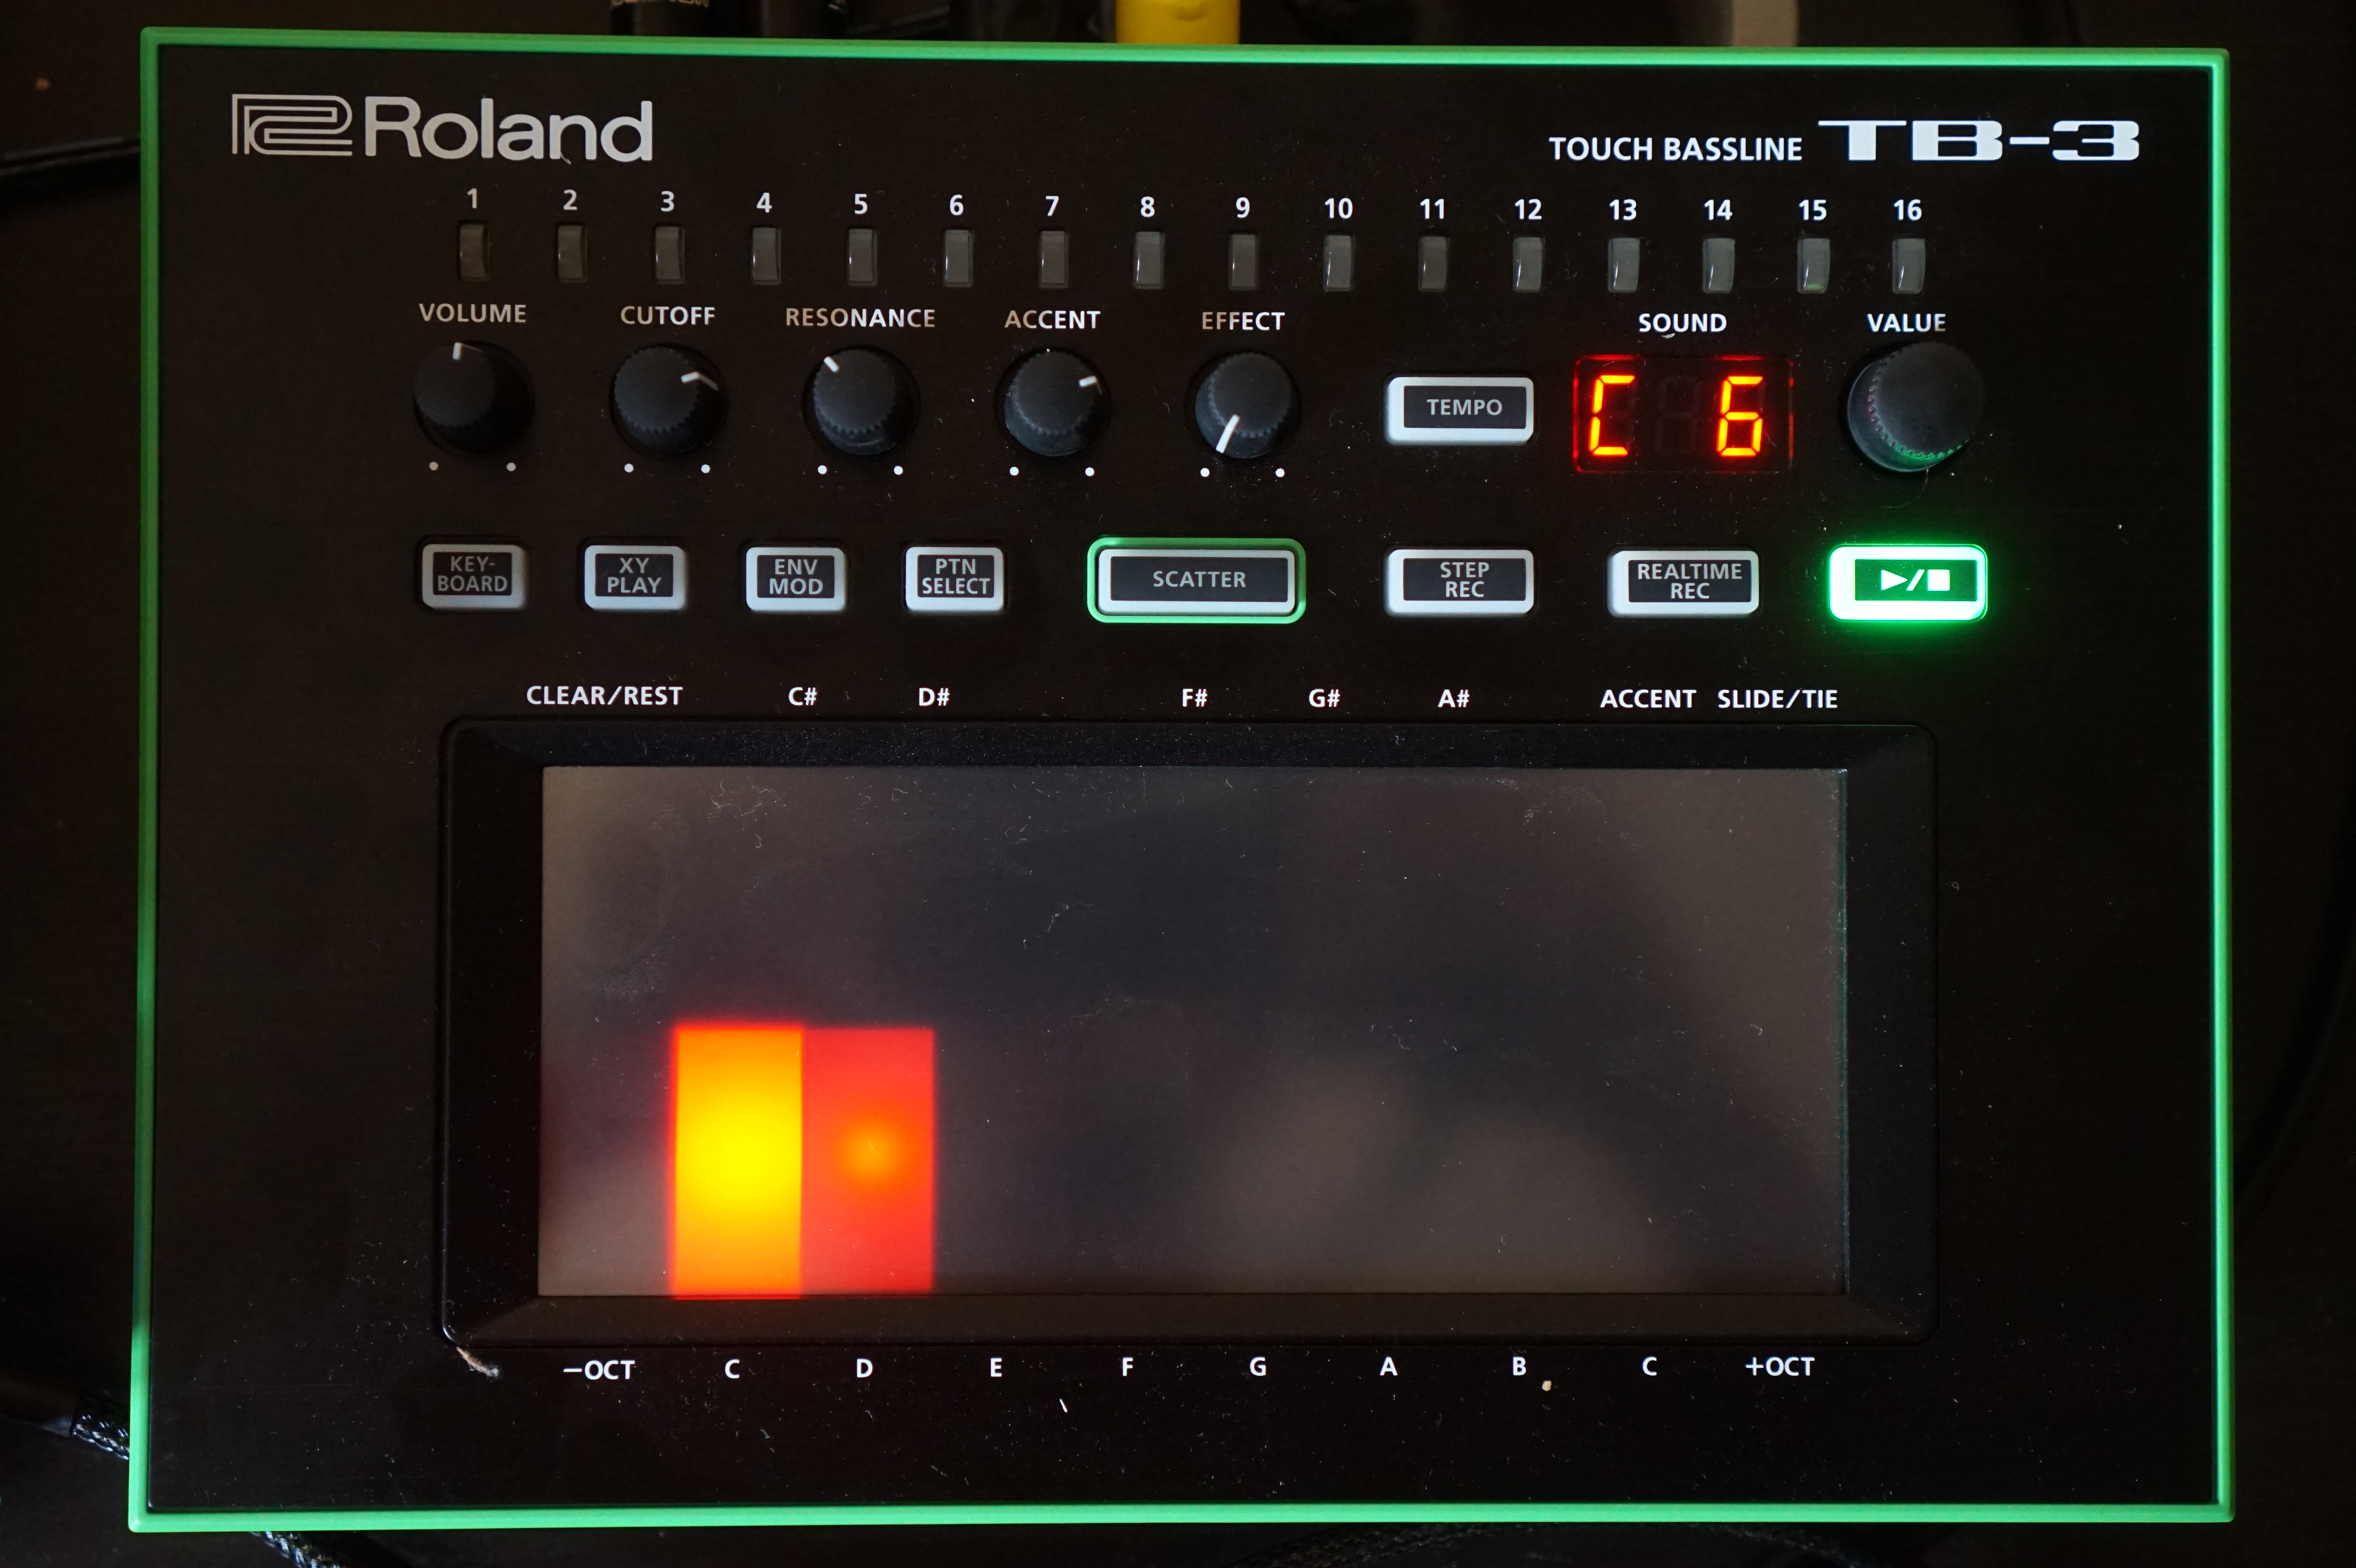
Roland TB-3
SYNTHS
- Access Virus TI2
- extremely versatile 16-part synth
- Jomox Airbase99
- 11 individual instrument outputs
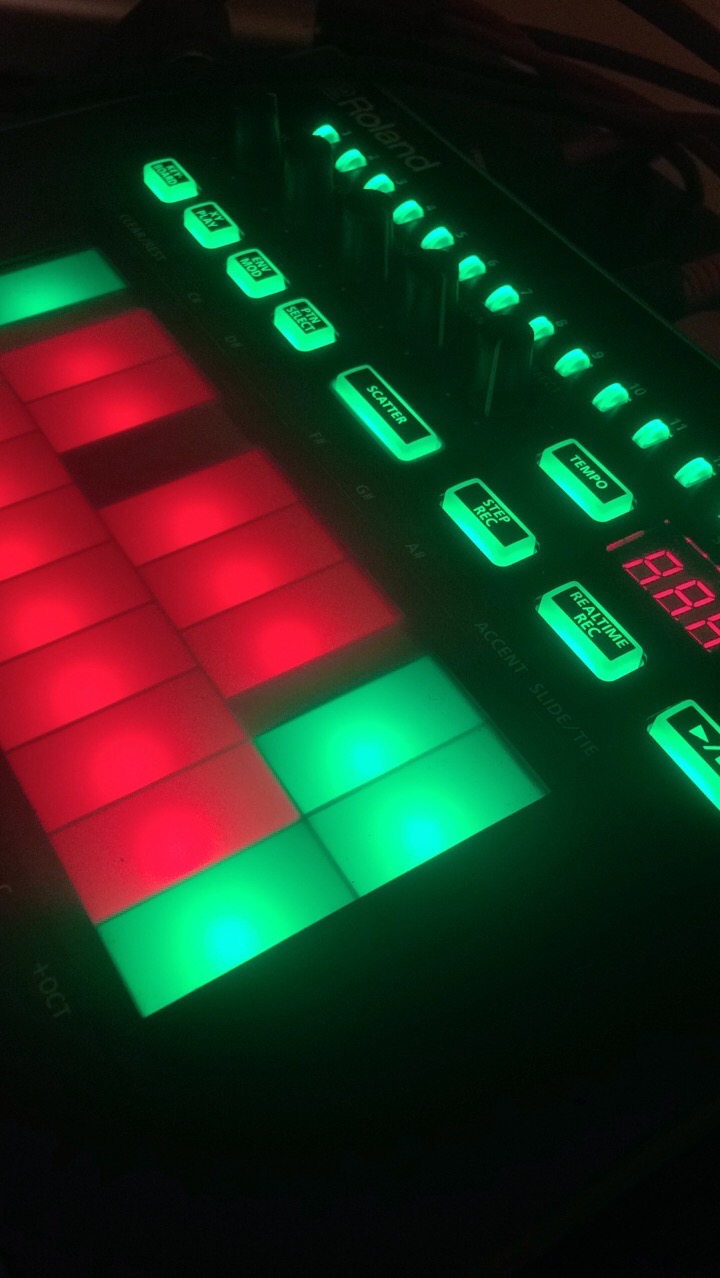
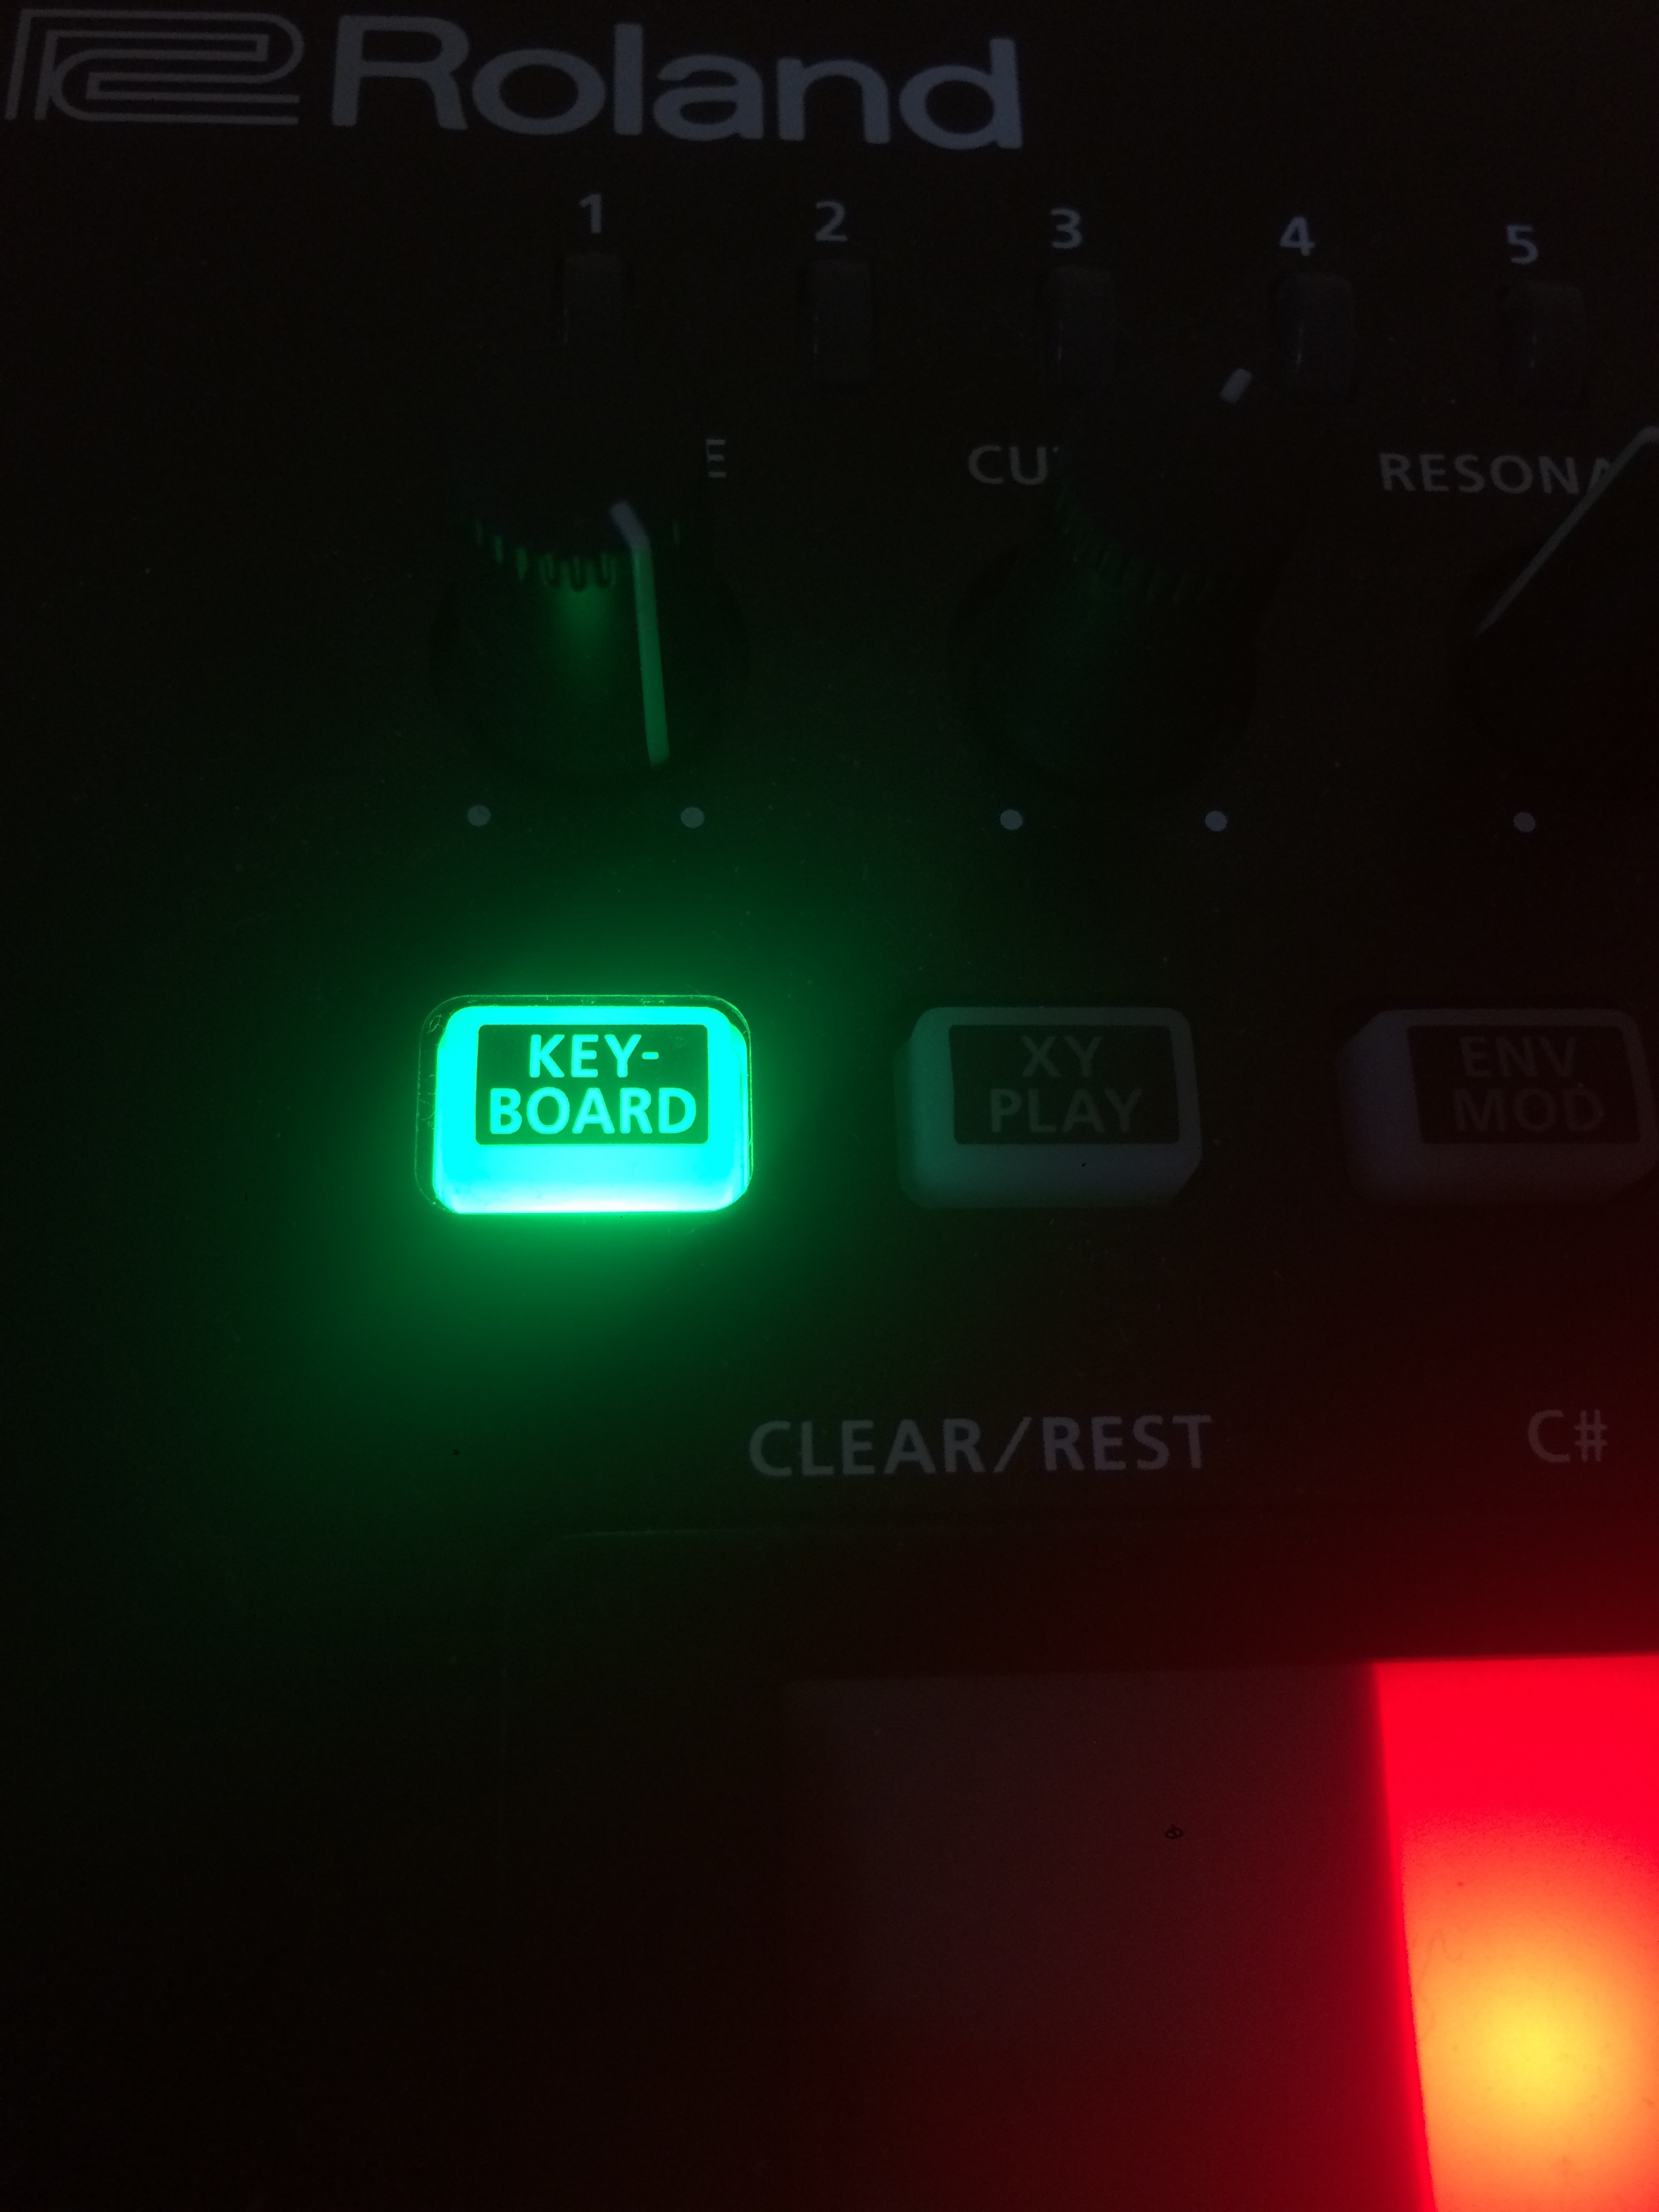
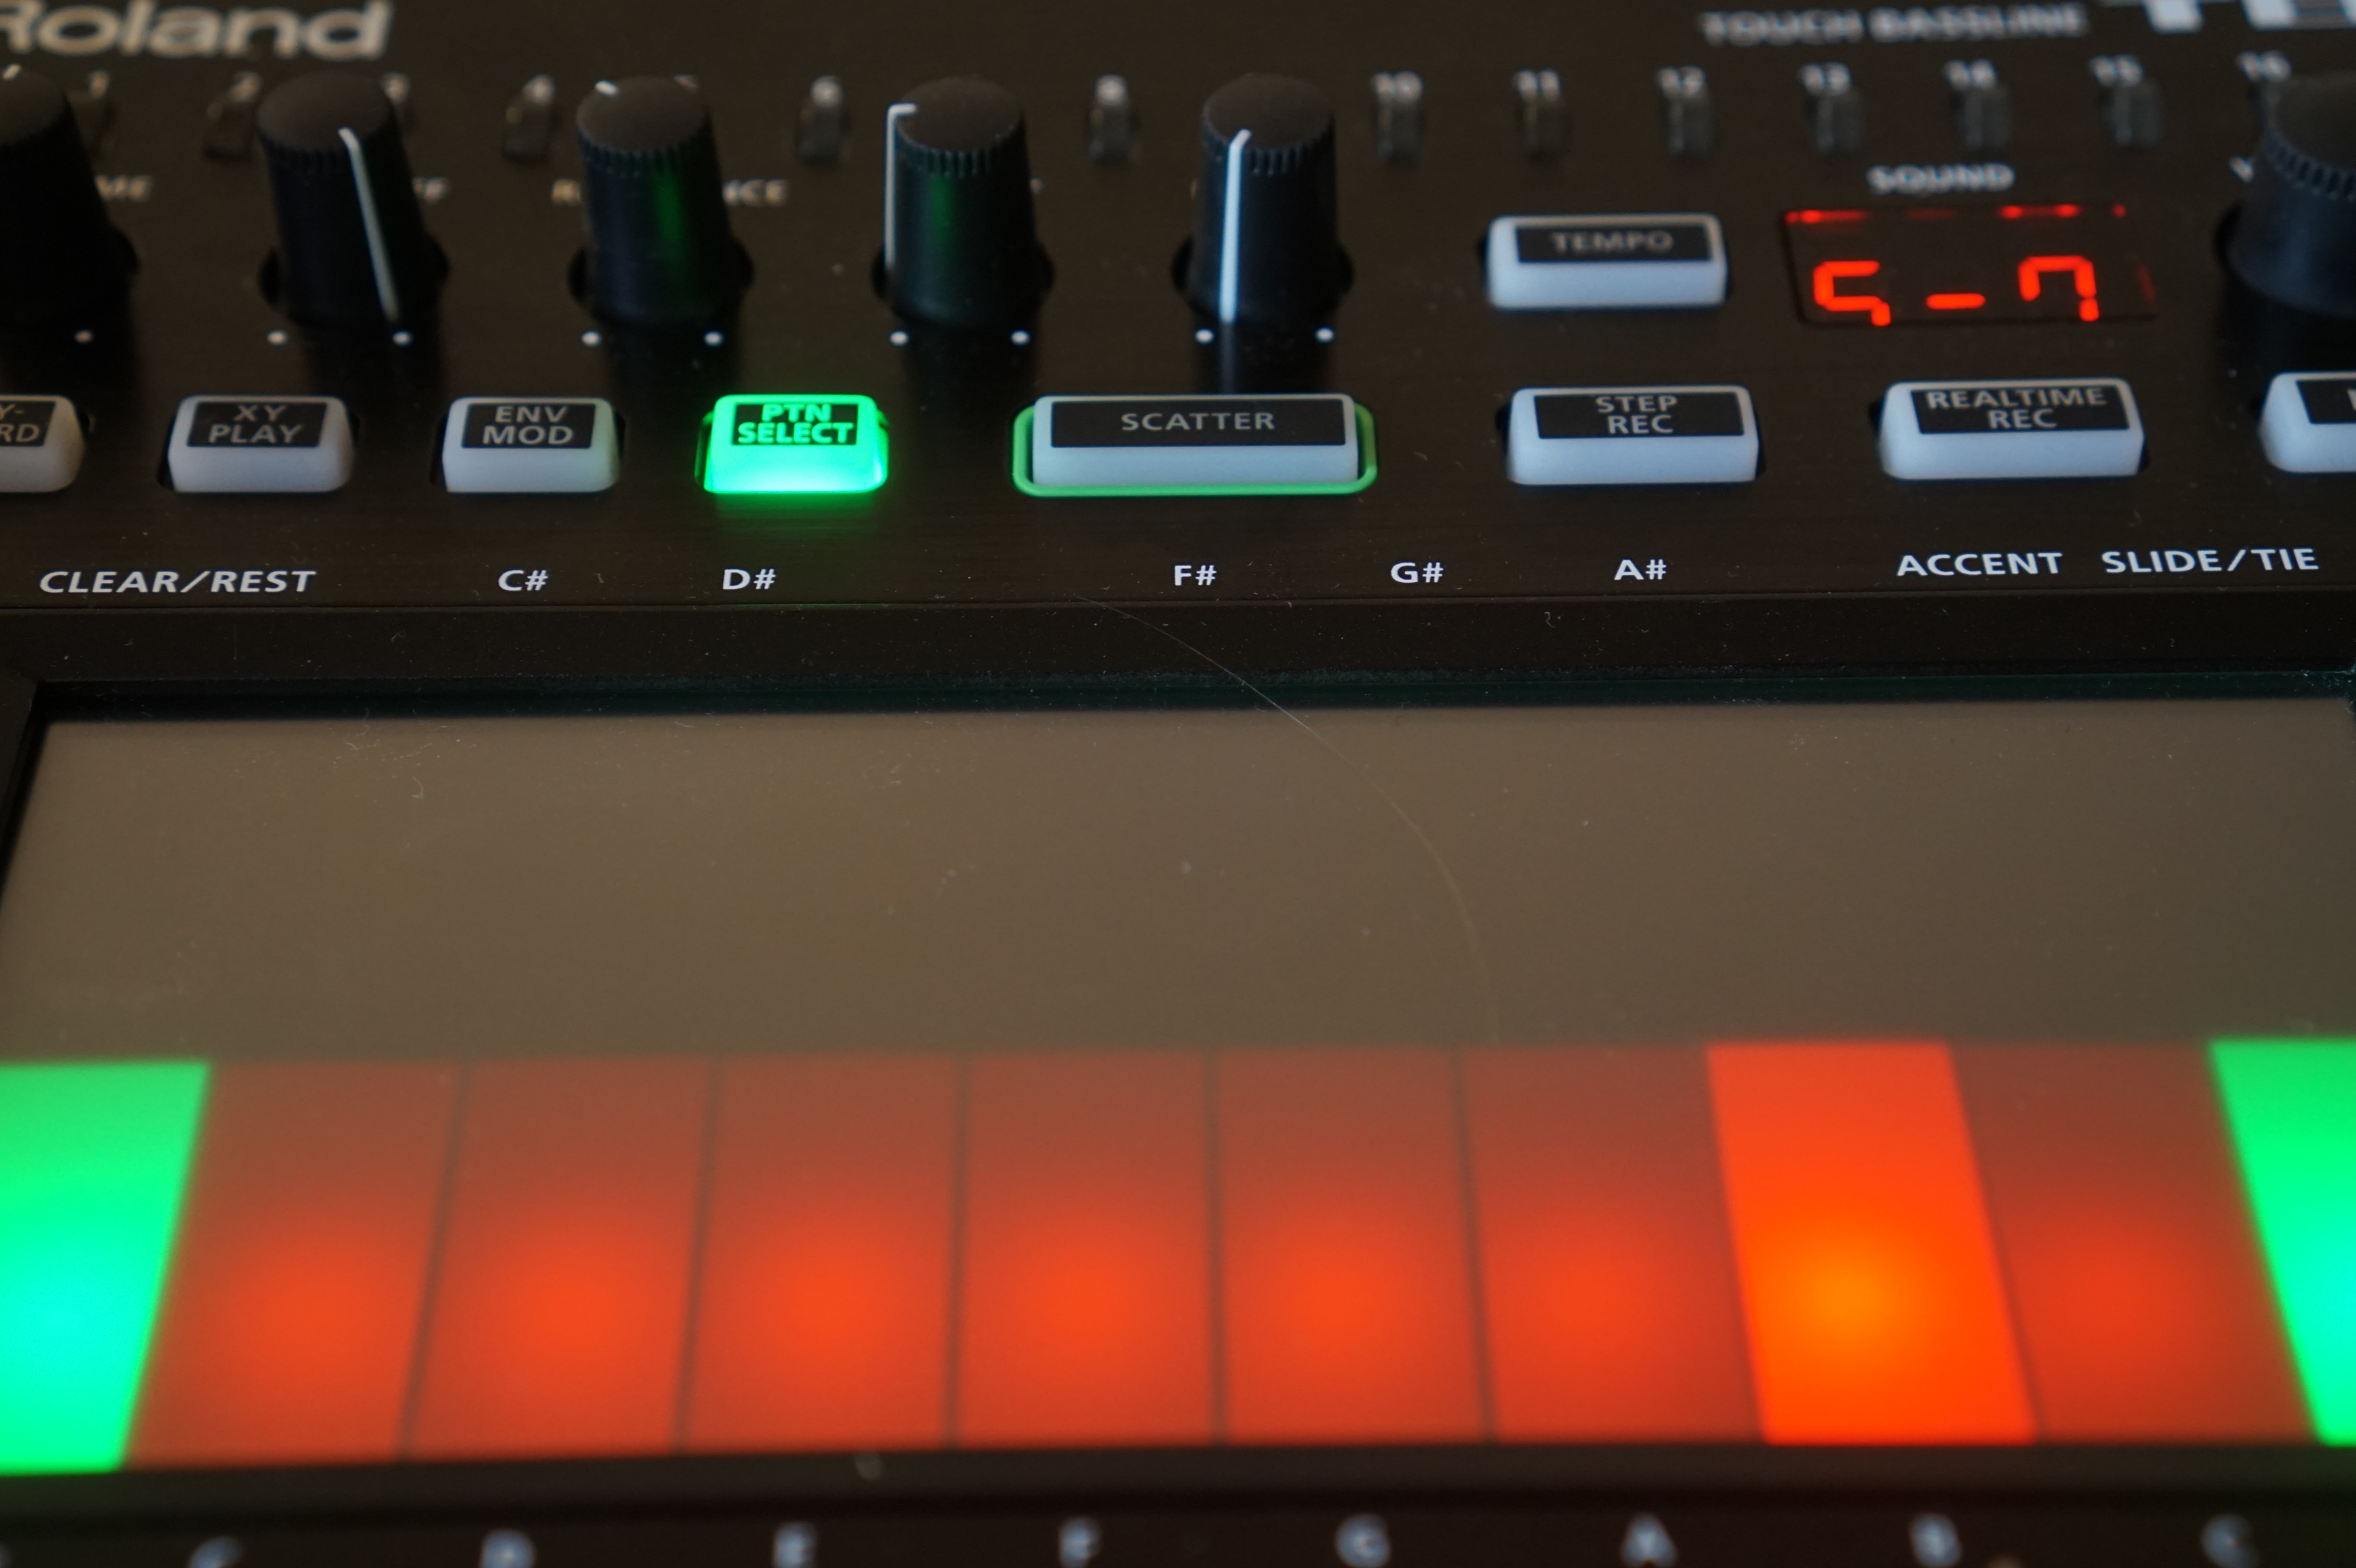
- Roland Aira TB-3
- acid, bass, and lead machine
- Waldorf Blofeld
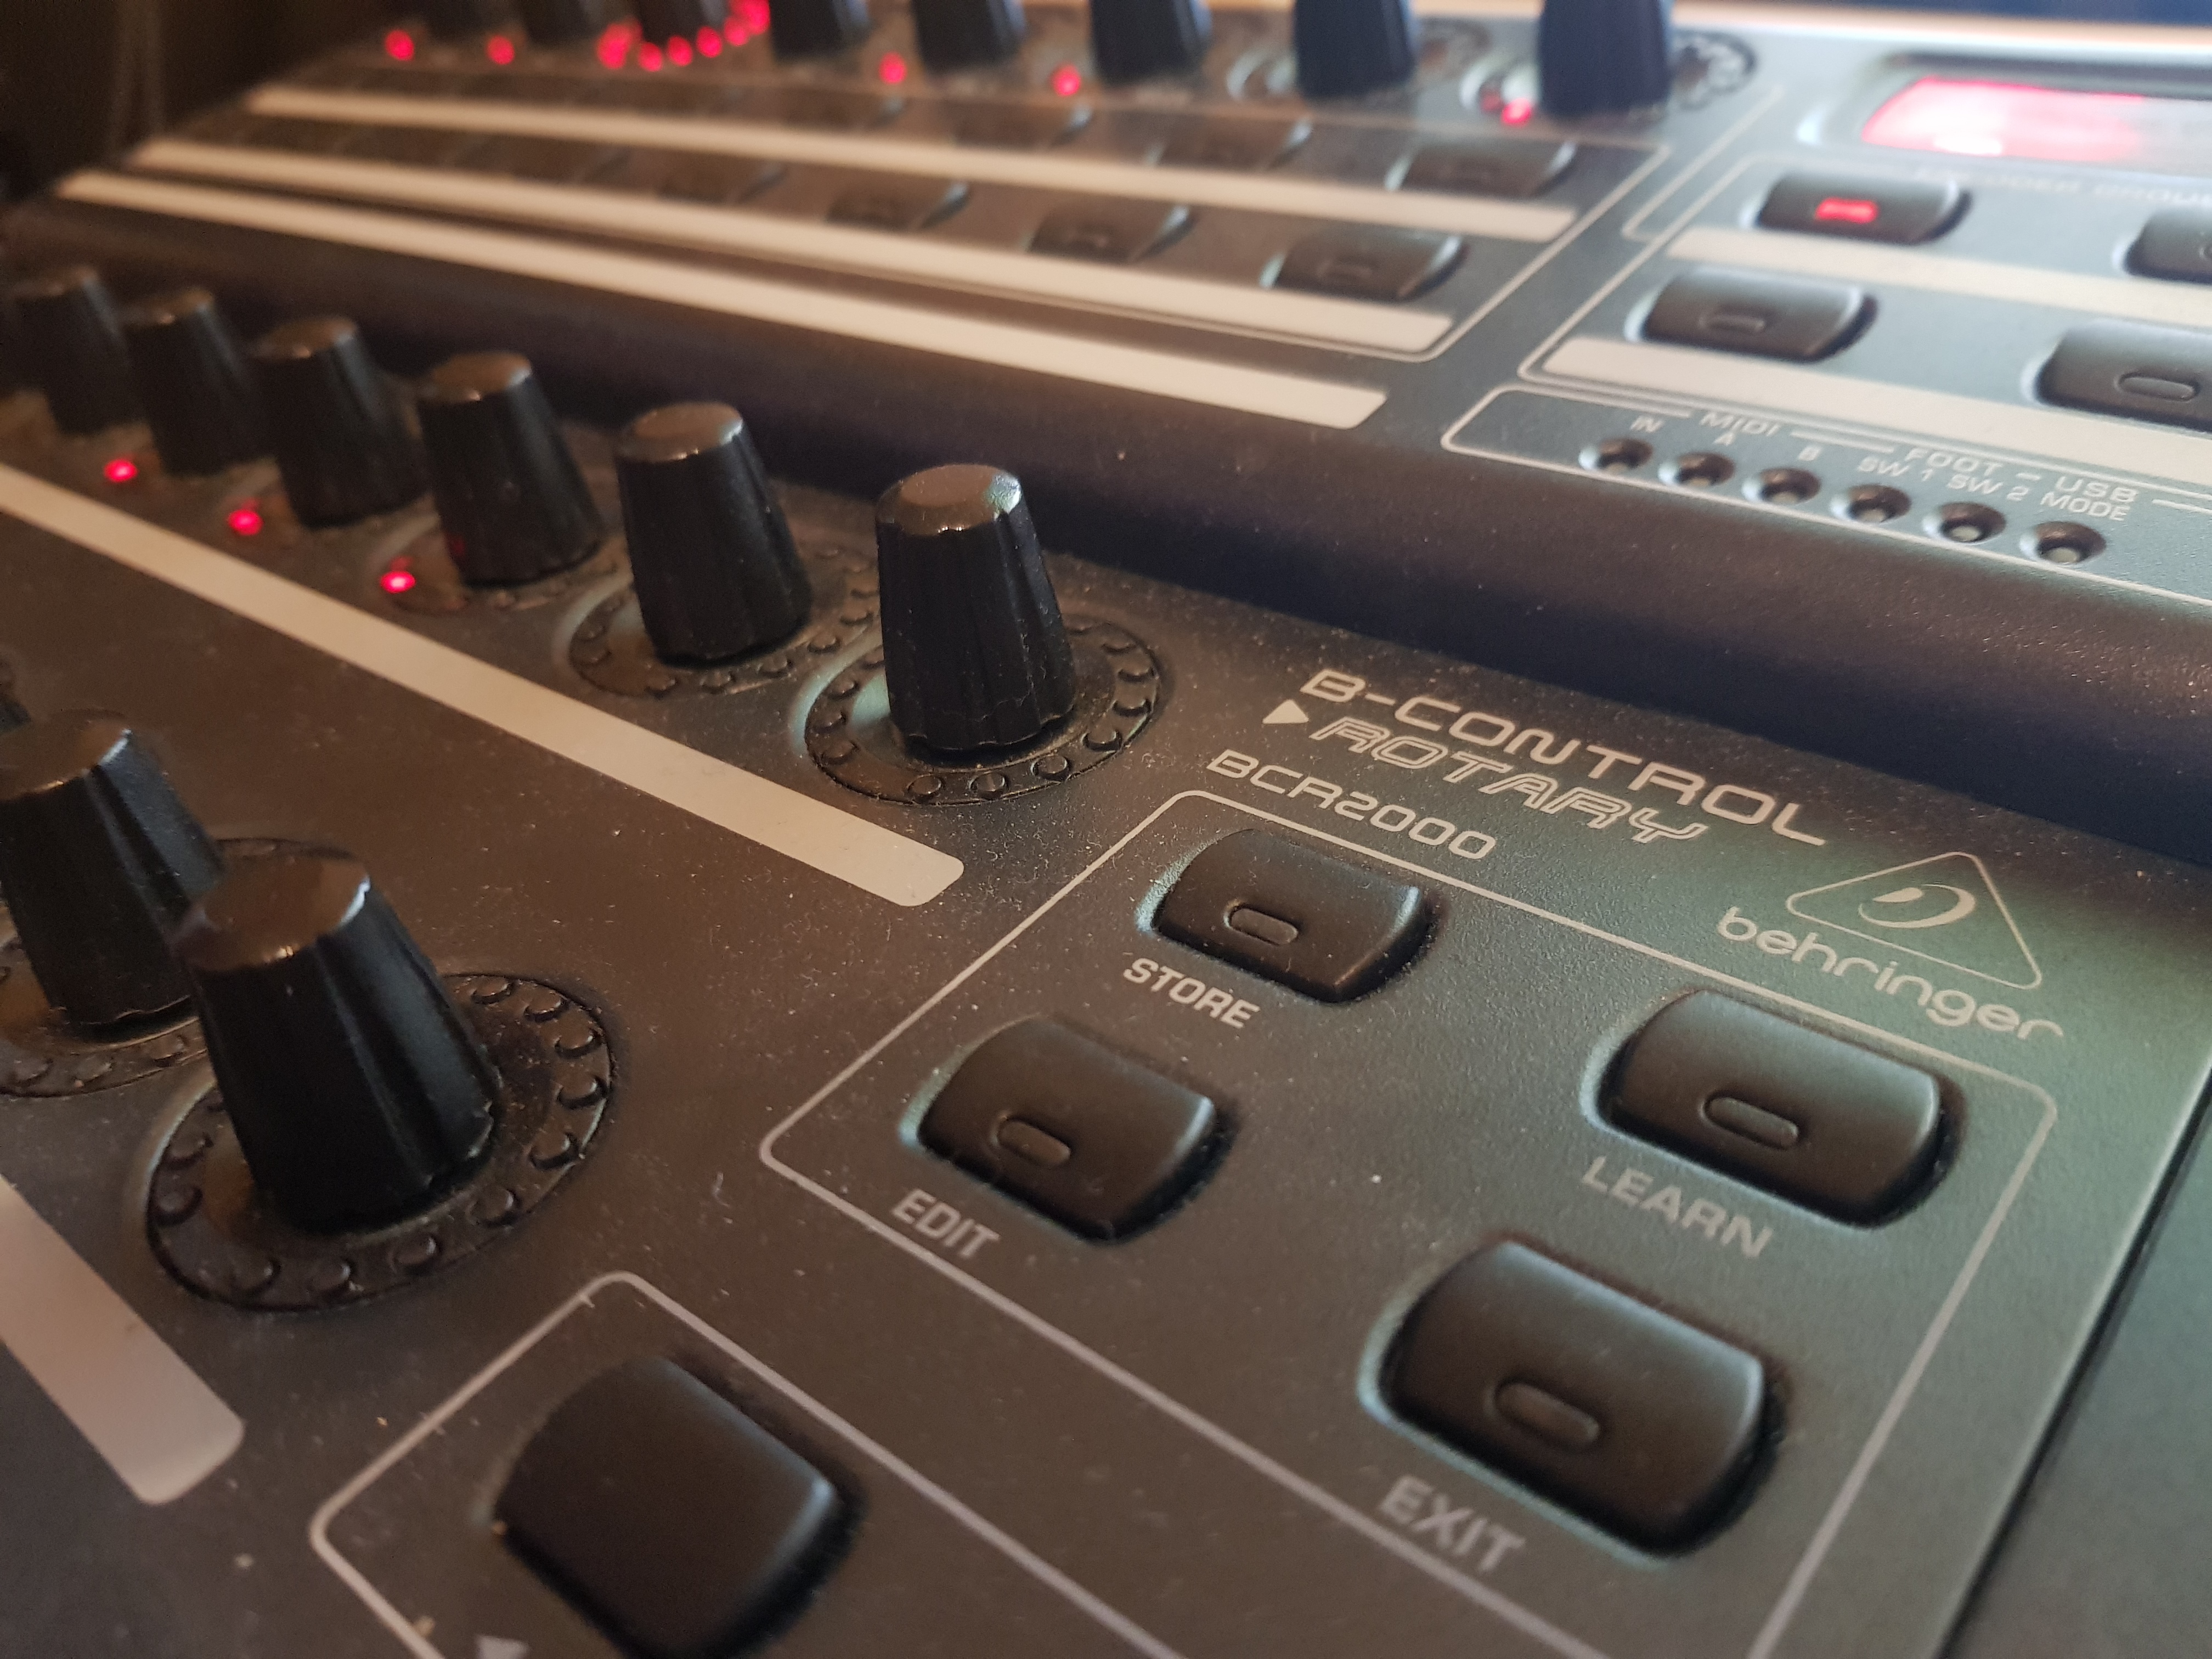
Behringer BCR2000
SEQUENCER/SAMPLER/CONTROLLER/FX
- Akai MPC2500
- 300K midi messages allowing for long sets
- Behringer BCR2000
- to control Jomox, TB-3, FX, & software
- Lexicon MX400
- outboard FX unit usually dedicated to drums
OTHER HARDWARE
- MOTU Micro Express
- 4x in / 6x out compact midi router
- RME Fireface UFX
- 14 inputs (more if using ADAT)
- Furman PL-8C E
- rackmount power supply
- Macbook Pro or PC running RME’s Totalmix software
…and that’s it. In fact, I’m even slowly trying to phase out the Waldorf Blofeld so that I am only using three synths, further lightening my load. Because I’ve learned how to make my own sounds, I don’t need an army of hardware dedicated to a certain task to achieve what I want.
The Challenges
If I were to ask electronic producers, I bet a lot of them would say that if they would perform their tracks, they would like to perform them live, but in practice there are many issues, like:
- too much gear/too complicated of a setup
Having a single setup that never changes drastically increases my ability to play tracks live. I worked for years to figure out how to arrange the 14 inputs for maximum versatility. Right now I have six channels dedicated to the drum module (6), one stereo channel for the Virus which handles a lot of tasks (8), two analog inputs and one stereo digital input for the MX400 (12), and then a single mono channel for the TB-3 and the MPC (14). For the Blofeld, I route a single channel to the Virus’ right input, and I have one more output from the RME to the Virus’ left input which allows me to use the built-in Virus FX for any other channel. I do not anticipate this changing because with this setup I can achieve anything I want to achieve. The Virus is really the hub because it also has a built-in EQ and effects, in addition to the EQ, dynamics, and effects in Totalmix, and of course my dedicated effects unit which supplies two completely independent effects in parallel.
- too much post-processing/mixing
It is my belief that there is very little that can’t be achieved outside the box, and I use a number of techniques to limit how much post-processing I have to do. For example, I have a set location on each synthesizer for the master volume to sit at, and I never move it, then I use oscillator levels or other internal volume settings to adjust the final level of a sound. Once the levels are set as close as possible, then I start using my effects, dynamics, and Totalmix to further sculpt the sound. Totalmix is the software that comes with the RME UFX and has built in EQ, dynamics for each channel, and a single reverb and echo effect that is set up in parallel. All information related to a mix can be stored in “snapshots” which saves all the information from the window and can be recalled in milliseconds simply by sending it specified midi notes.
- too much to remember
I keep a lot of notes. I mean a LOT of notes. Since I started I have filled 10 documents of my daily notes, each of which is 40+ pages long. These journals have a number of purposes, from keeping track of things I’ve learned, to production and set notes, to planning for the above setup. It also serves to show the progress I’ve made over time. I also store individual track notes here, like BPMs, styles, synths/fx used, and anything else I can think of. I don’t go back to them that often, but when I do, it’s invaluable. The TB-3 and Airbase99 also require many pages of presets in my BCR2000 to control, so I take screenshots to remind me where I have routed everything, because it’s simply too much to remember. Perhaps once I’ve used this for a couple more years I will remember where everything is routed, but the screenshots and some logical layouts help me recall what I need to.
The result of all that work is here, my first all-original set. One Hour Techno Good luck out there!