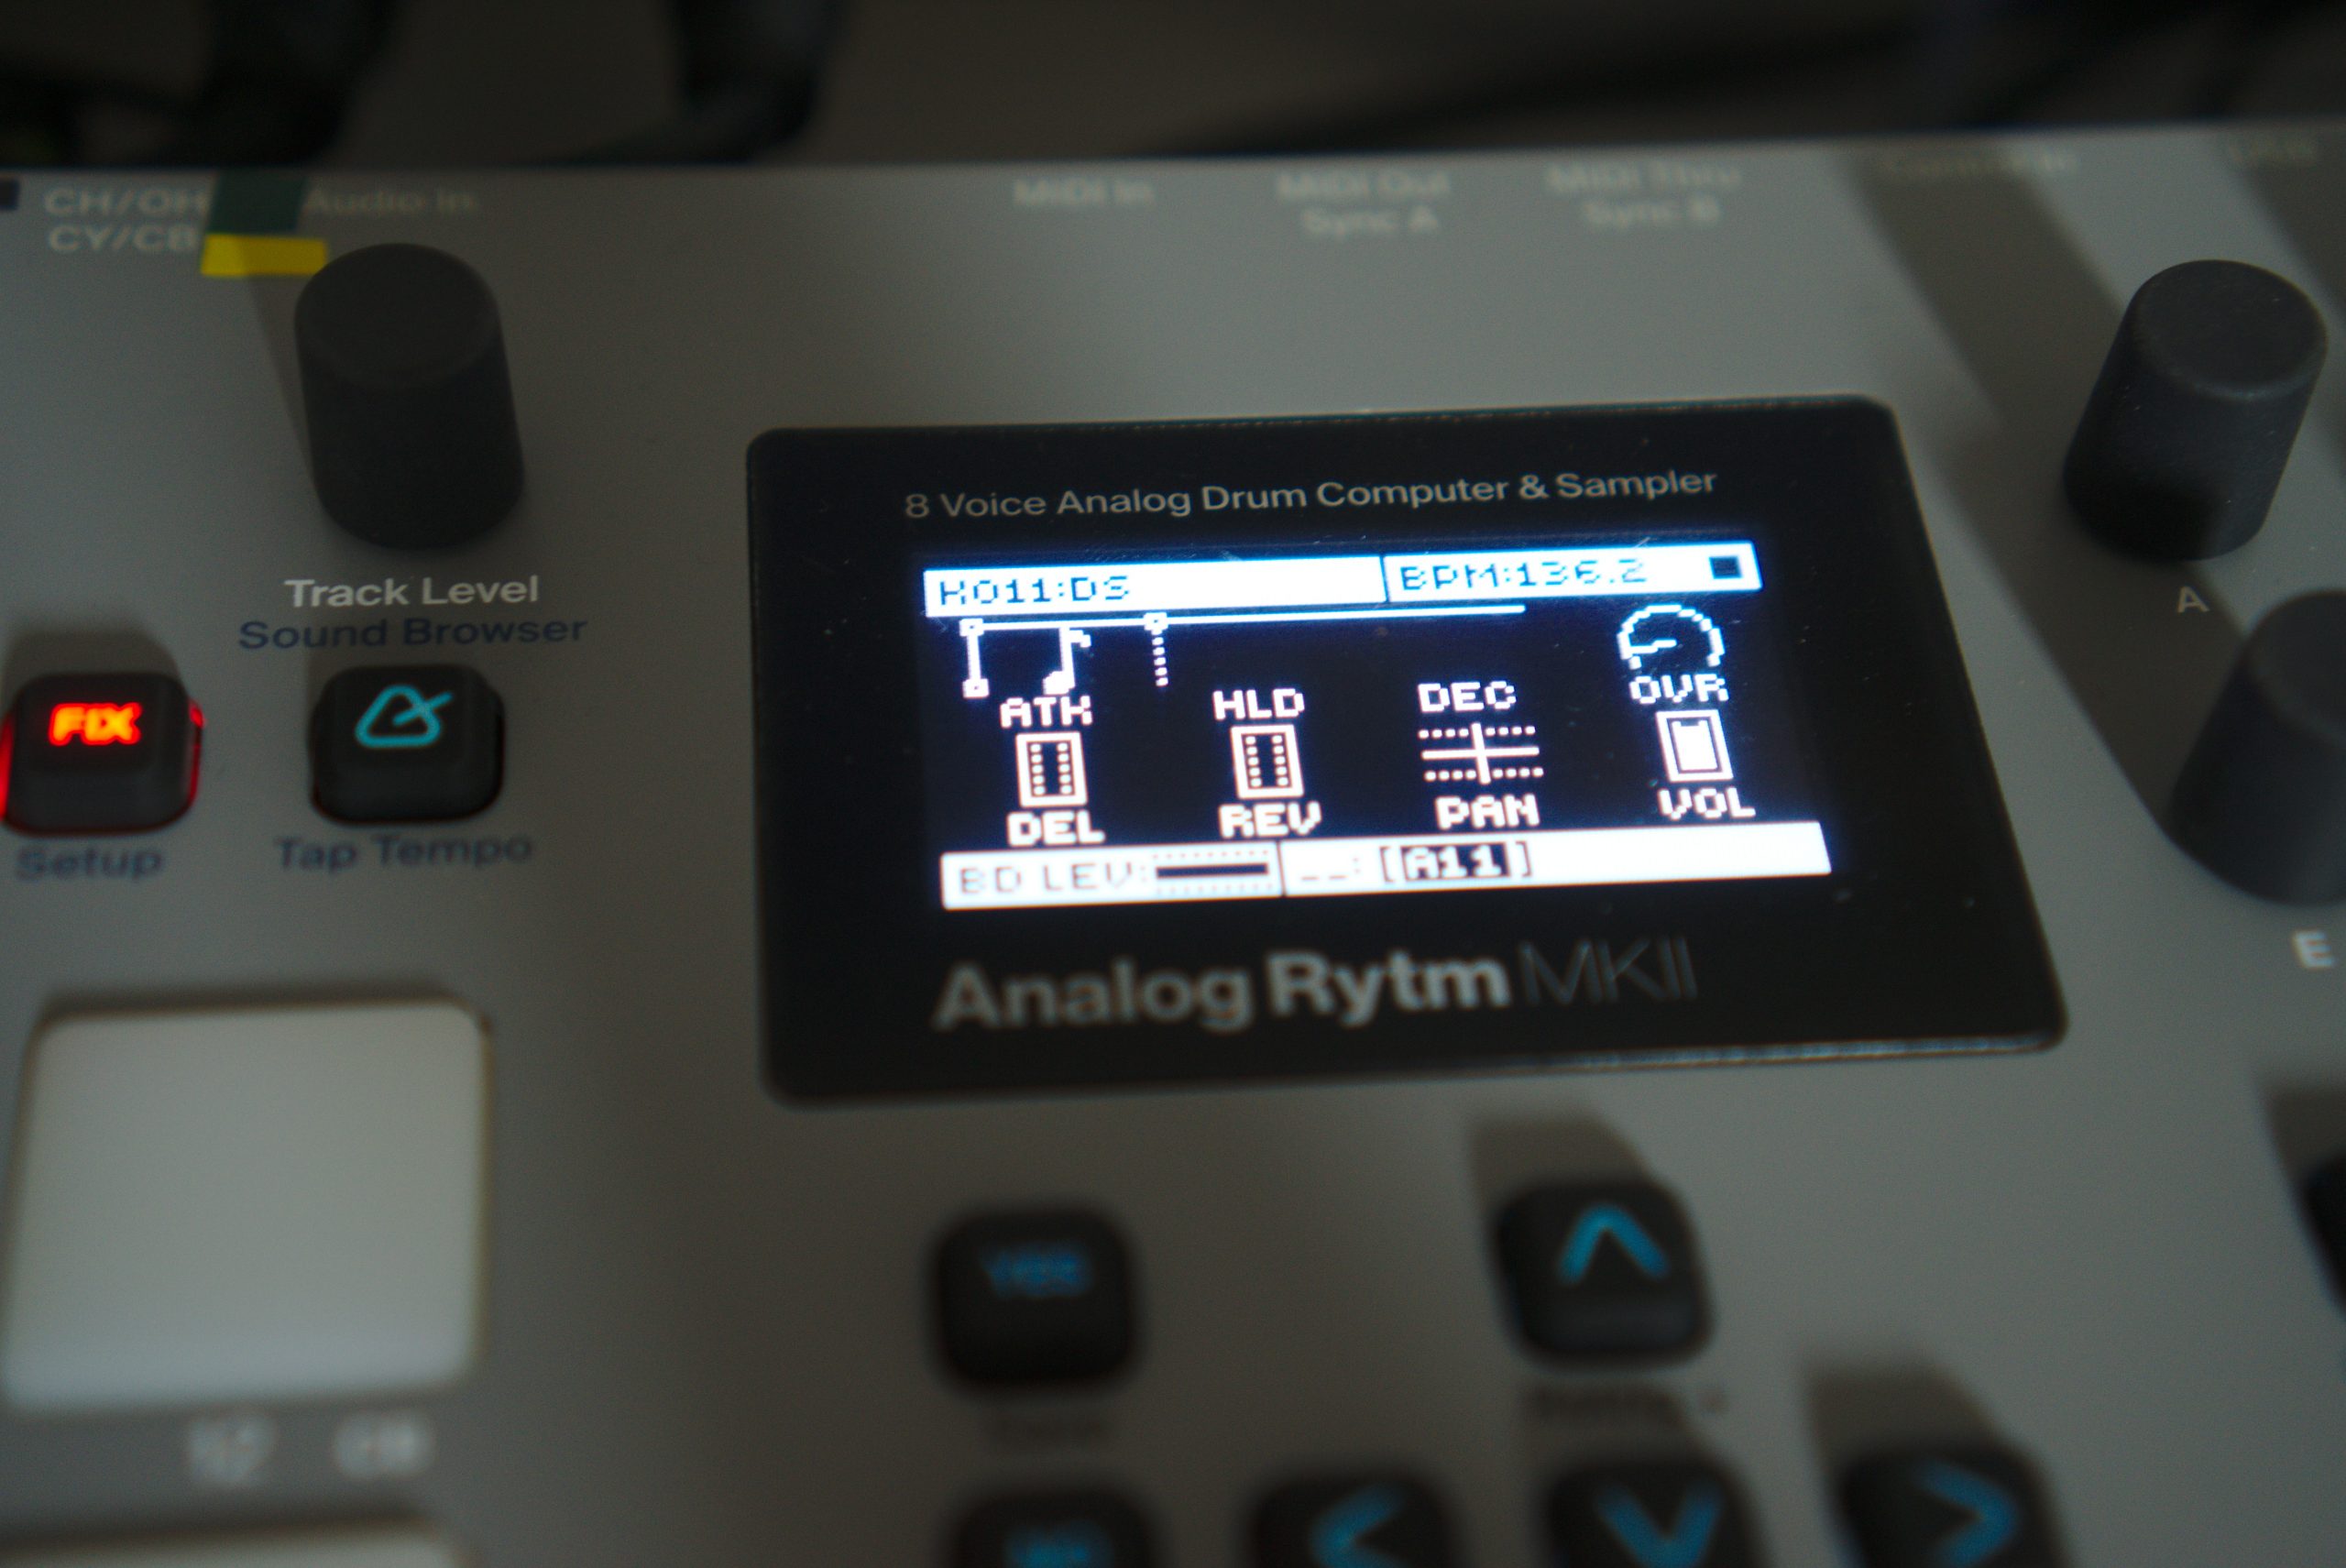
1010Music Blackbox tips & review
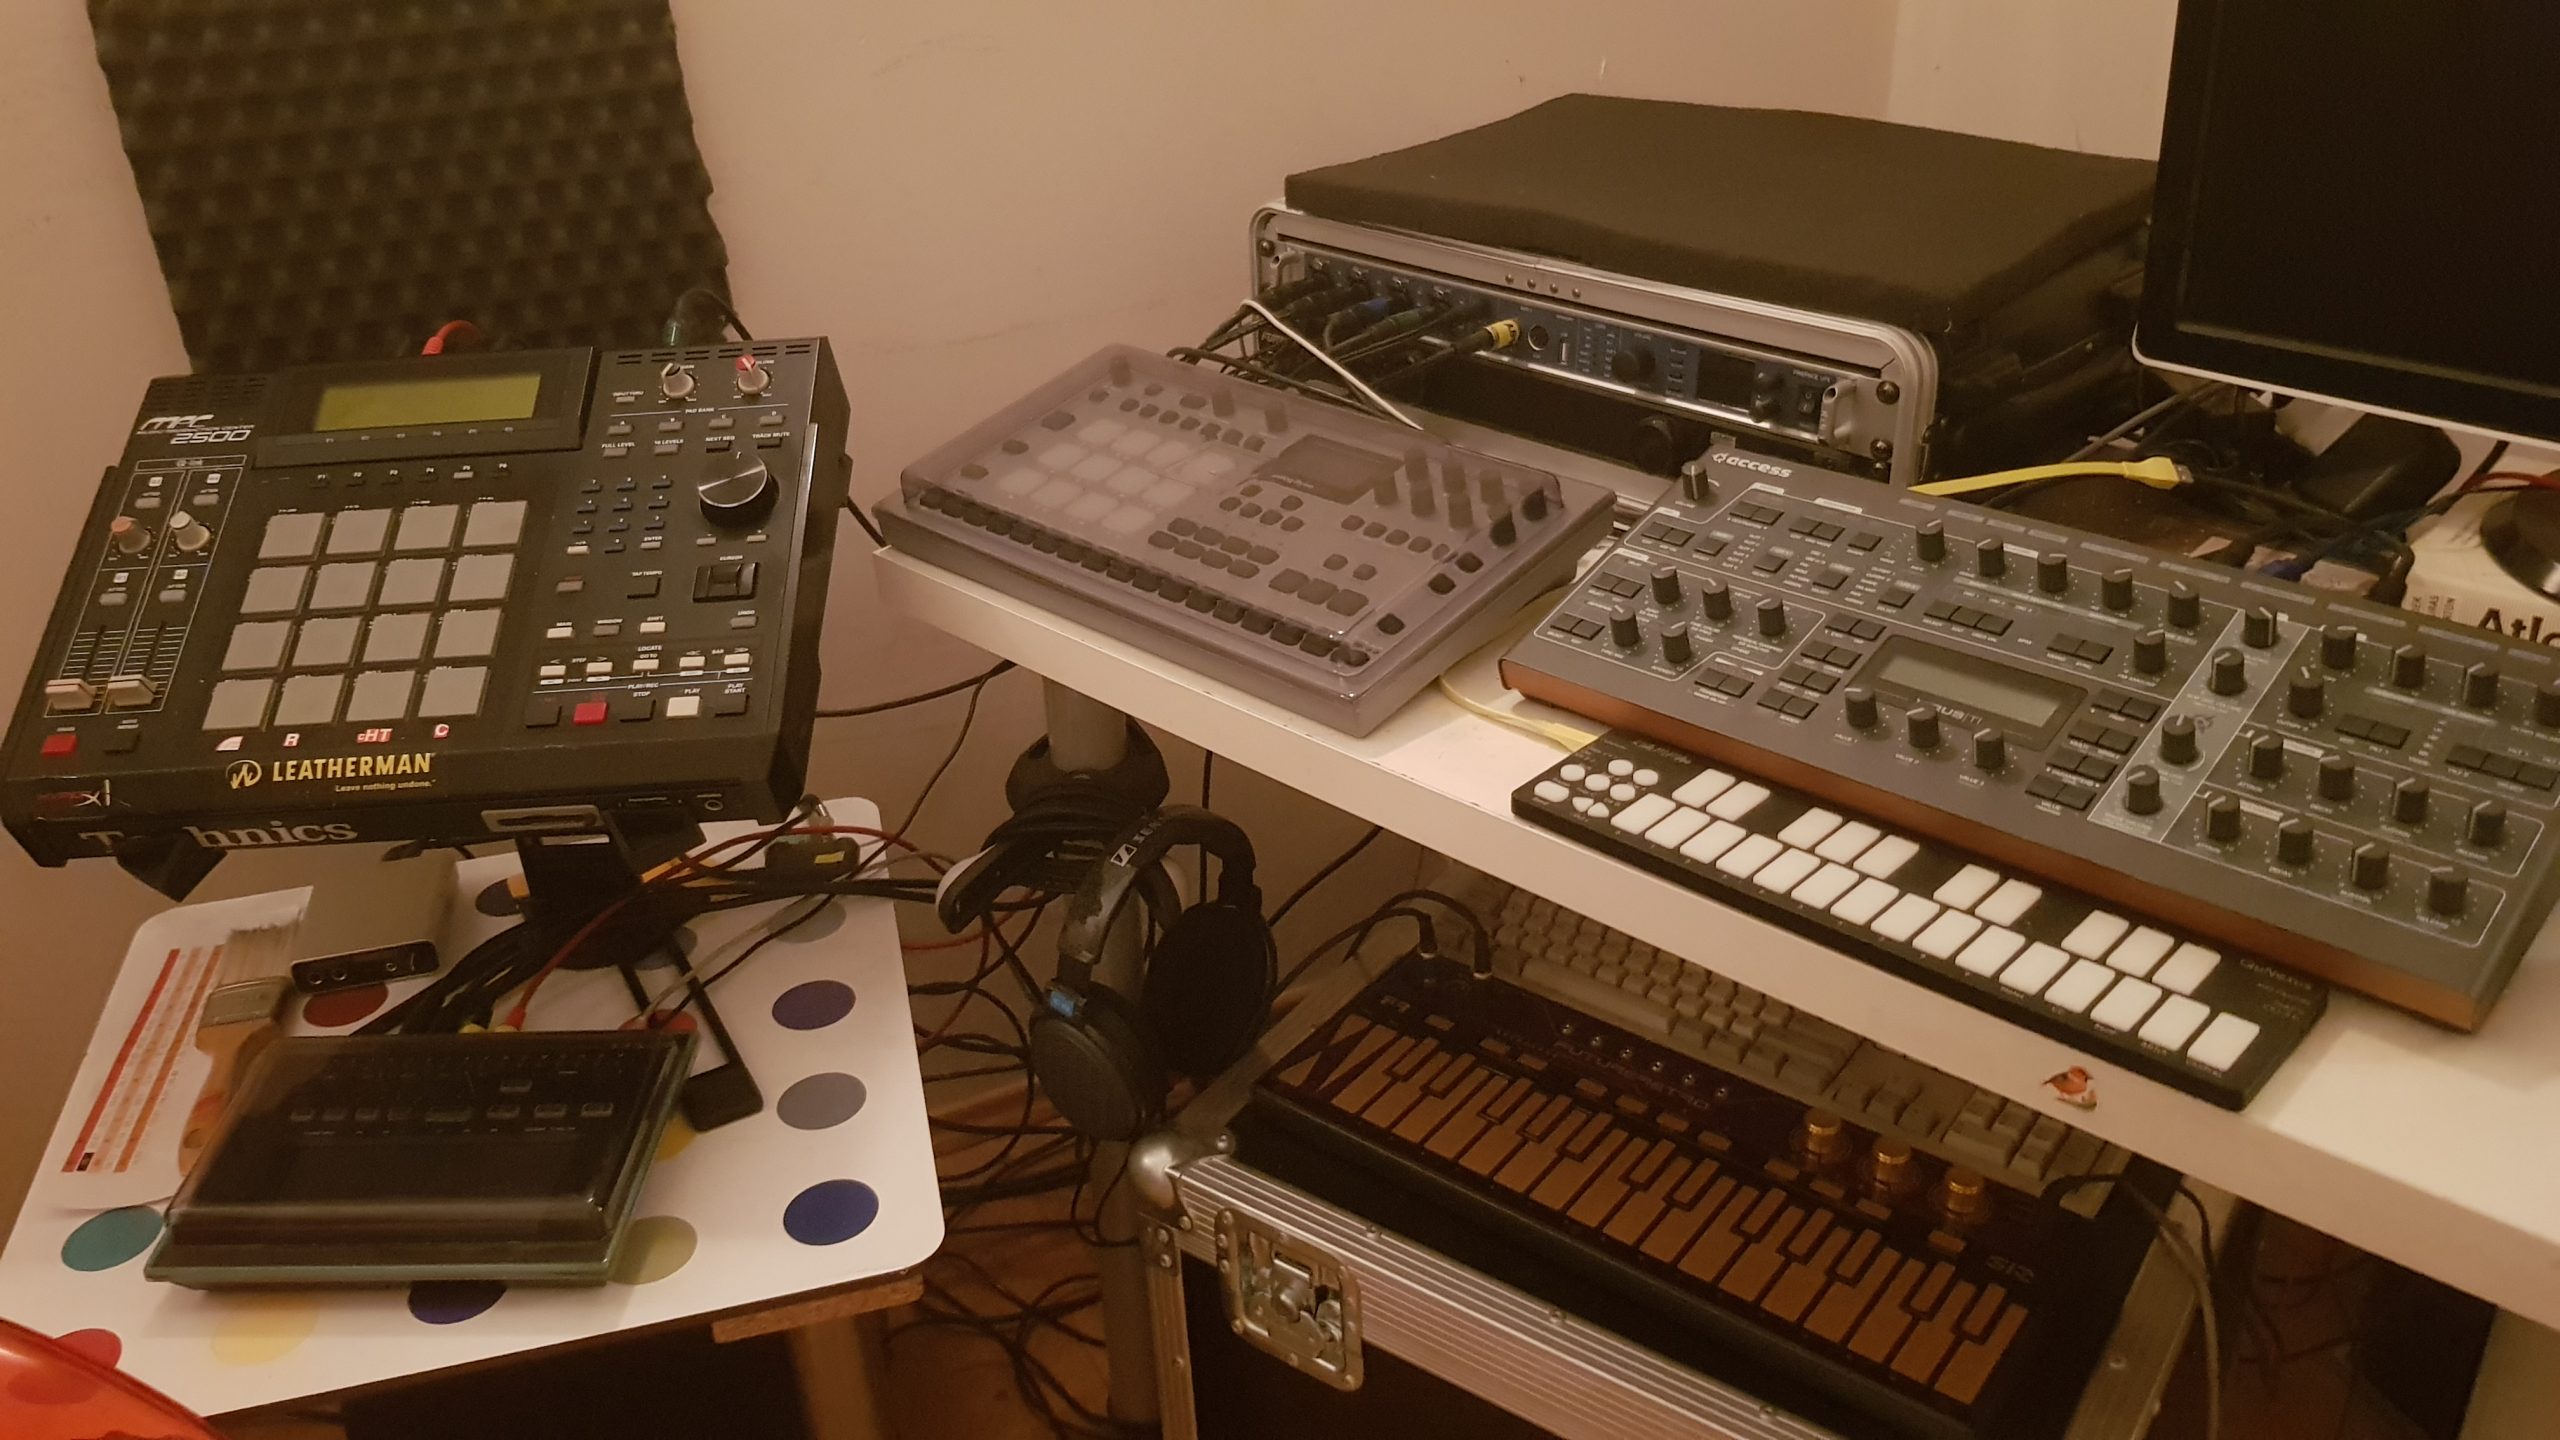
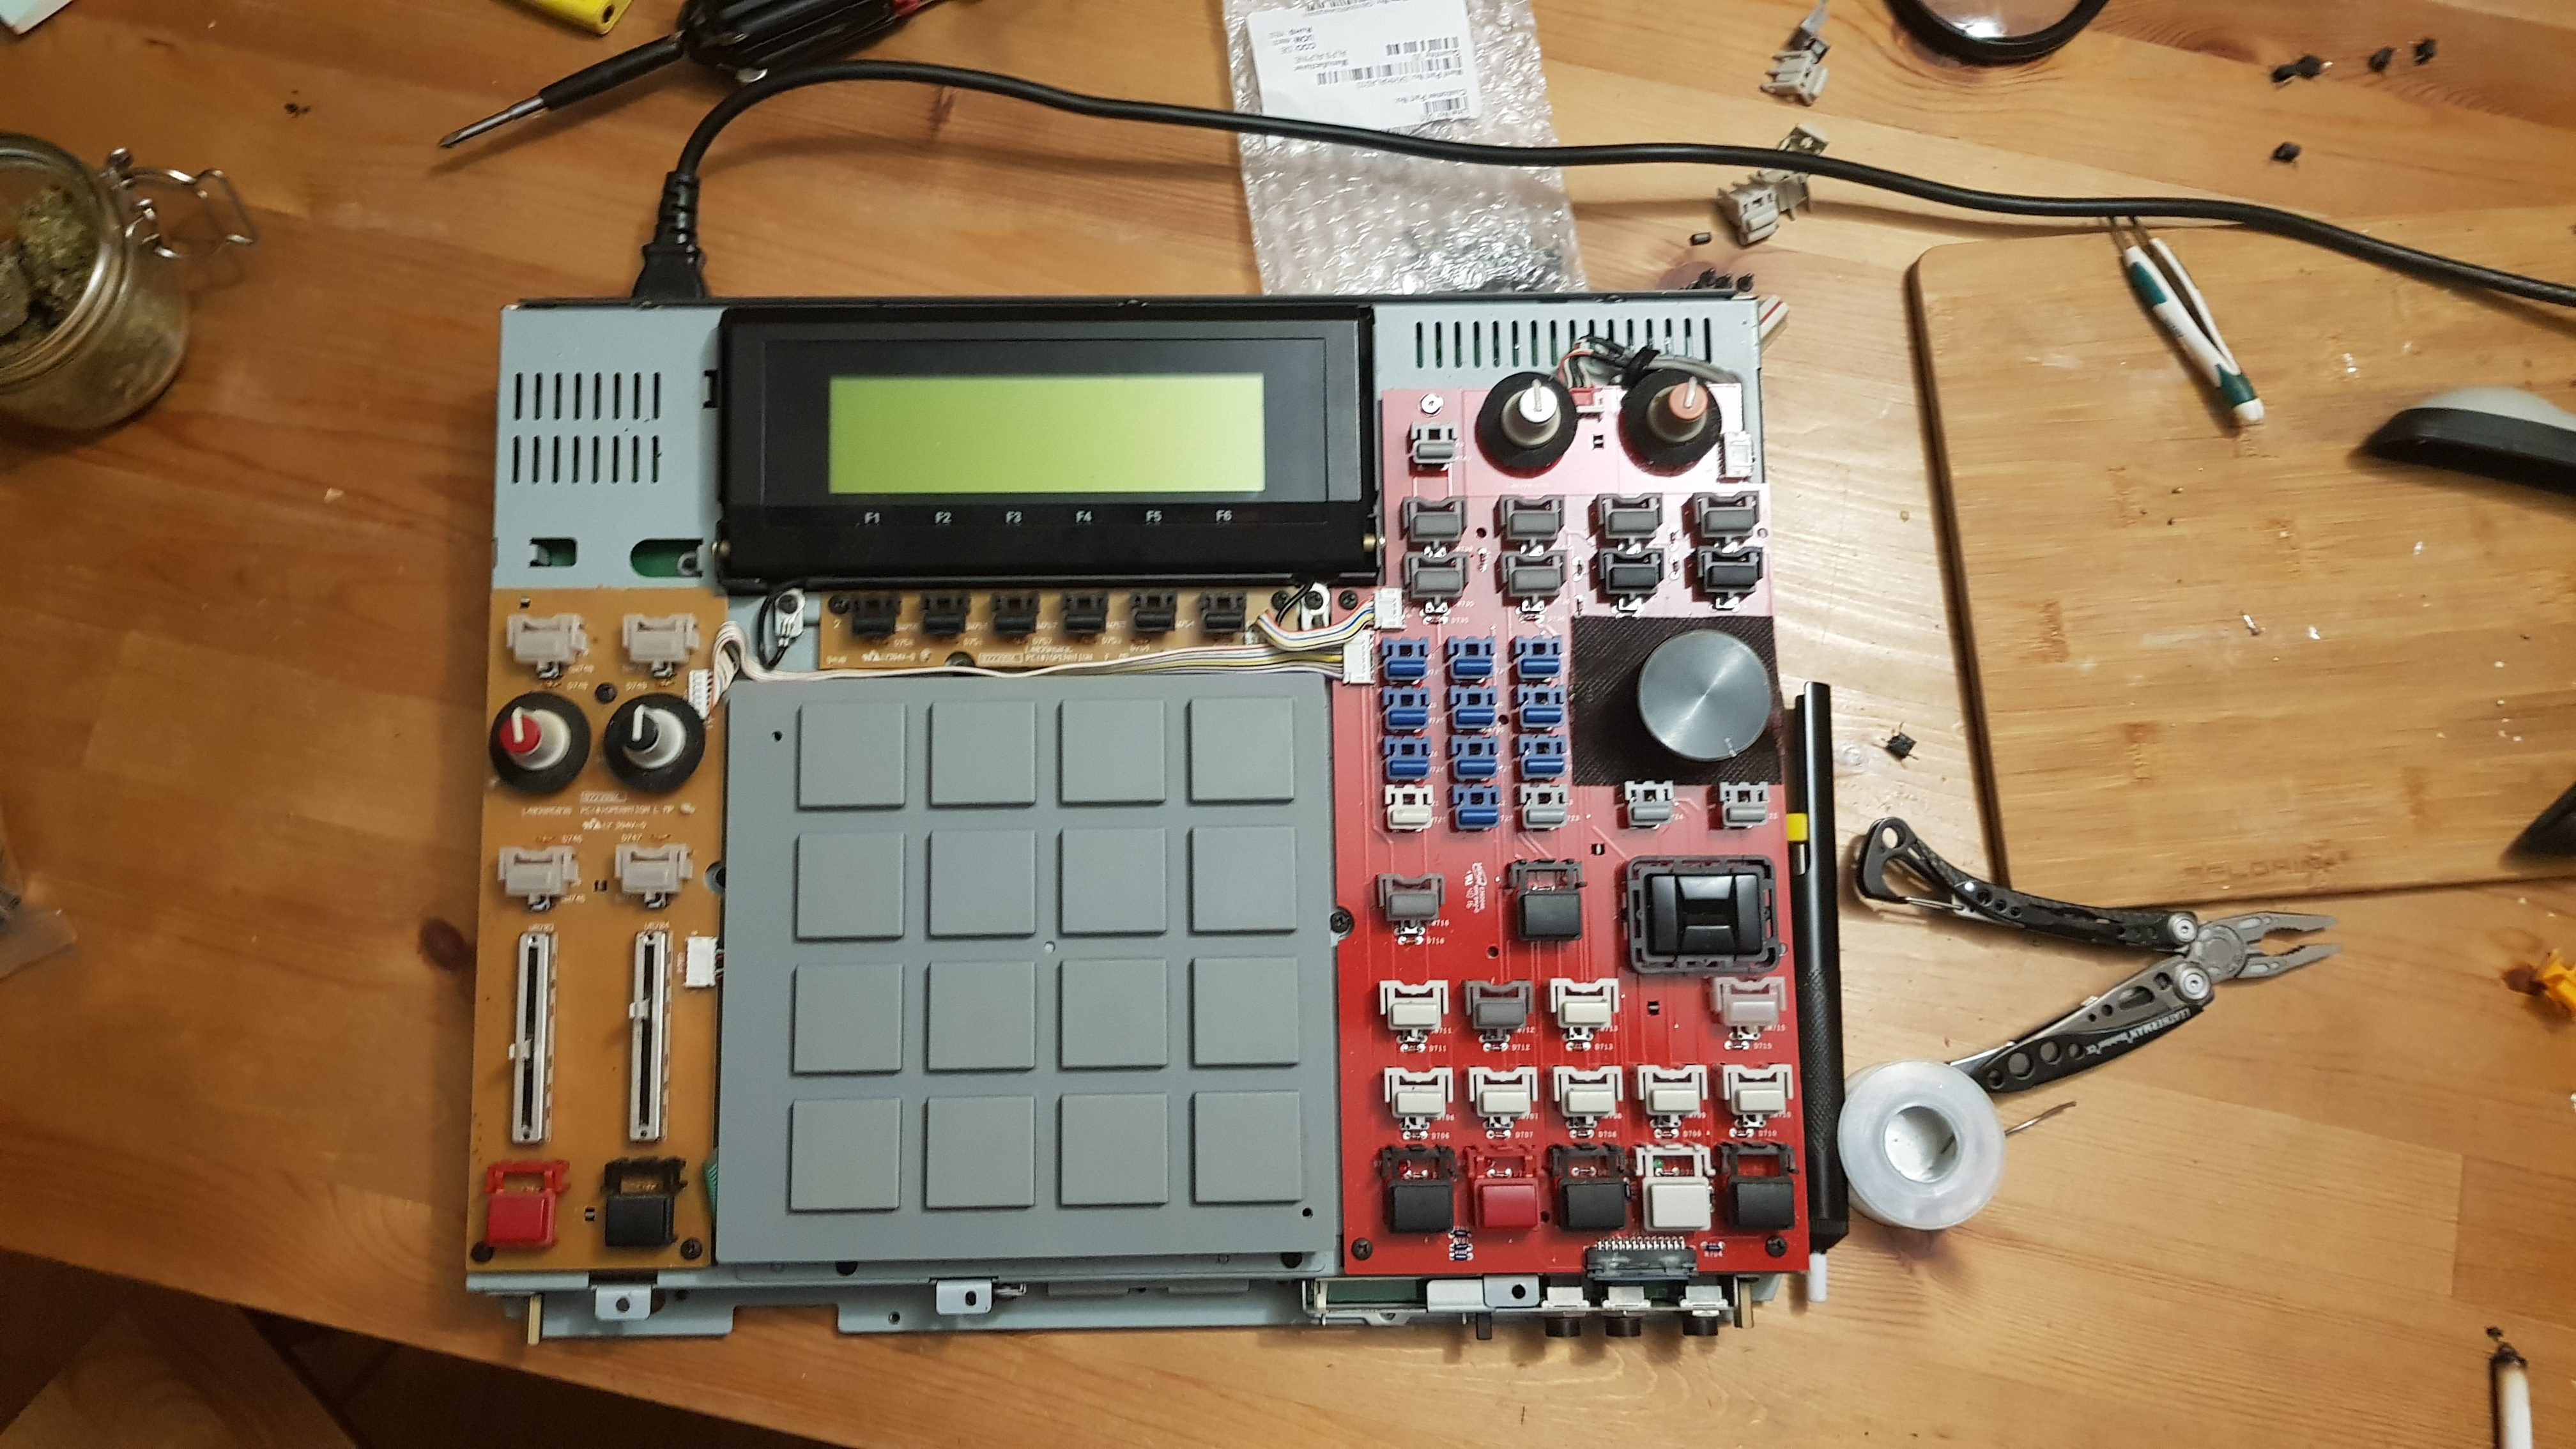
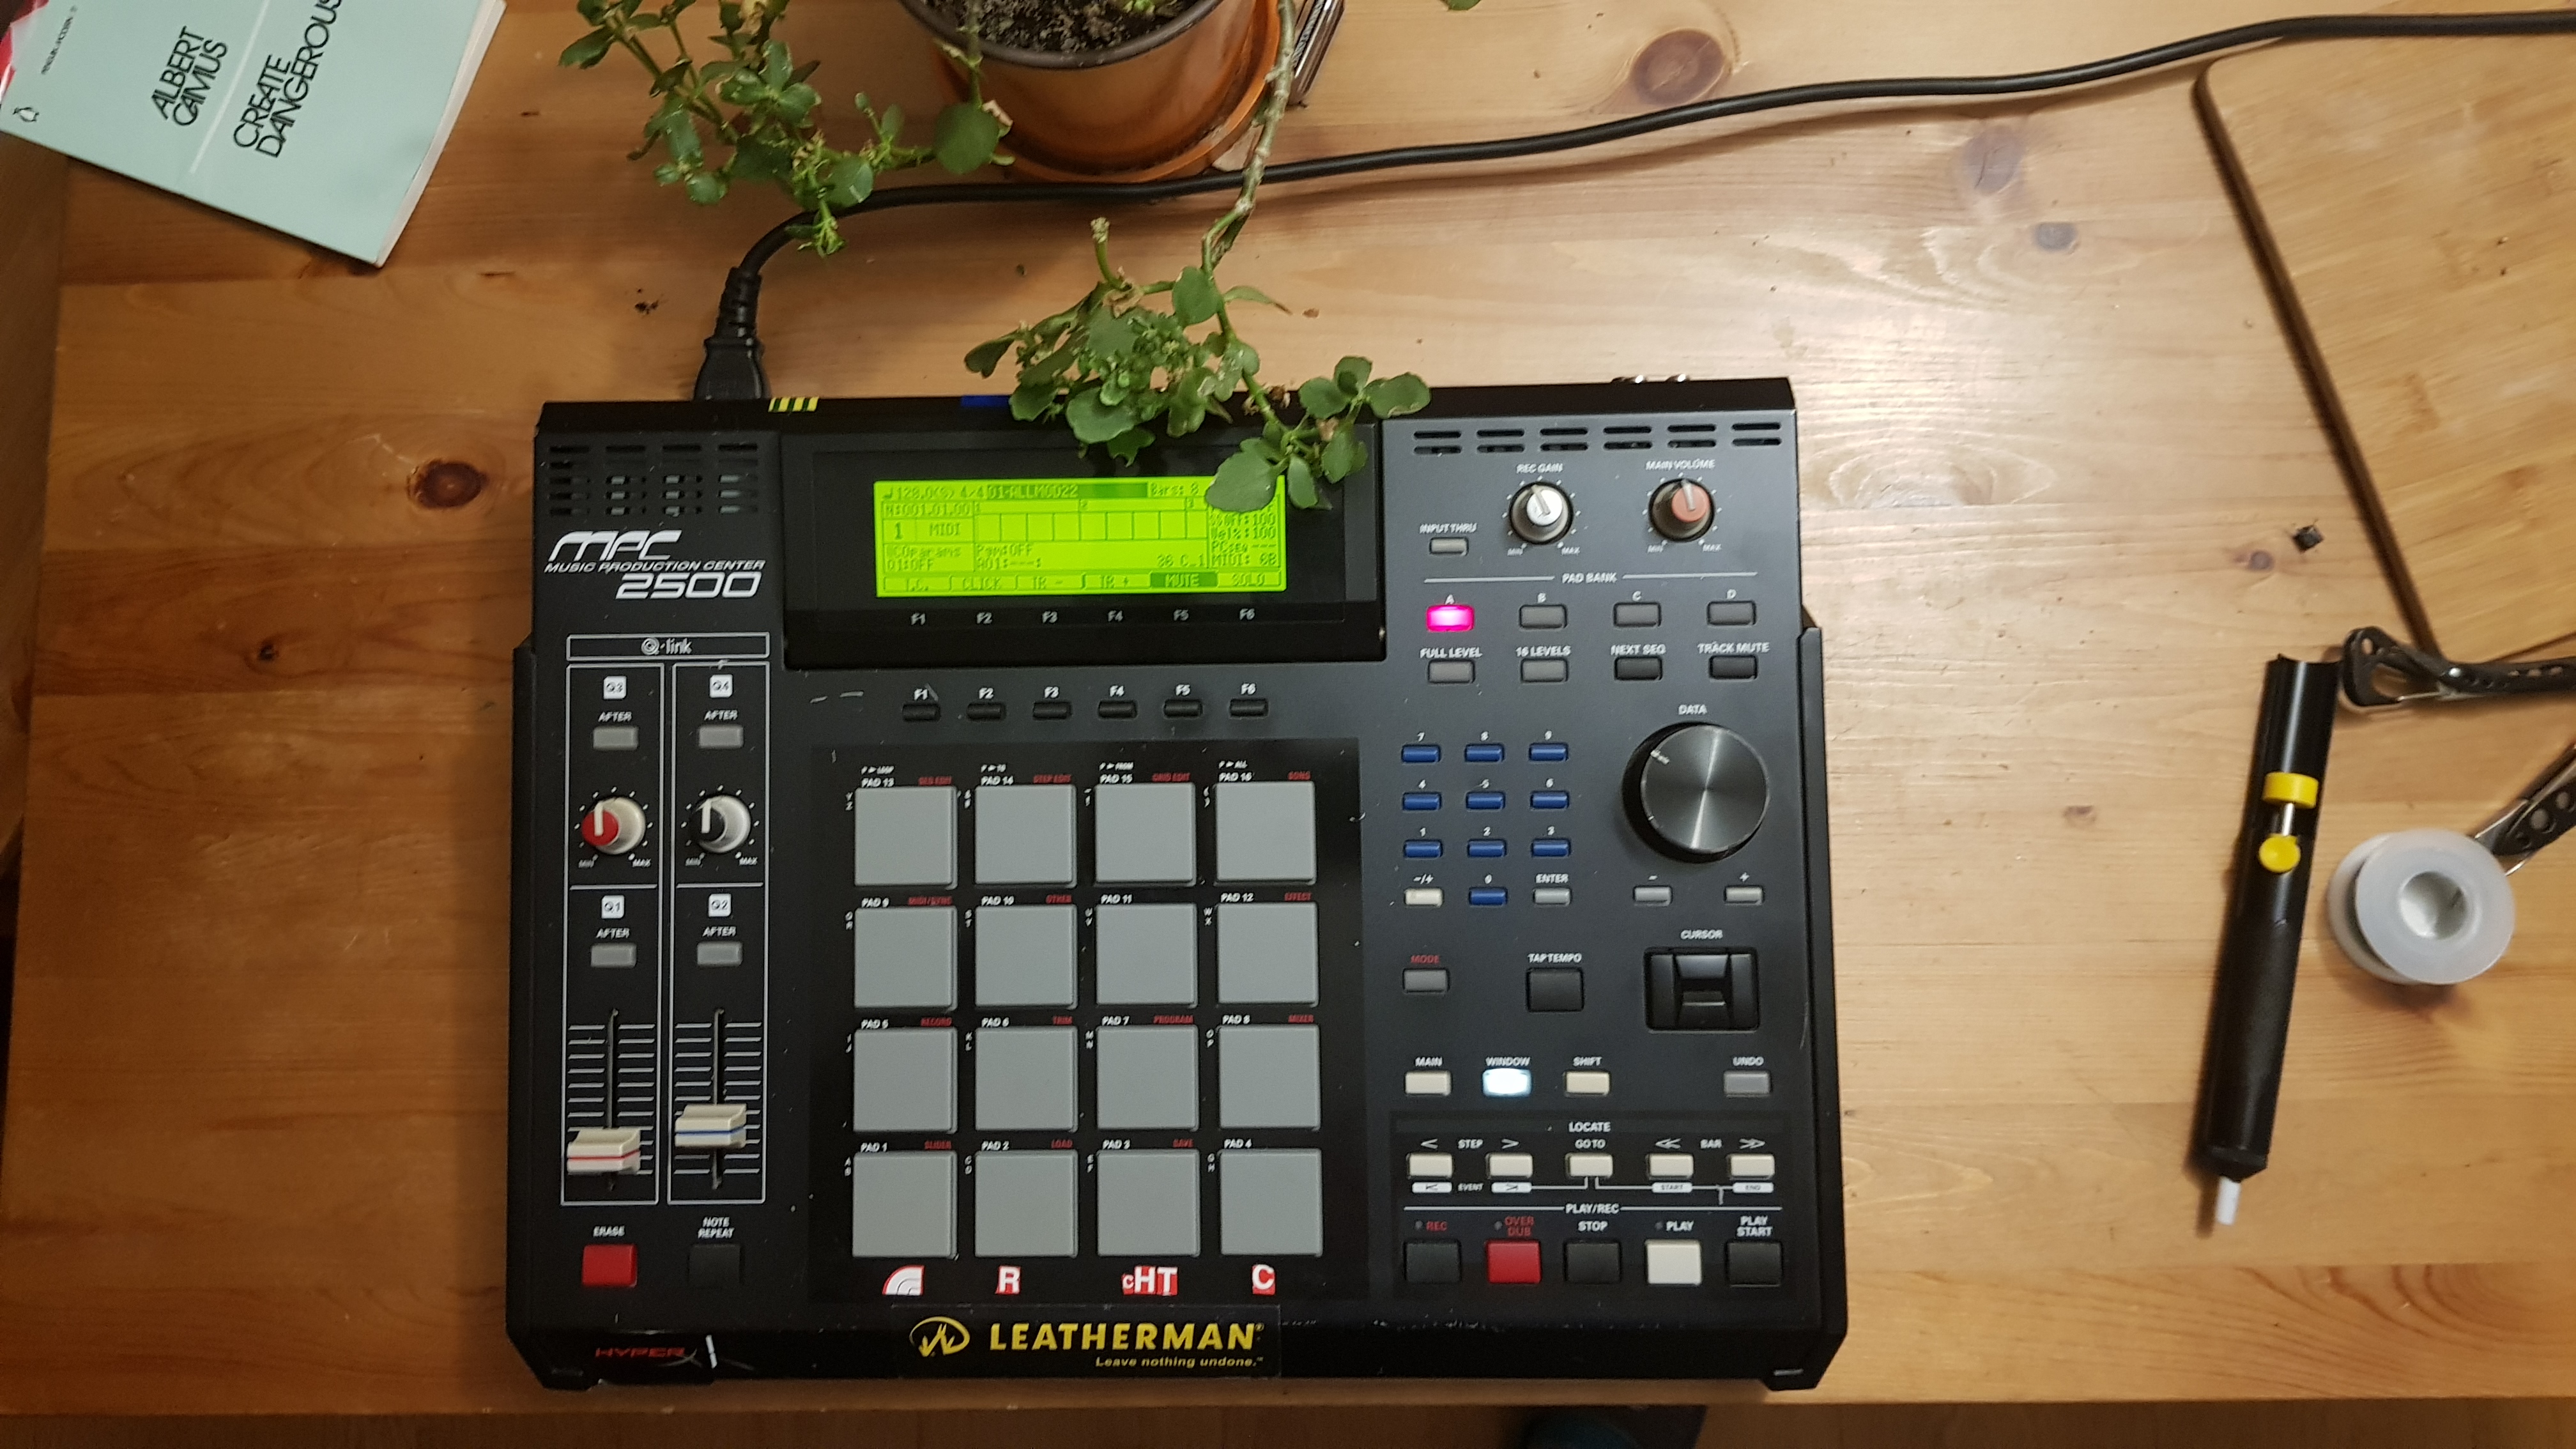
 The 1010music Blackbox is here, and with it the retiring of the sampler on my trusty MPC2500. Not that the MPC wasn’t fairly capable in the sampling department, but at some point I knew I wanted to upgrade the sequencer and also move off the MPC sampling platform as well. Previously when I made samples, I didn’t process them at all on the MPC so that I wouldn’t have to attempt to recreate the sounds later on some other device. But with the Blackbox, I feel no such compunction to limit myself because there are no plans to migrate from this sampler. As I dive into its feature set, I’m gladly taking advantage of everything that’s available, and as it begins to be used for new productions instead of just being migrated to fulfill the sampling duties from old tracks, I’ll discover what is possible. I’ve owned it now for a few weeks, and made some mistakes, but you have to walk before you fly, so here are the discoveries I made that might be helpful to you:
- Know what you’re trying to do. I thought that the Blackbox would easily handle taking a sample that was a single note vocal take and then pitch it up or down within the phrase, that is, using a external or internal keyboard to articulate notes in a single note vocal sample, like a vocoder. Essentially, this isn’t possible, or was perhaps a misunderstanding of the concept by me, because if you map a single phrase to multiple pads, they speed up or slow down according to pitch. You can use a multi-sample pad instead where you save individual hits that you’ve sped up/slowed down or pitch-shifted up/down, but at that point you might as well use the computer, because the process of saving root notes to samples and reloading them is rather tedious. Granular mode does allow separate manipulation of pitch and speed, but with some noticeable artifacts, and has only mono polyphony.
- Samples & polyphony. The Blackbox only has 16 sample pads to use (I’m used to the 64 on the MPC), so you’ll have to be creative to get a bunch of samples working, even in multi-sample mode. In this mode, you have to save each individual sound with a root note value and then reload all those single shots into one pad. This allows you to trigger multiple samples from the same midi channel by sending different notes, whereas normally a single sample should occupy a single midi channel. You can load 64 samples on a single pad, and 80 total per preset, averaging 5 per pad. As for simultaneous voices playing, according to the latest version of the manual (1.7), “Blackbox has been tested to reliably playback up to 24 simultaneous voices. The absolute maximum number of voices is 32, but you may encounter CPU issues before that depending on other demands on the processor.”
- RTFM. I’ve had some operating hiccups, but they basically came from not reading the manual. First, read the preset save procedure. I lost some presets because I didn’t save it the correct way. Also be careful about sending program change because this will clear any edits you haven’t saved on the preset. The second was I couldn’t get program change to work, but that was because in the Tools menu, Program Change must be set to on, and both Midi Keys and Midi Pads parameters must be set to the program change receive channel, which I had not done. This causes some weirdness if there are any tracks that send on the channel you’re using for program change, so you’ll have to watch out for that. If possible, avoid using the program change channel for sample playback. Late one evening I found some weirdness with multi-samples, but haven’t been able to repeat it, so maybe it was just a fluke.
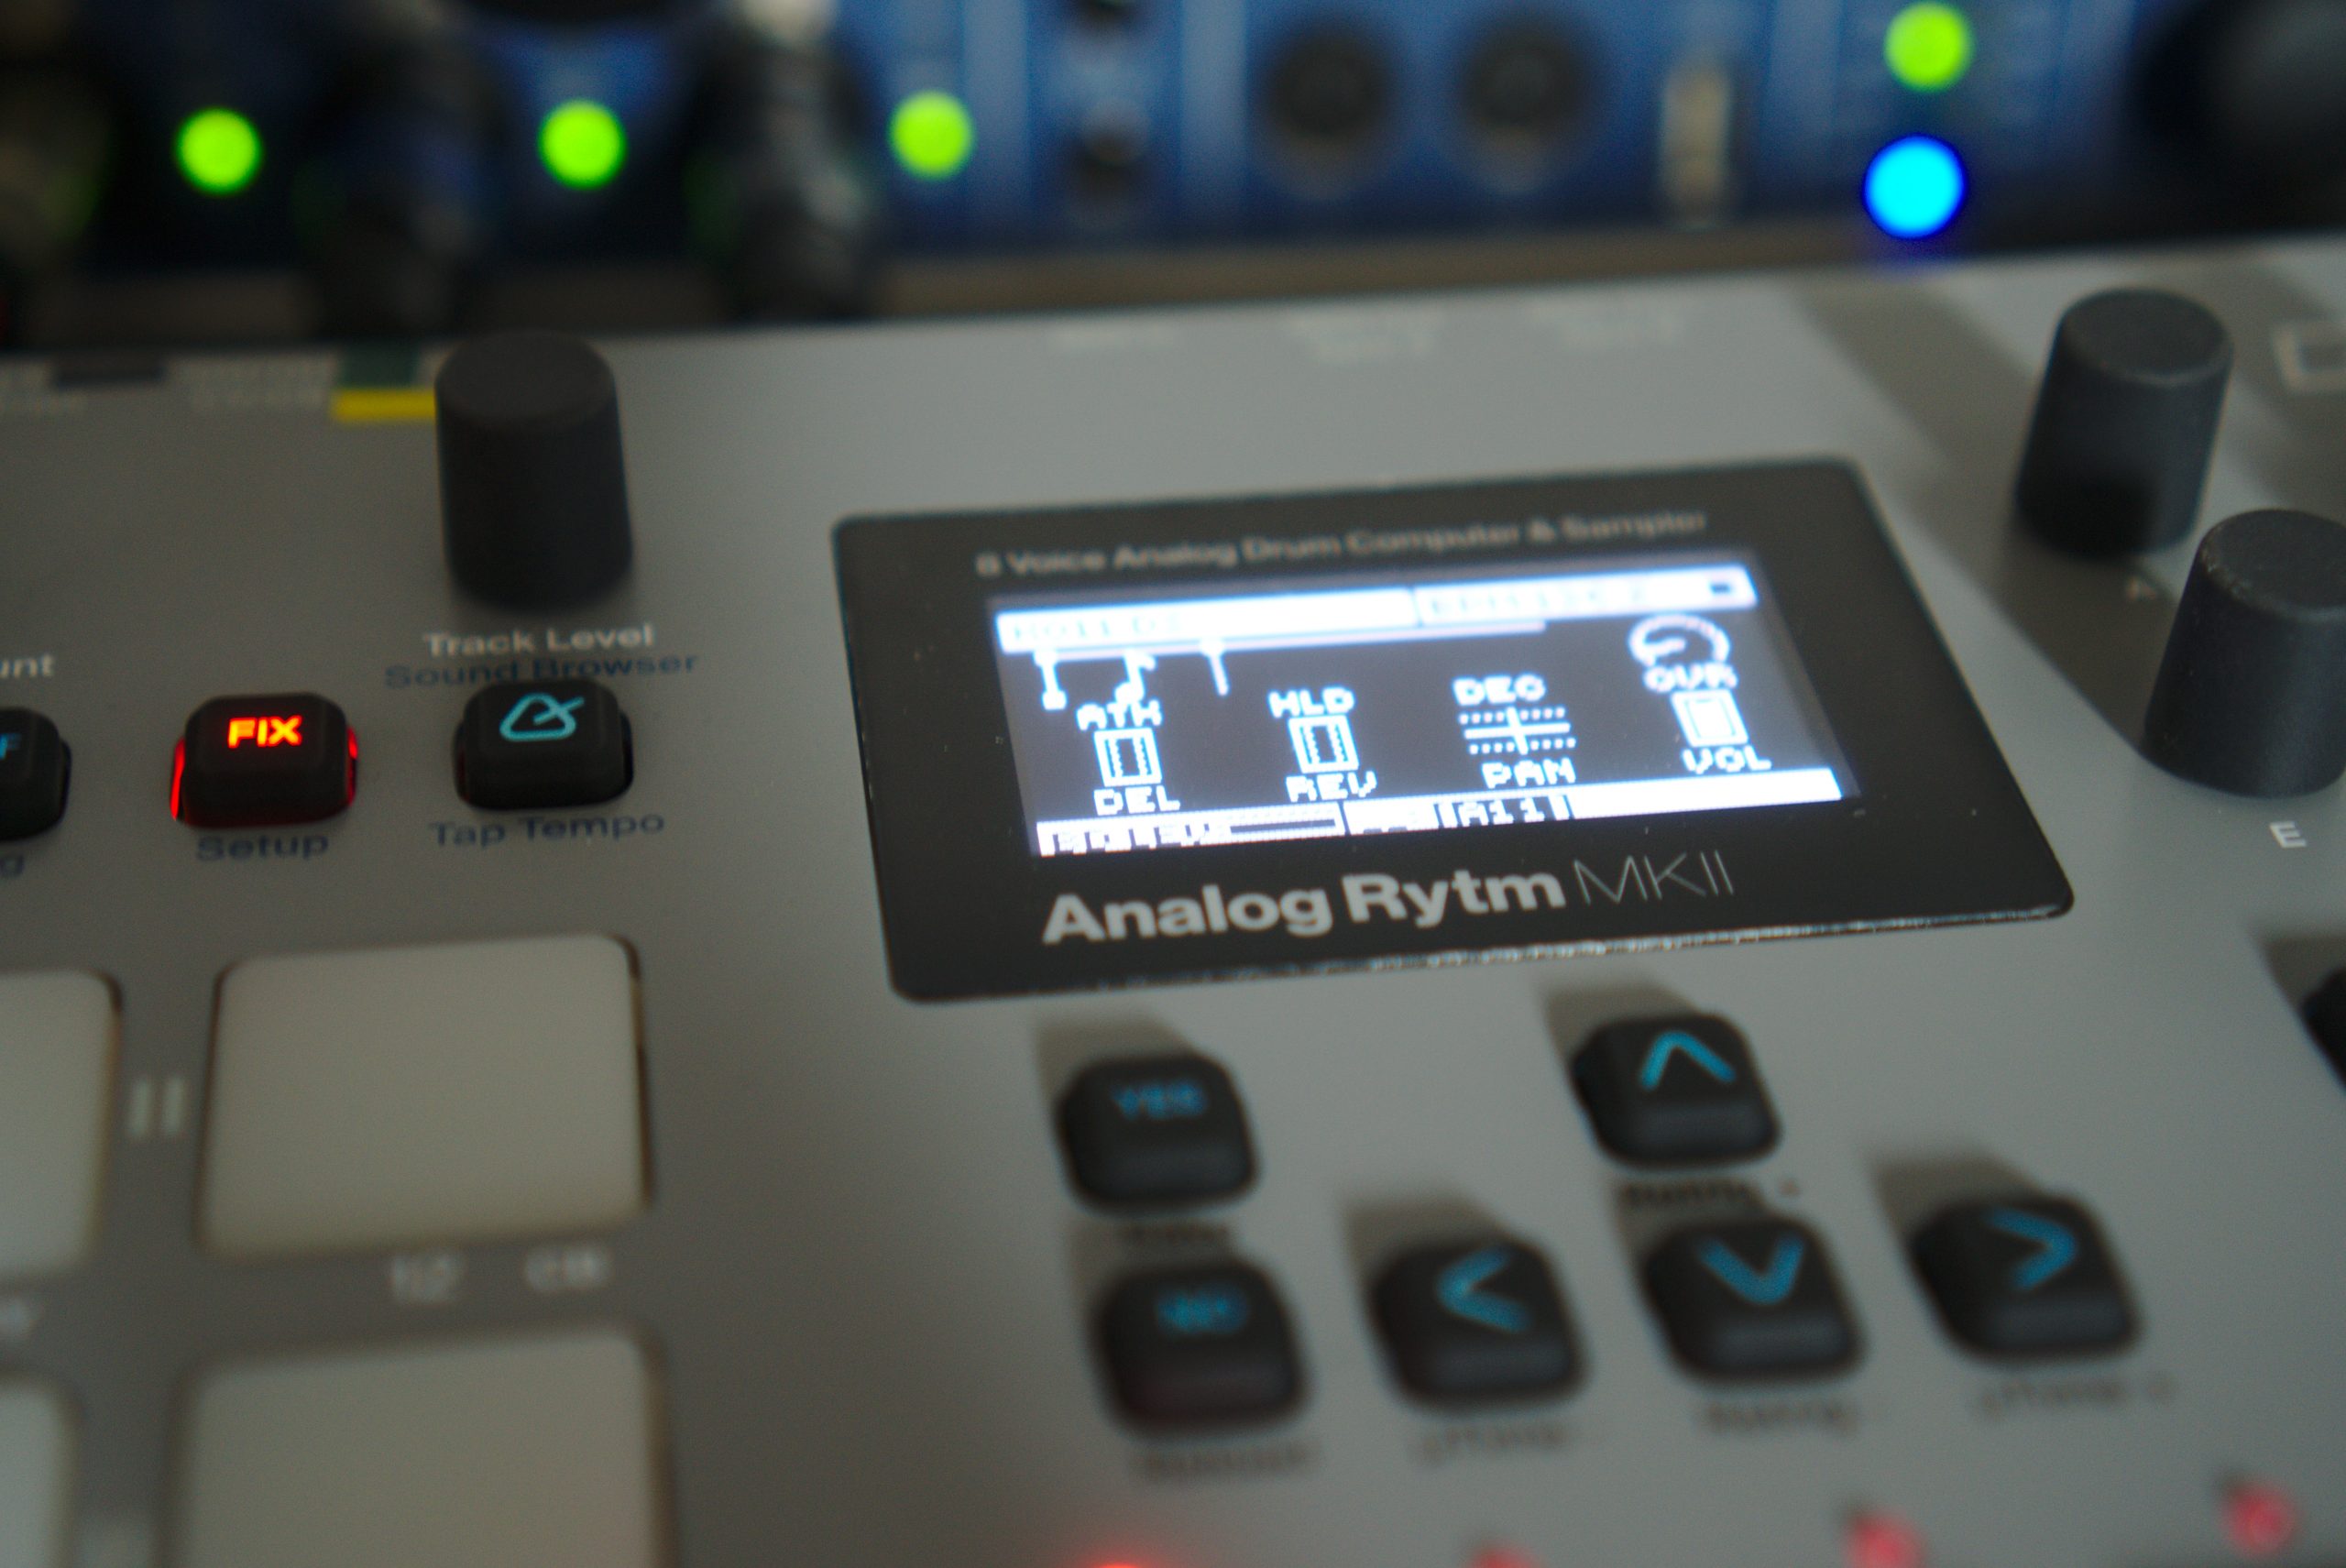
- FX operate unusually. The fx operate in a different way than most I’ve seen, using percentages rather than specific delay/reverb times. If you want the effects beat-synced, the percentages lock to beat divisions, but it doesn’t tell you what they are. Even though I’m still getting used to how they operate, they sound good in my opinion, but don’t allow more than 100% wet mixed with 100% dry and have very few parameters other than percentage and feedback. Obviously any other effect that is not reverb/delay will need to be handled externally. There is a built-in compressor, but I haven’t been too fond of it because the settings can’t really be changed. It is a multi-stage compressor with these settings according to the forum: “…currently a two stage compressor with fixed settings. First there is an RMS based compressor with a ratio of 4 if I recall. It is followed by a brick wall limiter to avoid clipping.” Maybe it can be used if the initial sample levels are basically equal, but at any rate, the compressor is global so it will probably not be that useful for me.
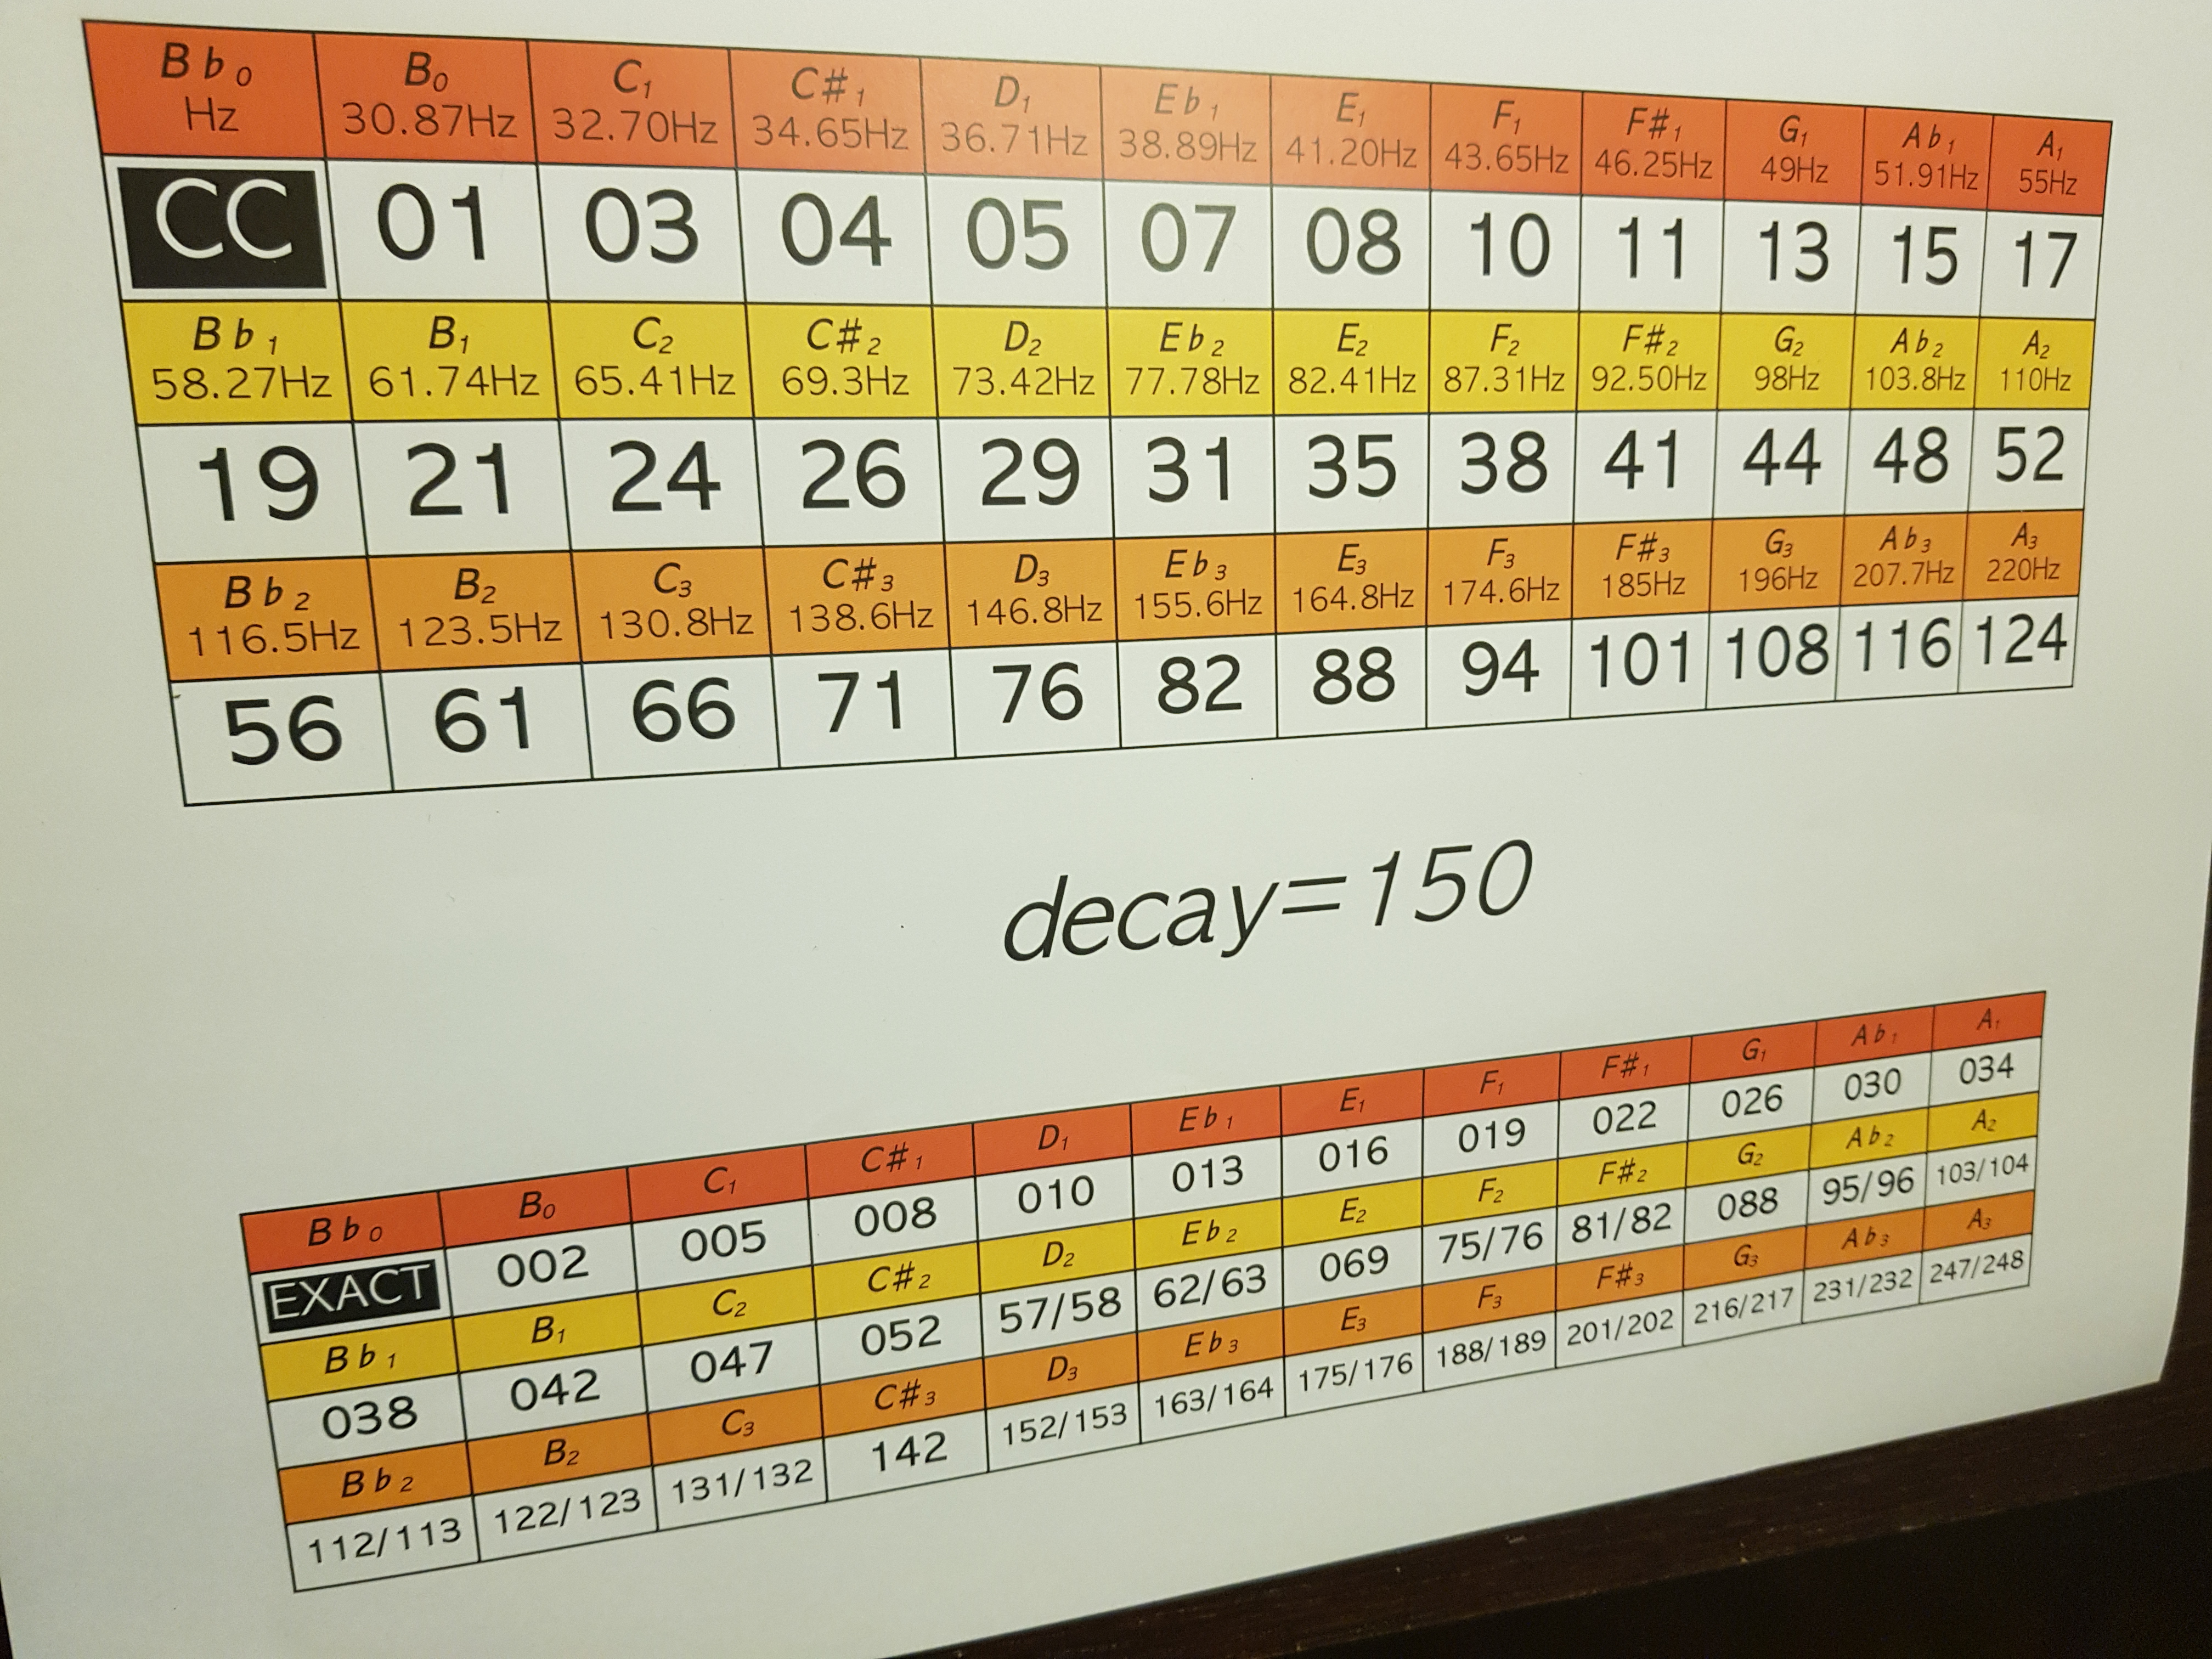
- There’s no USB device functionality. Yes, it is powered by USB, but no data is sent over the USB connection, only power. You can use midi controllers with the host port, as I have with the Sensel Morph, but you can’t use it to grab files from a USB pen drive, as all samples are loaded with the microSD card. I’ve read that the card that is shipped is relatively good, but that high stresses might show inadequacies with the card provided with the sampler. Best bet is to buy a microSD card rated A1 or better.
- Samples playing louder from external sources. After I’d spent lots of time getting the samples I needed perfect on my computer, exporting them and then importing them on to the Blackbox, I was surprised to find that the waveforms were clipping when played externally, but sounded like they should when played from the screen.
Even though it’s not documented anywhere, I think the fix is to turn down velocity on the pads screen.I still don’t know exactly why this is. When you bring the levels up of a sample, my DAW input levels go up as well, up to a certain point, and then the Blackbox appears to overdrive the sound rather than bring its levels up to 0. Still need some more investigation into this.
I’ve mostly talked about the issues I’ve had, but this  machine has a lot of pros as well. Its compact size, the touch screen, the relative quality of the effects, the different modes including granular, etc. Even though in the European market it is going for around 720$ (598€) new, I’m starting to see lots of people using it online, and I can see why. I haven’t even touched the surface of its built-in sequencer as I strictly operate it as an external sampling device for now, but as time goes on, I’ll be able to add more of its features to my live sets. Anything I add to my live setup has to be used for a long time, so I look forward to seeing what a long future with the Blackbox looks like.