My DAWless Production Philosophy (currently)
When I decided to become a music producer/performer, I knew there were few paths to making money in the music business, but one I felt confident in was in playing live, because I don’t see live music meeting the same fate as recorded music. So I wanted to focus all my efforts on making music that I could perform live. I’ve always been a mostly hardware producer and performer as well, so these two factors veered me away from doing much in the DAW. These two factors have shaped my production approach for the last few years, and I’ve really honed that process the last 2-3 years until it’s nearly at the extreme that I can achieve.
Playing Live
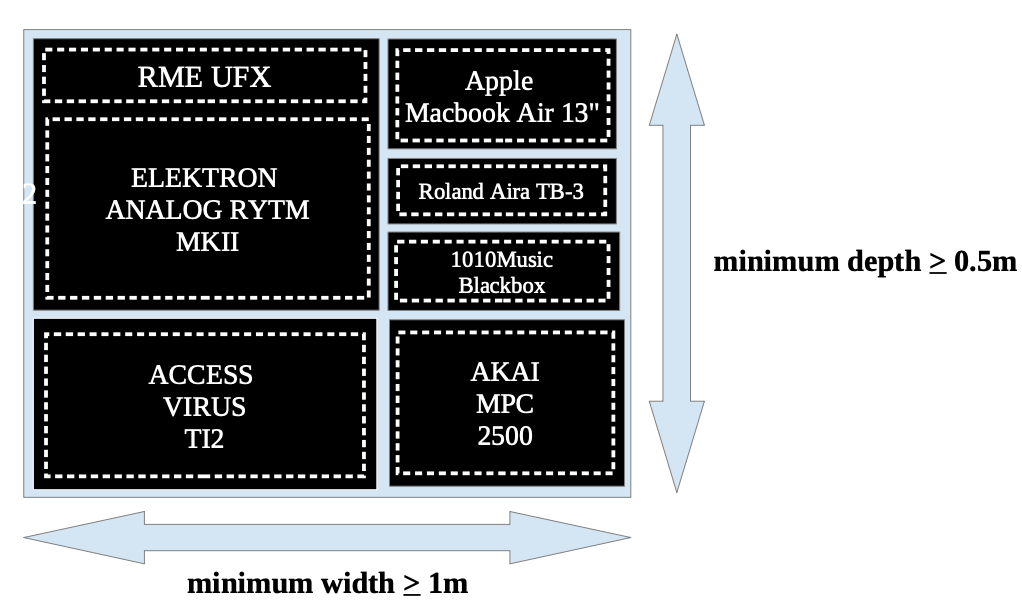
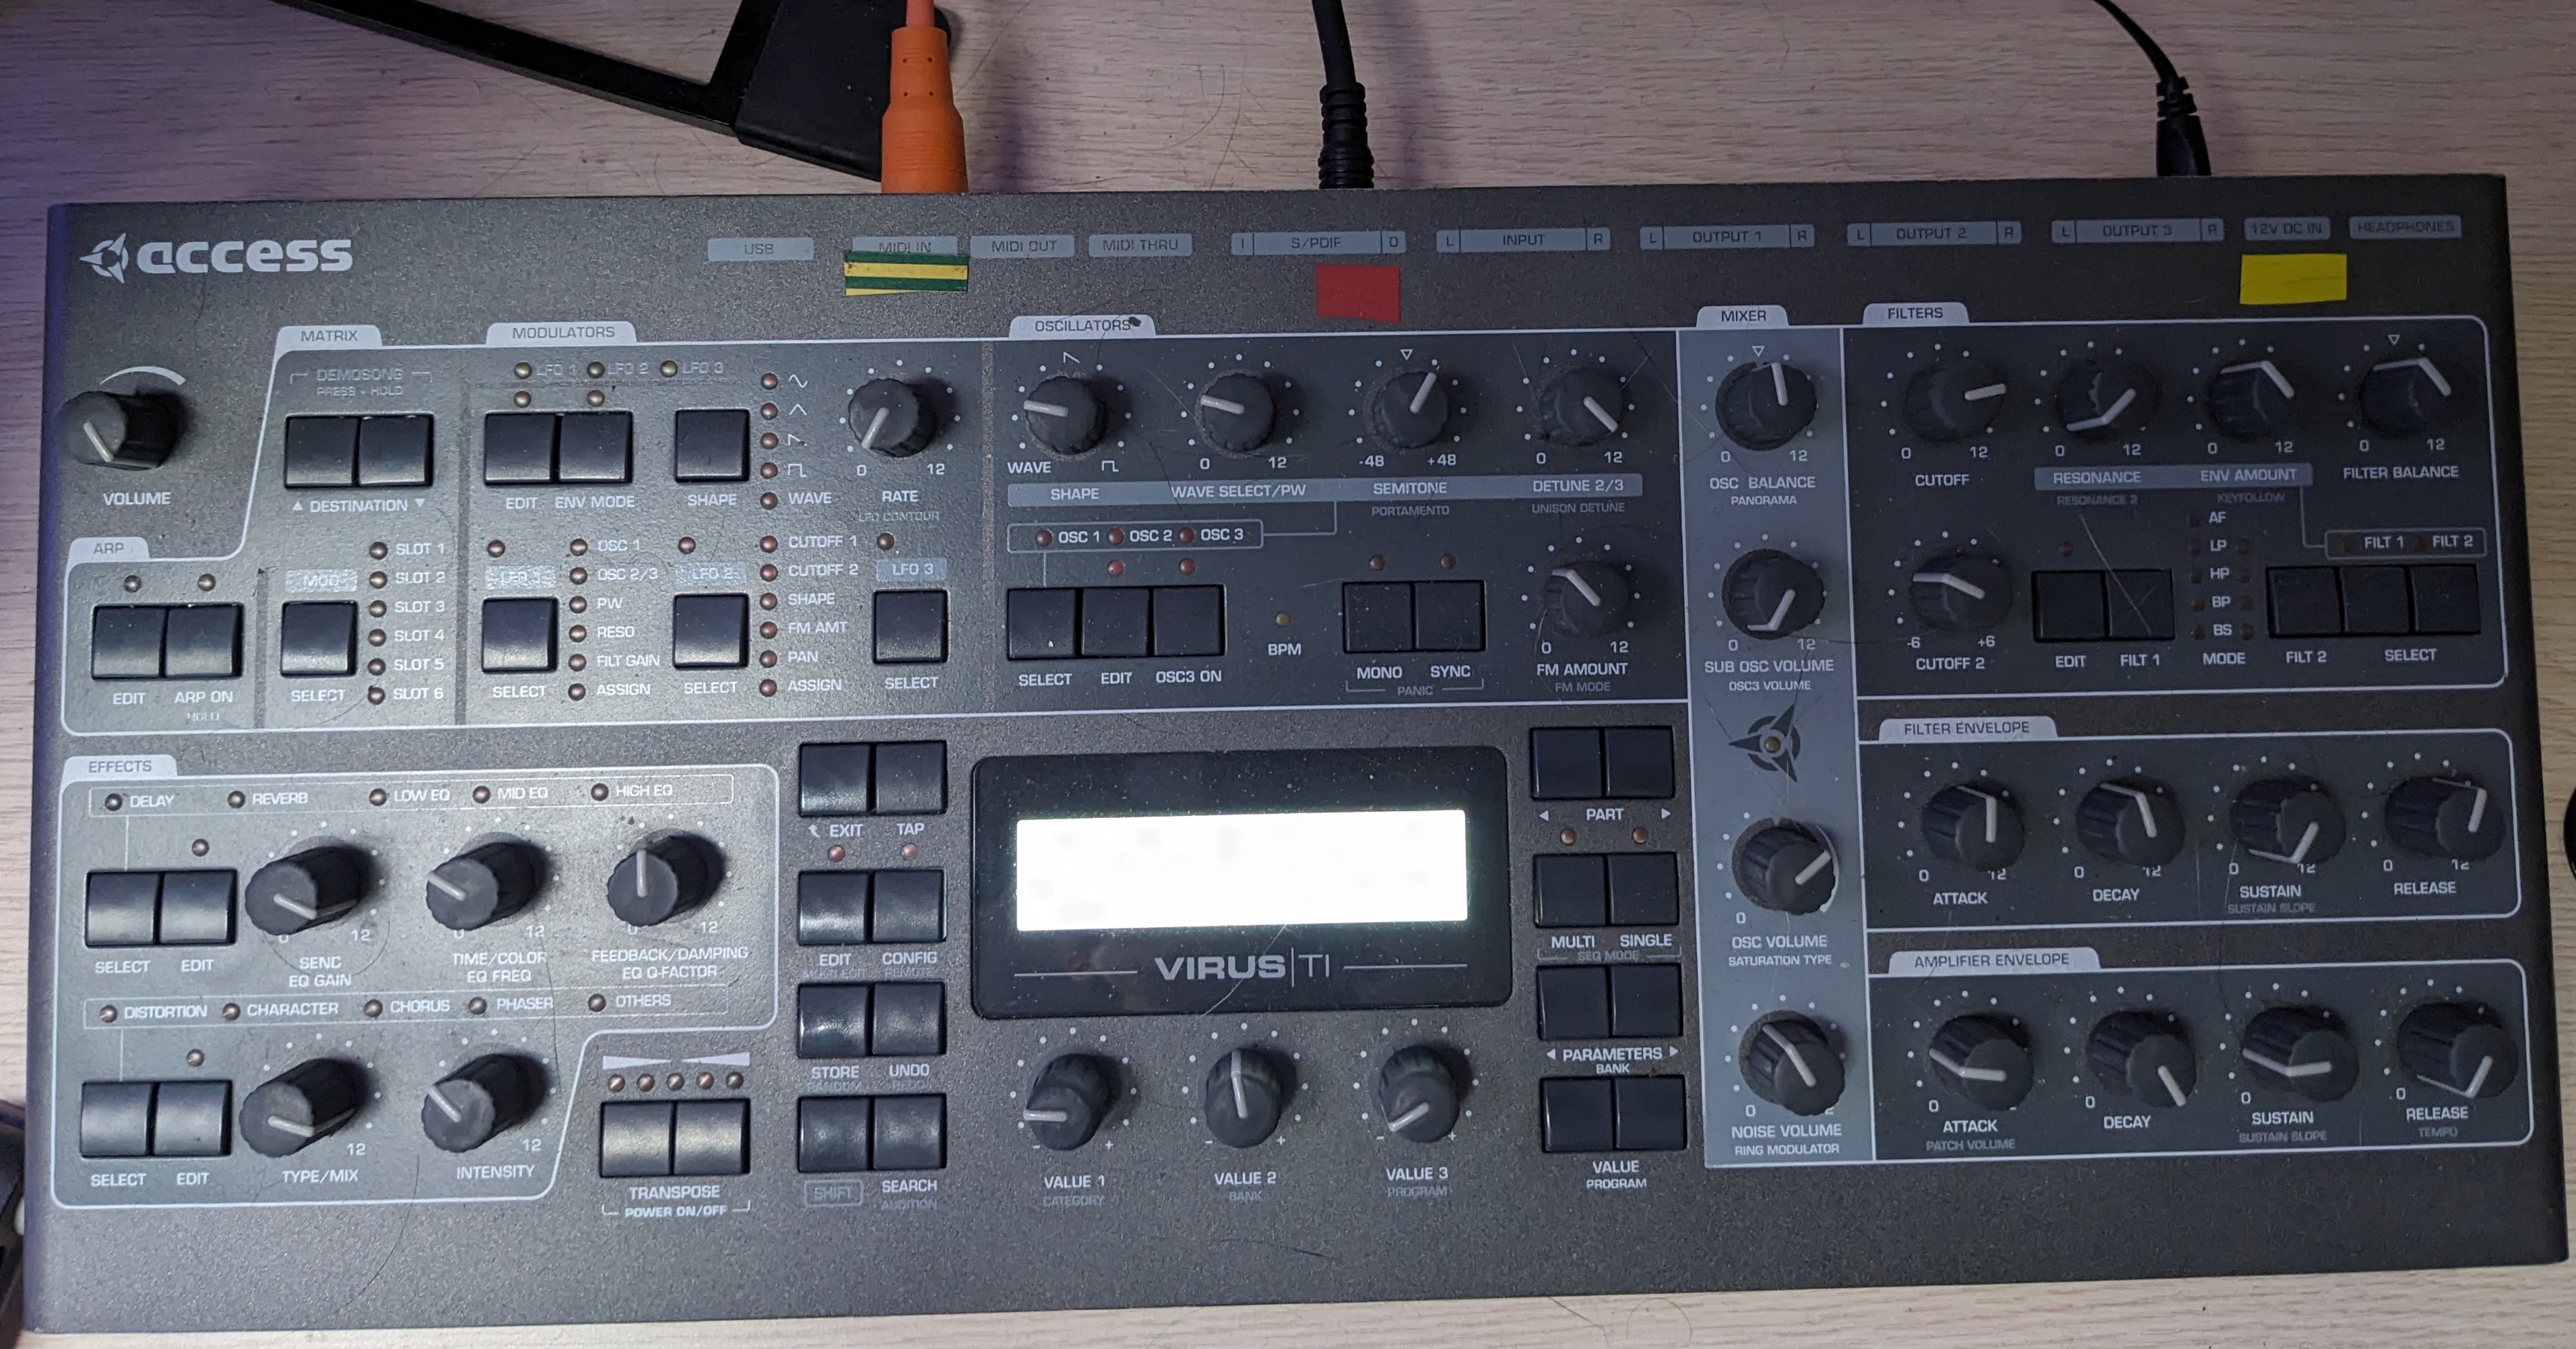
Let’s talk about playing live and what decisions that has brought about. When I first started, I lugged around a huge rack, my full-size analog keyboard, nearly everything, and I needed another person to help me even move the gear to and from the location. I realized that wasn’t sustainable, so my first task was to choose instruments and a setup that would allow me to move the gear alone, and later, to move all the gear in one trip, or my “fits-on-a-bus” rule of thumb. I then chose the combination of synths that would give me the most sound possibilities while still allowing me to carry everything.
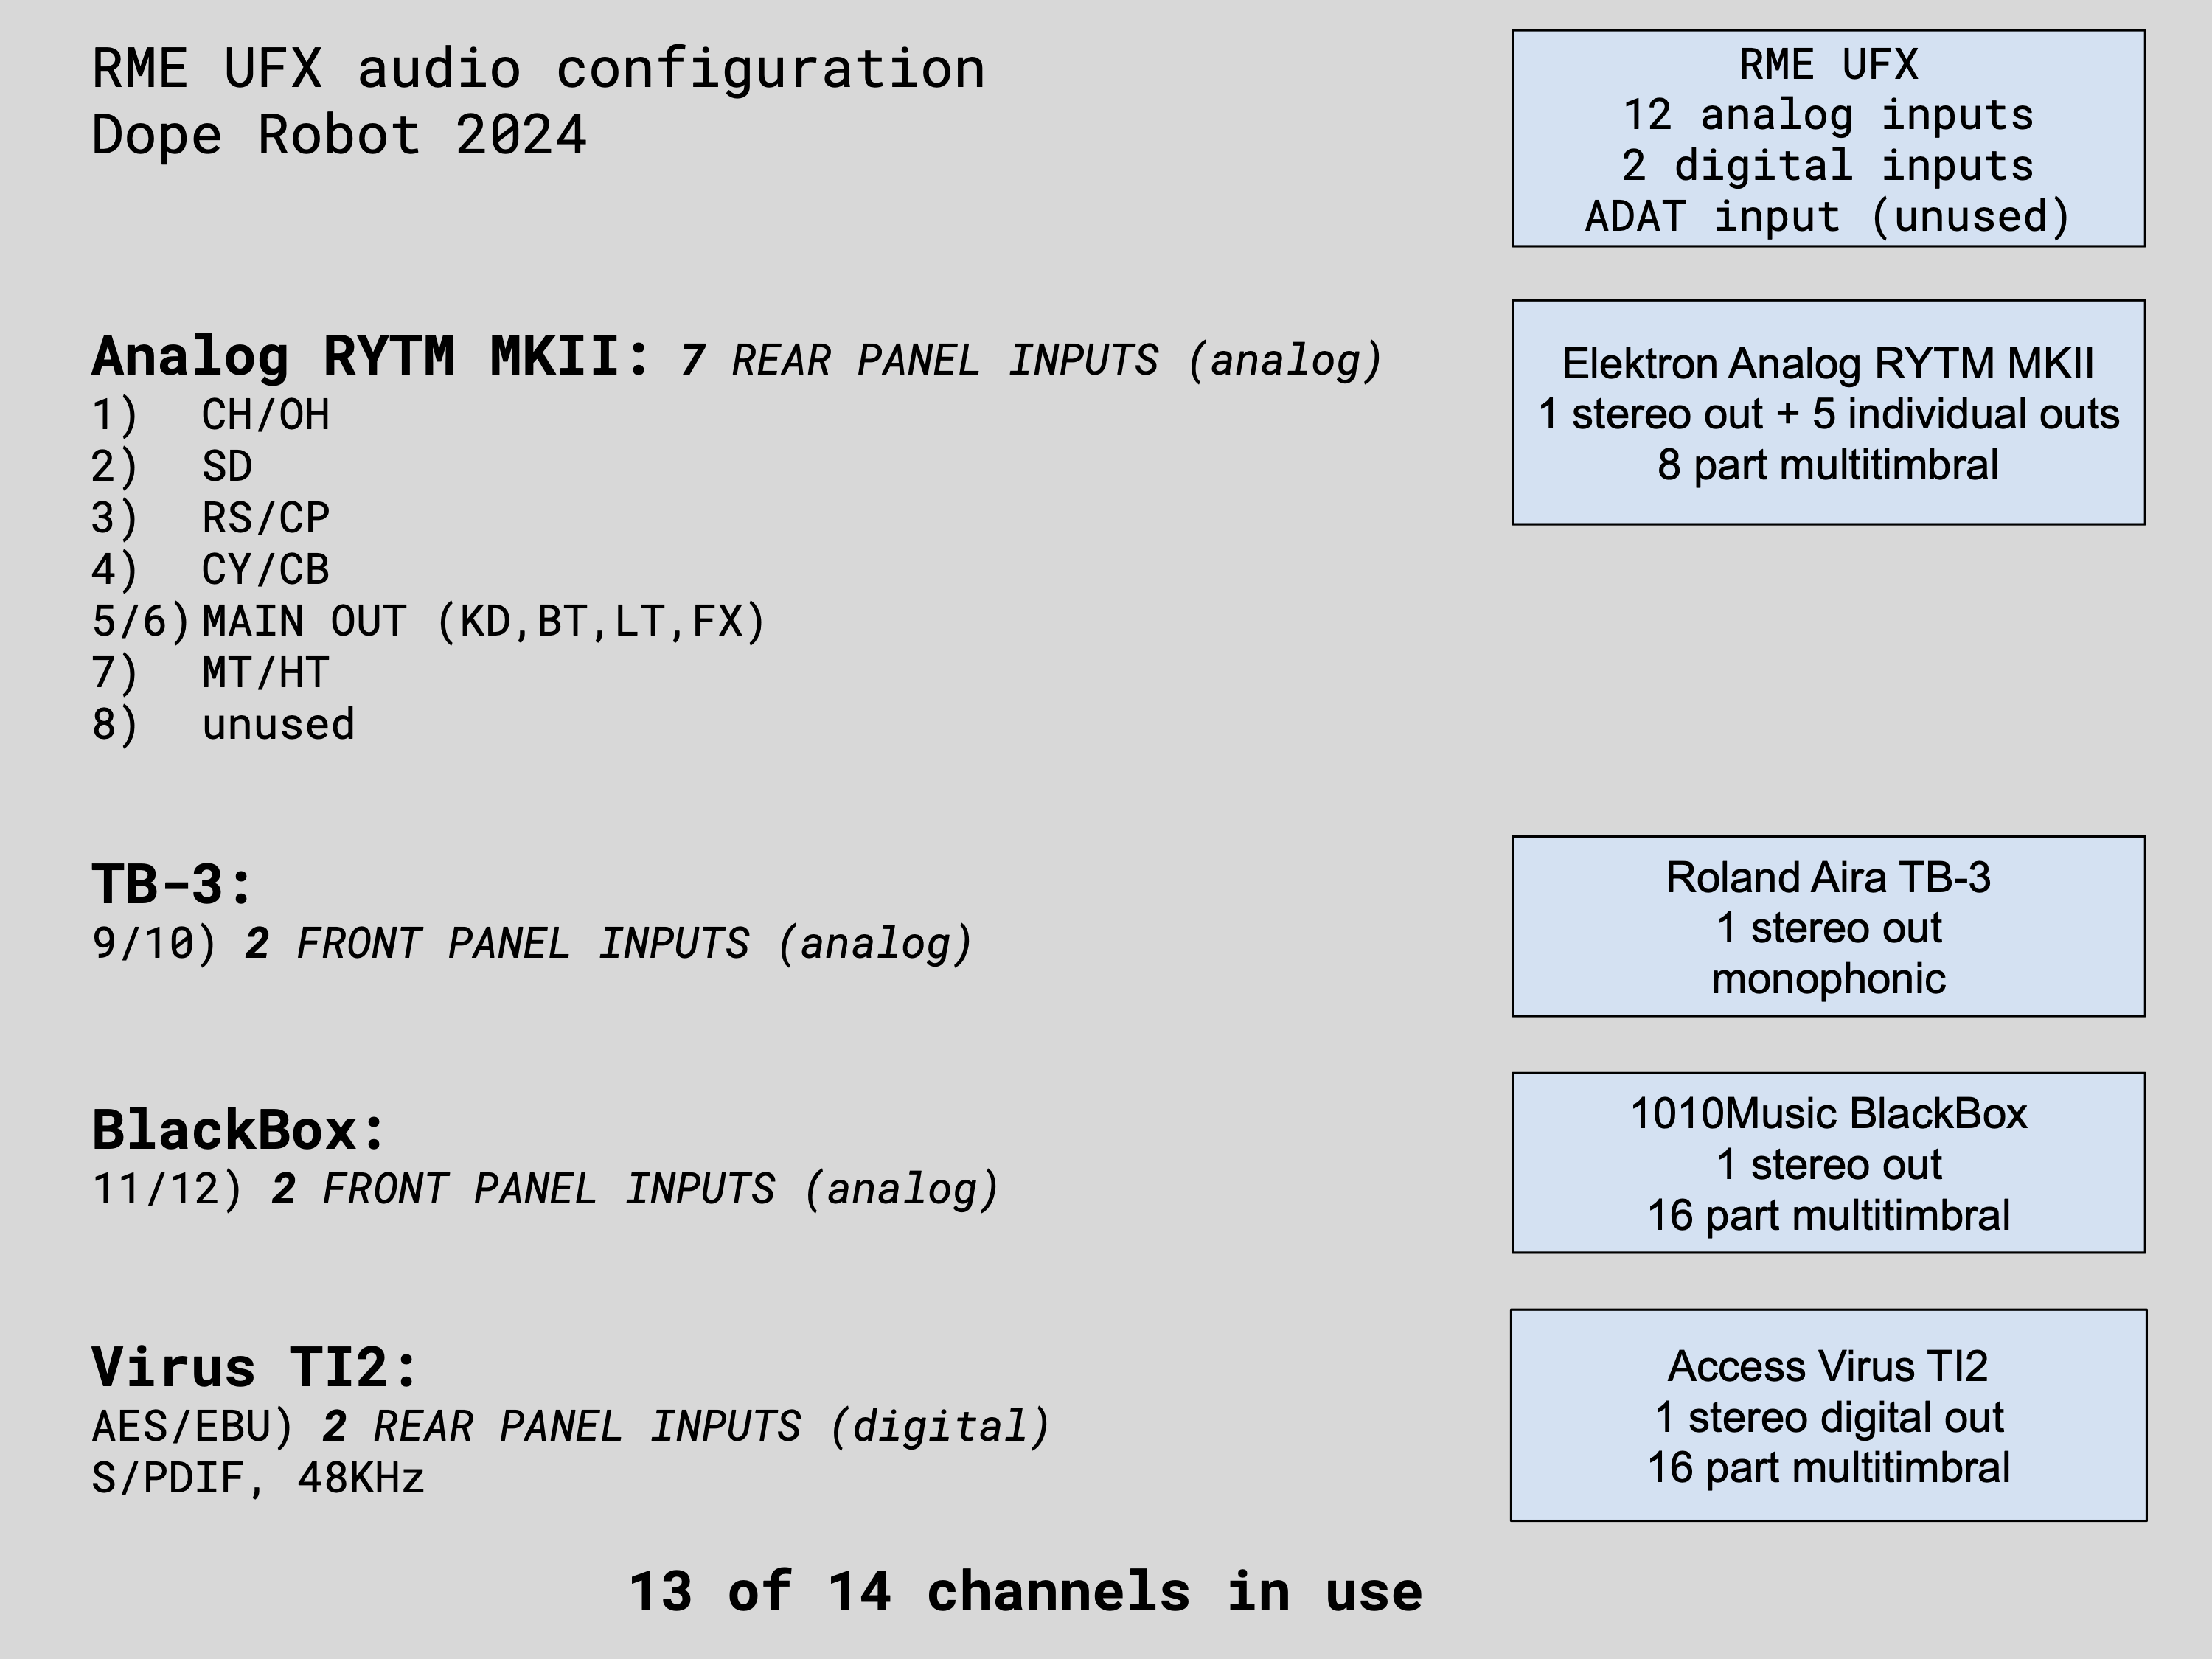
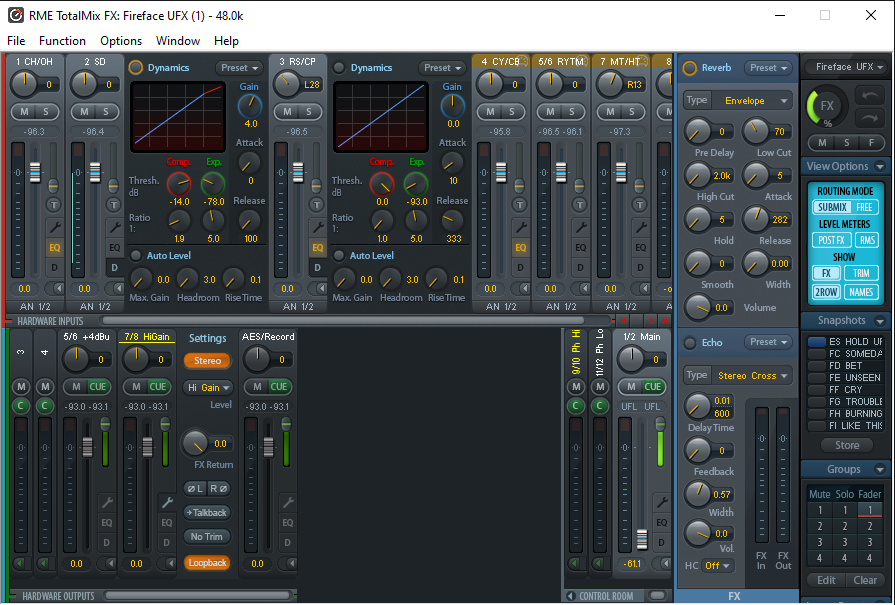
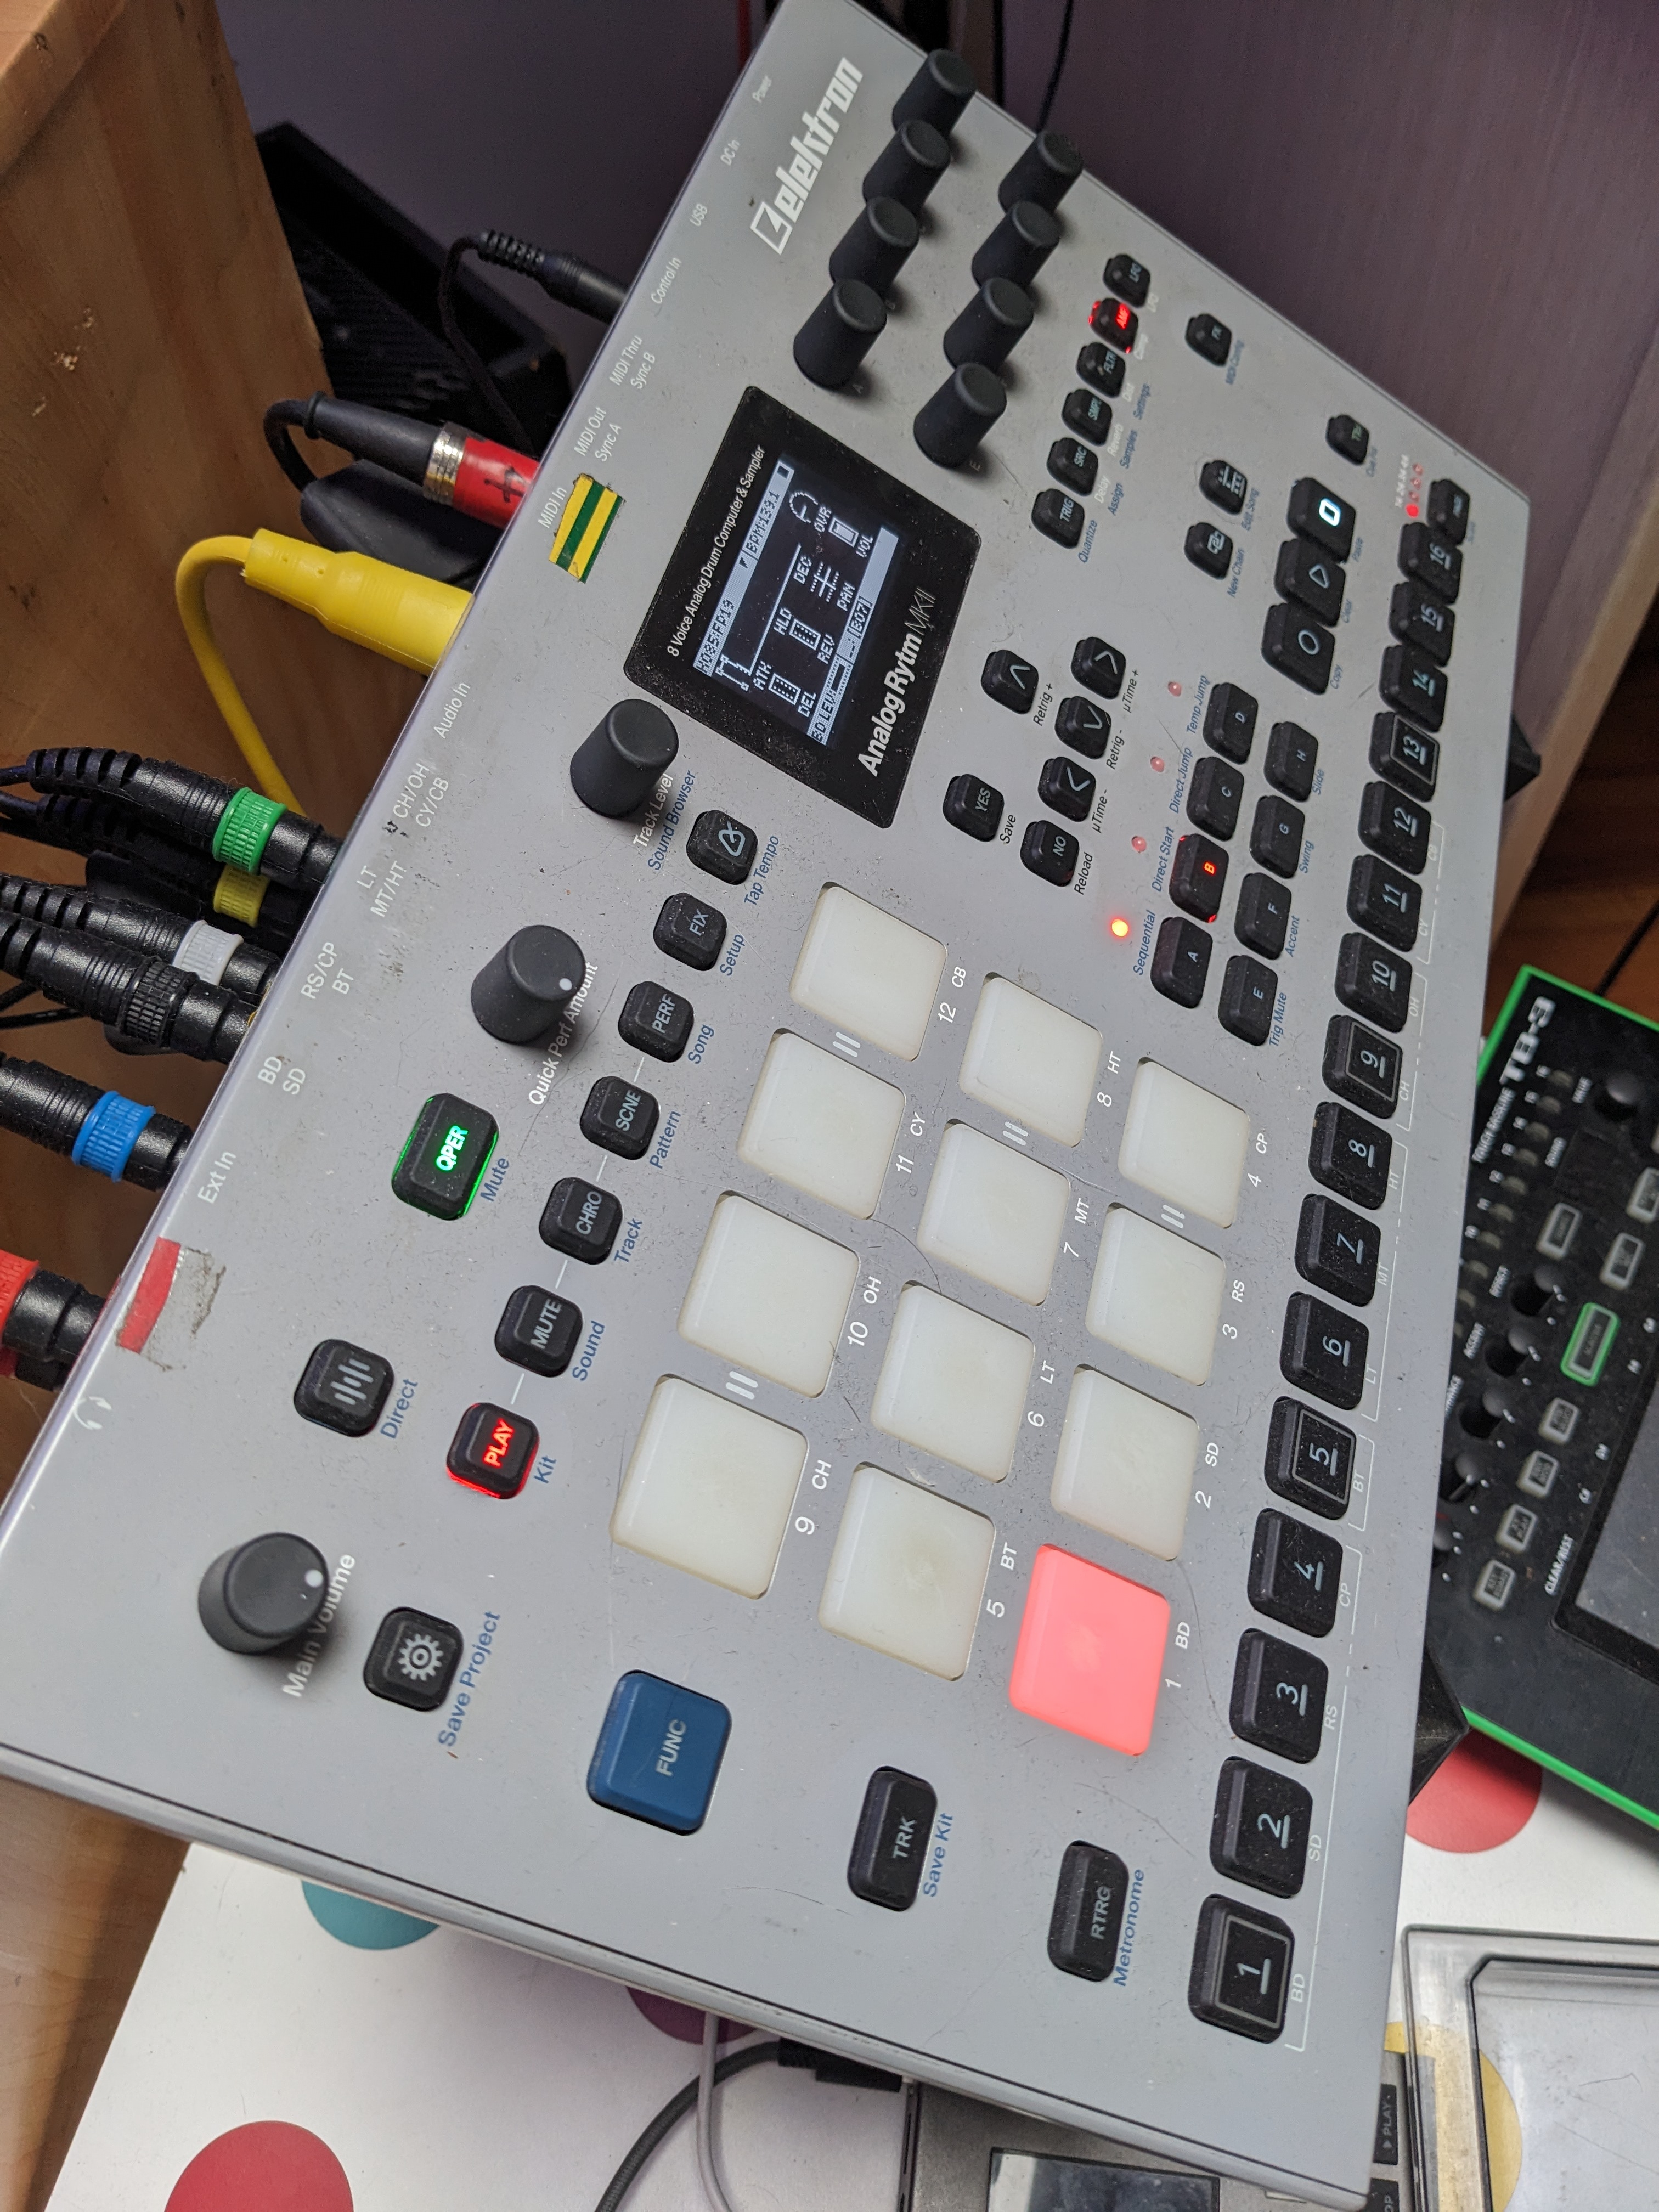
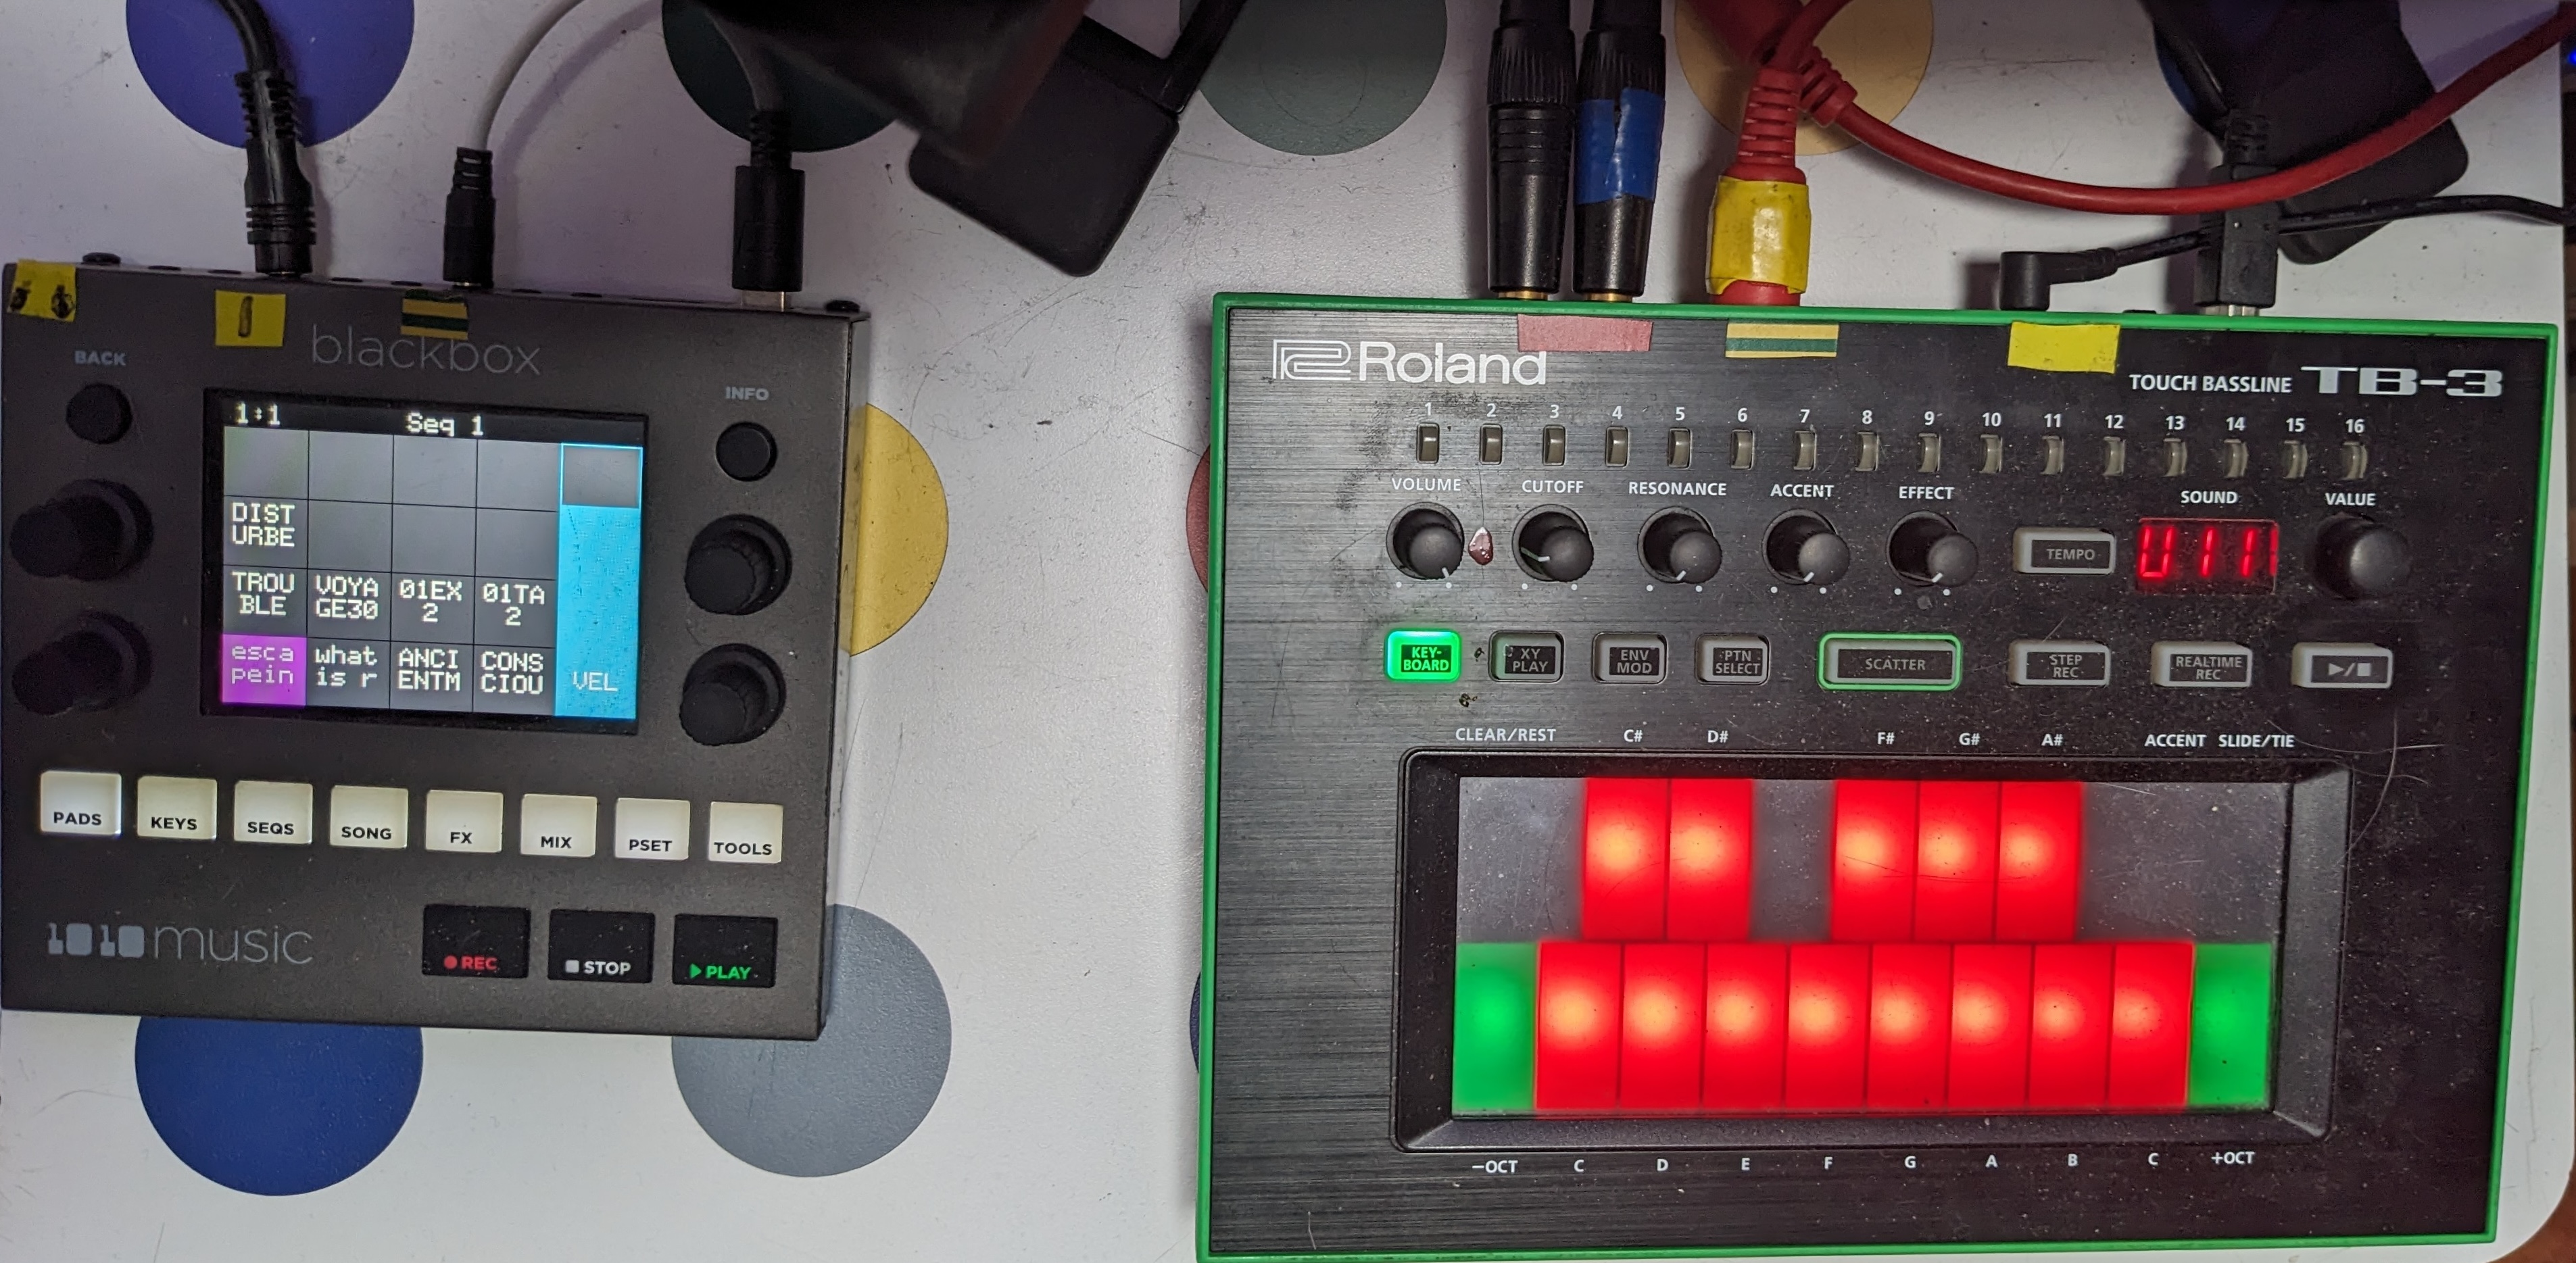
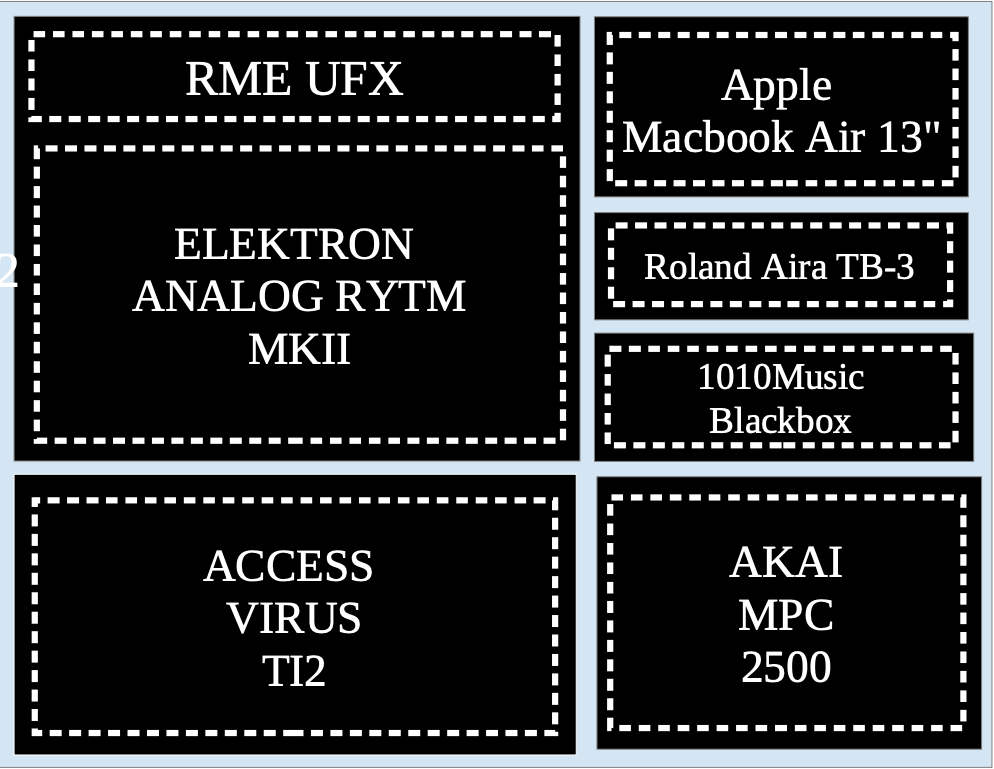
The second thing I needed to do was come up with a physical setup that would remain the same during the production and performance. Keeping complexity to a minimum is a must in electronic music, you simply can’t be fumbling around in the dark with connections during a live performance. And that also means that everything has to be recallable via midi so that I wouldn’t be distracted with tasks during a performance. That eliminated outboard compressors/fx (not recallable) and prevented me from using complex routings like sending other sound sources through my synths (too complex) as well. And I started using only those synths in a simple configuration. So that left only a single place outside of the synth to shape the sound…the mixing software in my recording device. So I separated the drums into 8 separate channels and routed my sampler, bass synth, and polysynth to the remaining three stereo inputs. And that’s where they’ve remained to this day. Solid and stable, and after recalling the mix settings, I can play any song I’ve ever written with this setup with no physical changes necessary.
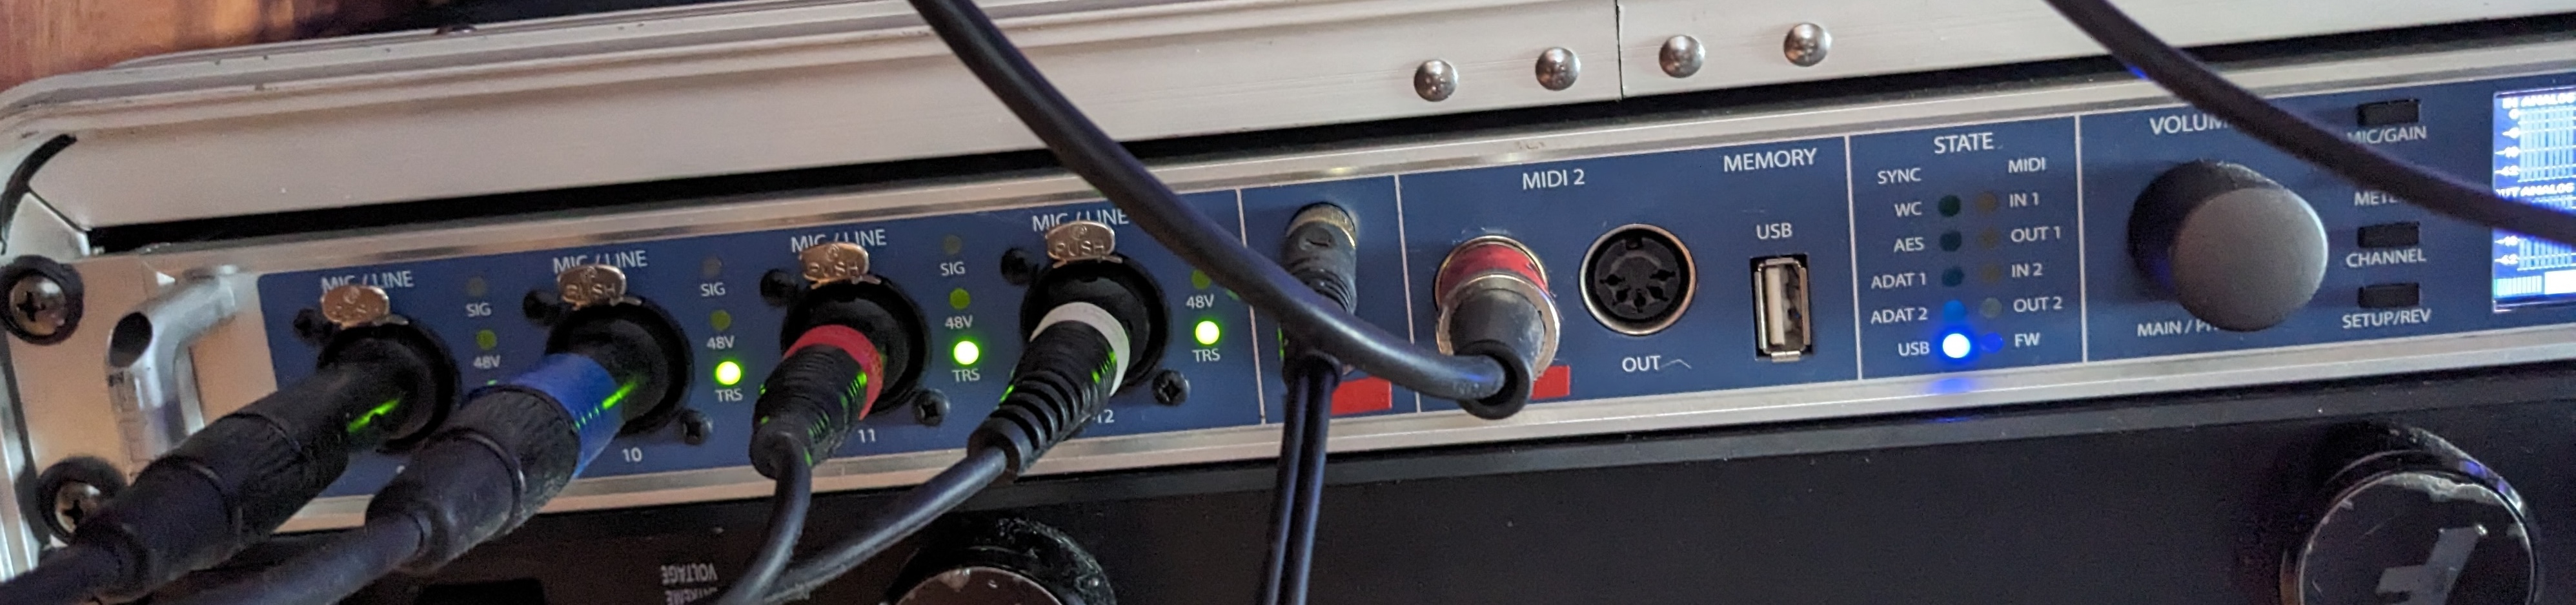
And that’s how we got here. Other than a single reverb/delay shared by all channels and a compressor/EQ on every channel, all sounds come directly out of the synth, into the RME UFX, and out the main stereo outputs. No DAW interaction whatsoever, except to occasionally use the Lector VST to create robotic vocals. There is a mix for each song, but it lives completely within the recording device and is instantly recallable with a MIDI note. There are no overdubs, and when I play live, I don’t play stems, I just send midi notes to the synths.
Often, limiting your options as a musician is a good idea, to prevent decision paralysis, to prevent overproducing, and to keep your ideas uncluttered. The flip side is if you limit your options too much, you may not be able to accomplish what you’ve set out to do. But I set a goal for myself that all music can be broken down into volume, pitch, and width, and none of those things require a DAW to achieve, and so every time I come up against a problem, I come up with a “DAWless” solution to it. Here’s an example of overcoming a production issue.
Doubling and Panning
Since my setup is generally “one sound, one input”, it’s actually a challenge to take a single sound and pan it hard left and right, especially those from the drum machine. So my first solution was to use a delay with no feedback and 1ms time to achieve a panning effect. It works well because for a sound to be perceived as stereo, it must be slightly delayed on the left and right sides, a single unaffected sound panned left and right, especially bass, will still sound like they are coming from straight down the middle.
But this required me to use one of my valuable effects, and so I started searching for another solution. That’s when I figured out that I could send a sound both through the drum machine’s individual outputs AND the main outputs, so to achieve stereo width on a sound i just matched the sound level coming out of the individual and stereo outputs and panned one left in my mixing software and one right on the drum machine, and boom, a stereo effect from a single sound source without a DAW.
Highs & Lows
The difficult part of the process is getting studio-quality recordings from such a simple setup, but I’ve gotten better at layering, widening, and thickening the sounds I have so that I need less of them. So that has influenced my production. The upside of course is that I don’t need to do anything different to play the songs live…I just take my synths and audio interface to the party, set up, and I’m ready to go. But I’m already thinking of what the next phase will be, and it will likely be some hybrid DAW setup. But I don’t want to become dependent on the DAW for my sound, so I’m excited to see what the future might be!