my Roland TB-3 FAQ
 I finally went and bought a Roland Aira TB-3, for a number of reasons. First, I’ve been wanting a dedicated acid machine for quite a while since I sold my FutureRetro 777, but I wanted one updated for modern production. Another thing I absolutely had to have: patch memory. Almost none of the currently available machines have that capability, including the TB-03 and TT-303. There are some vintage machines available with patch memory but I really didn’t want to go that route. I’d heard the sound of the TB-3 and I liked it, so the choice was easy: Roland Touch Bassline TB-3.
Sounds, Patterns, & Notes
It’s not always clear with Roland’s documentation what things mean, and integrating it into my system proved more difficult than I had expected. In the context of the TB-3, there are two main components: sounds and patterns. A “sound” is a “patch” or sound program and refers to the synth parameters, while a “pattern” is a series of notes, gates, slides & accents that form a sequence. Patterns can be saved into 8 banks of 8, and can be saved to a computer. Sounds can be saved to one of the new 16 user slots and stored on your computer so that you can create a library of as many extra variations as you want. Roland provides no documented way to save patches on your computer, but I did manage to find an undocumented way. Here are some more discoveries I made that might help you.
- To save a sound, stop the sequencer (in keyboard mode), [hold] ENV MOD and turn the value wheel until you pick a desired user slot, then press the PLAY/PAUSE button to save it. Only 16 slots, but plenty for a live show.
- The user patch section is only accessible by the front panel and cannot be accessed without some human intervention.
Once you navigate to the user section, it is possible to send program change to change user slots.If you send program change while in a user slot, it automatically switches to A01. The presets are accessible with program change and bank change.
- The user patch section is only accessible by the front panel and cannot be accessed without some human intervention.
- All patterns are saved automatically unless “Lock” is turned on. To set up Lock mode, turn off any record, [hold] PTN SELECT and then turn the value knob. Preset pattern variations 1-1 thru 8-8 cannot be selected via midi either, front panel only.
- To change the number of steps (1-32), [hold] STEP REC and turn the value knob.
- To change to triplet timing, [hold] STEP REC and toggle the TEMPO button.
- To transpose the track up or down, turn on REALTIME or STEP REC and then while holding the KEYBOARD button, turn the value knob.
- It’s also possible to associate a particular sound with a particular pattern in the user section.
Bypassing the Internal Sequencer
In a live context, i don’t really like to use a machine’s internal sequencer or arpeggiator because they almost inevitably start out of time or fail to sync when they’re triggered. In the TB-3’s case, the sequencer ALWAYS runs and I would have to select patterns manually live, which is not something I wanted to have to remember to do at every live show. So what I do is just record the arp or sequence’s midi information to a sequencer, turn off the TB-3’s internal sequencer, switch to an empty pattern, and then play the information from my main sequencer. Here’s how I did it:
- Before you start, make sure midi is set to AUTO and not INTERNAL or it won’t respond to
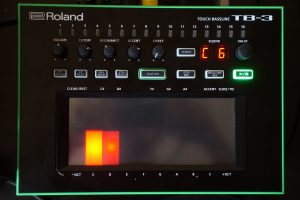 external midi clock. I also turned off the midi thru functionality so only the internal stuff is sent through the TB-3’s output. These are both set by restarting while holding down the SCATTER button. Here’s what mine looks like (midi is set to channel 6). Press PLAY/PAUSE to save, exit, and reboot.
 - First, clear out a pattern ([hold] PTN SELECT and press the CLEAR pad). I chose pattern 1-1.
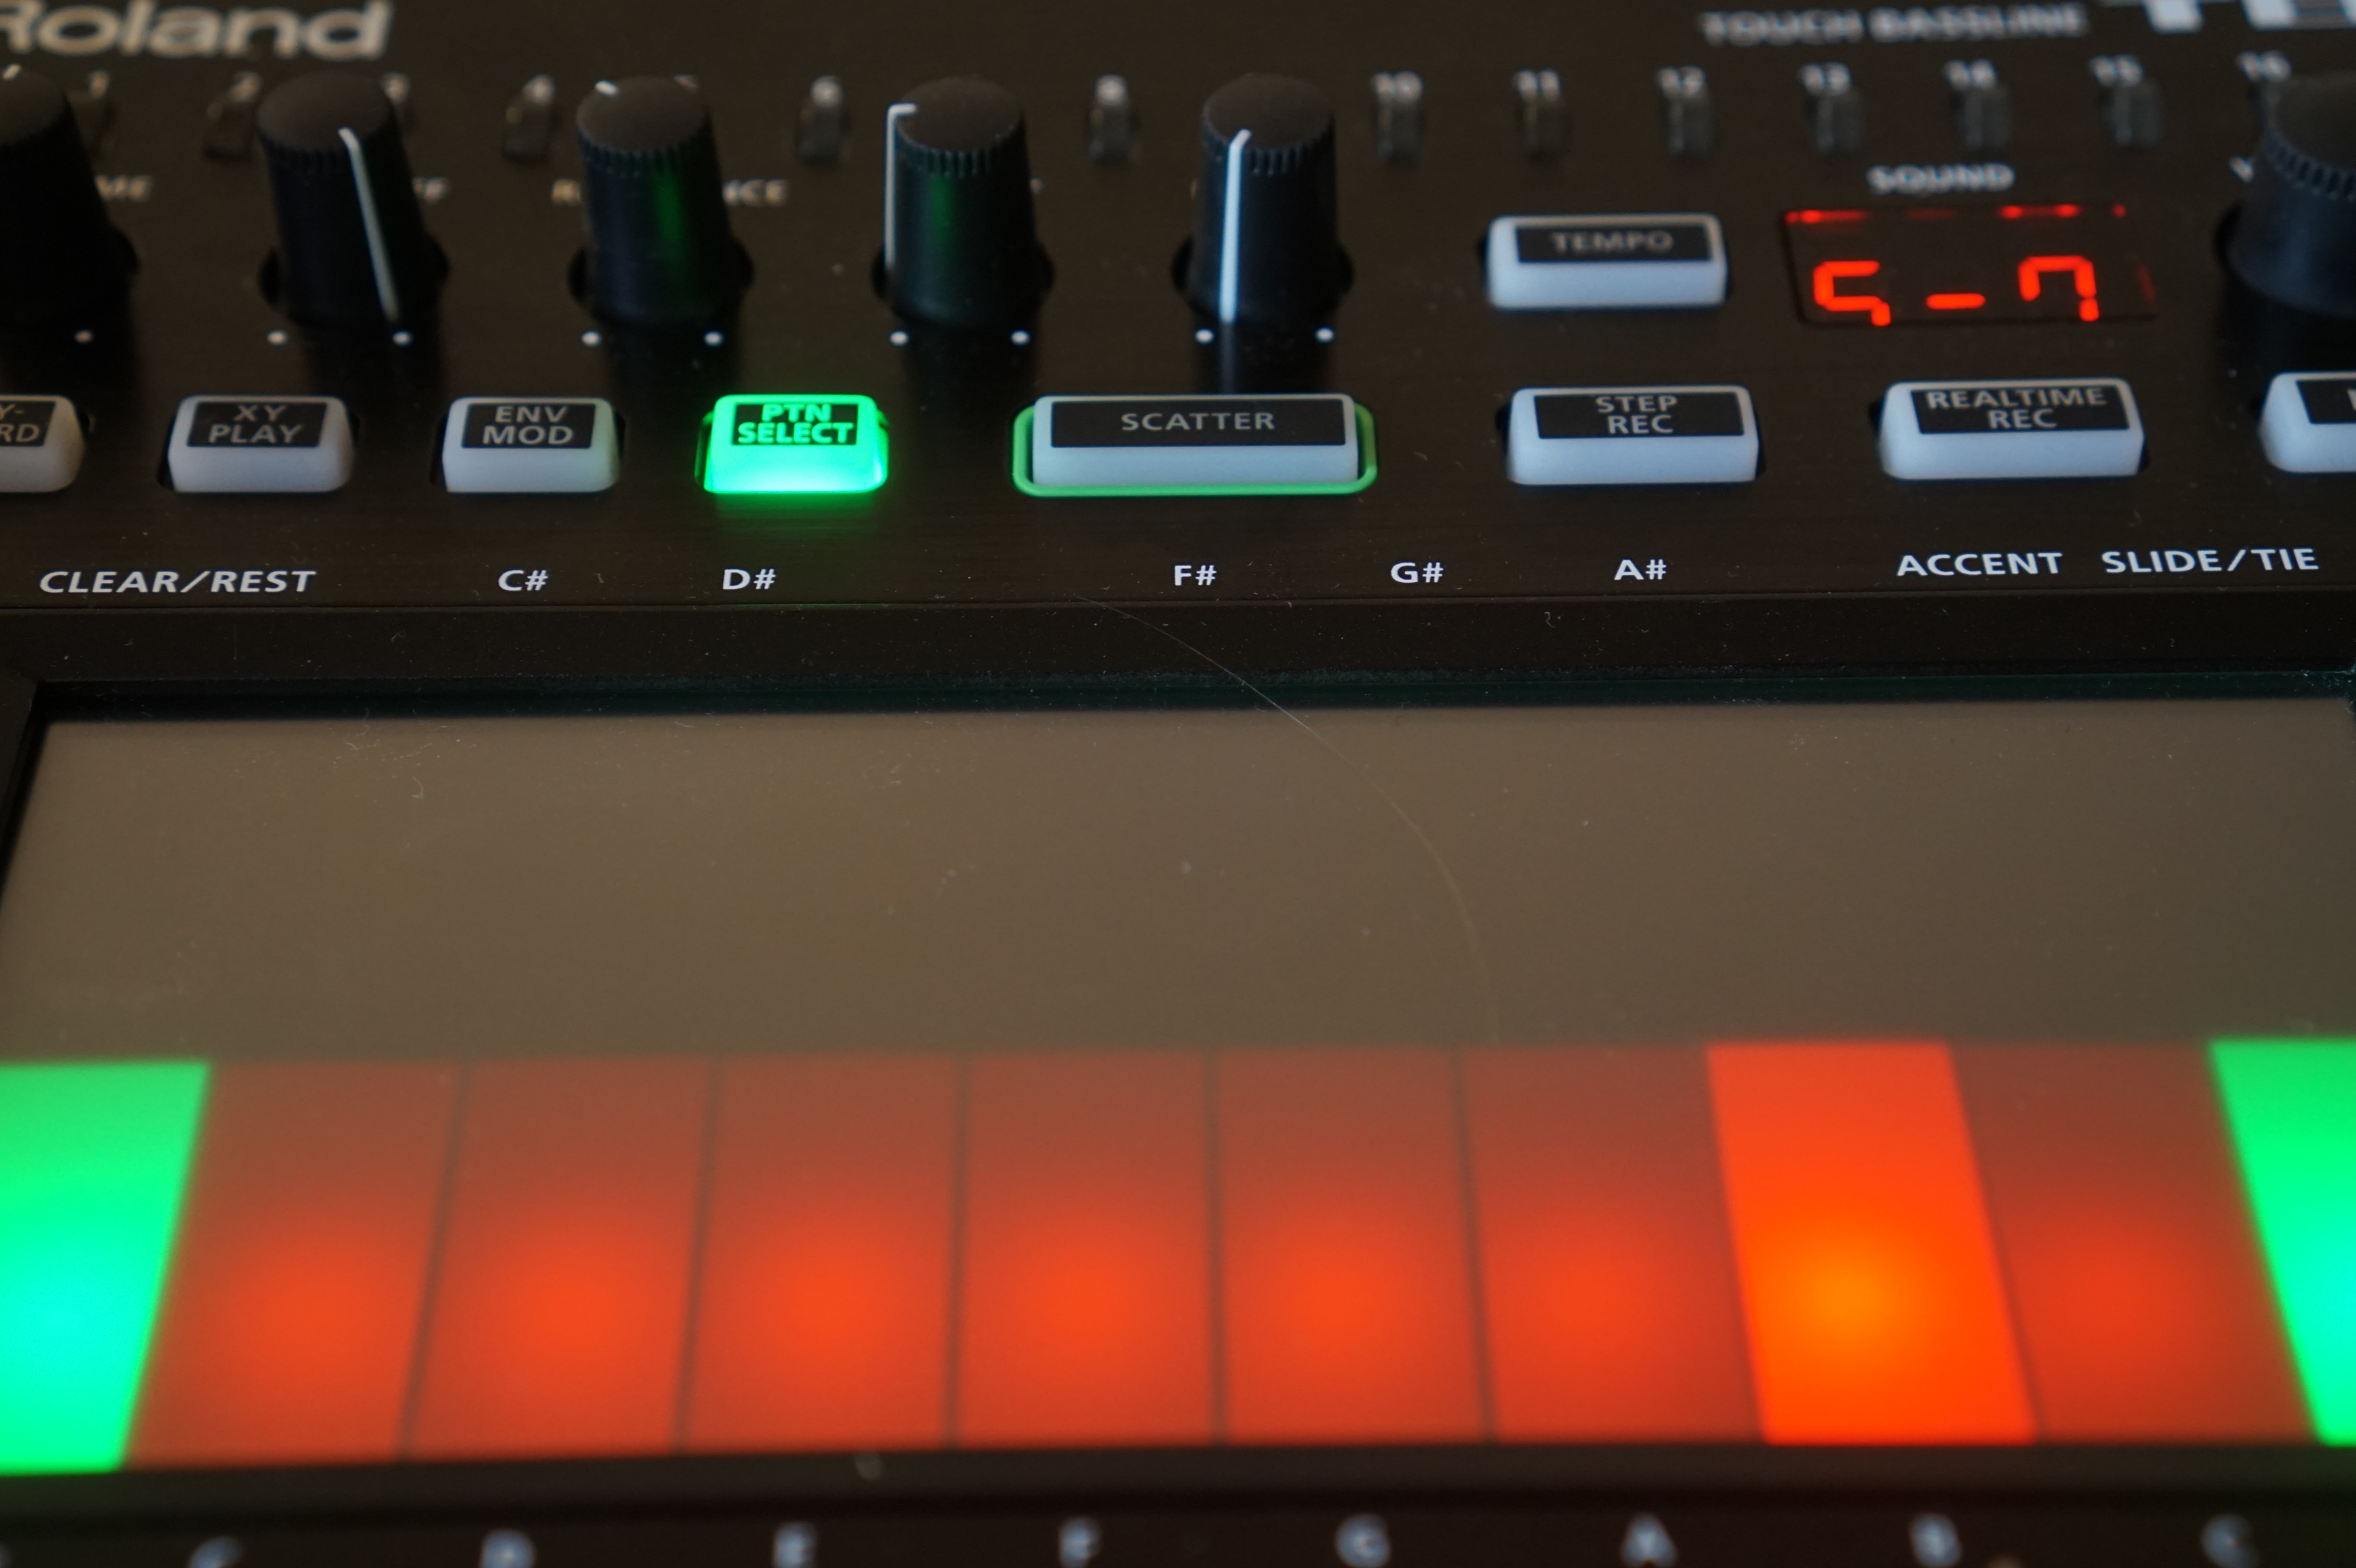
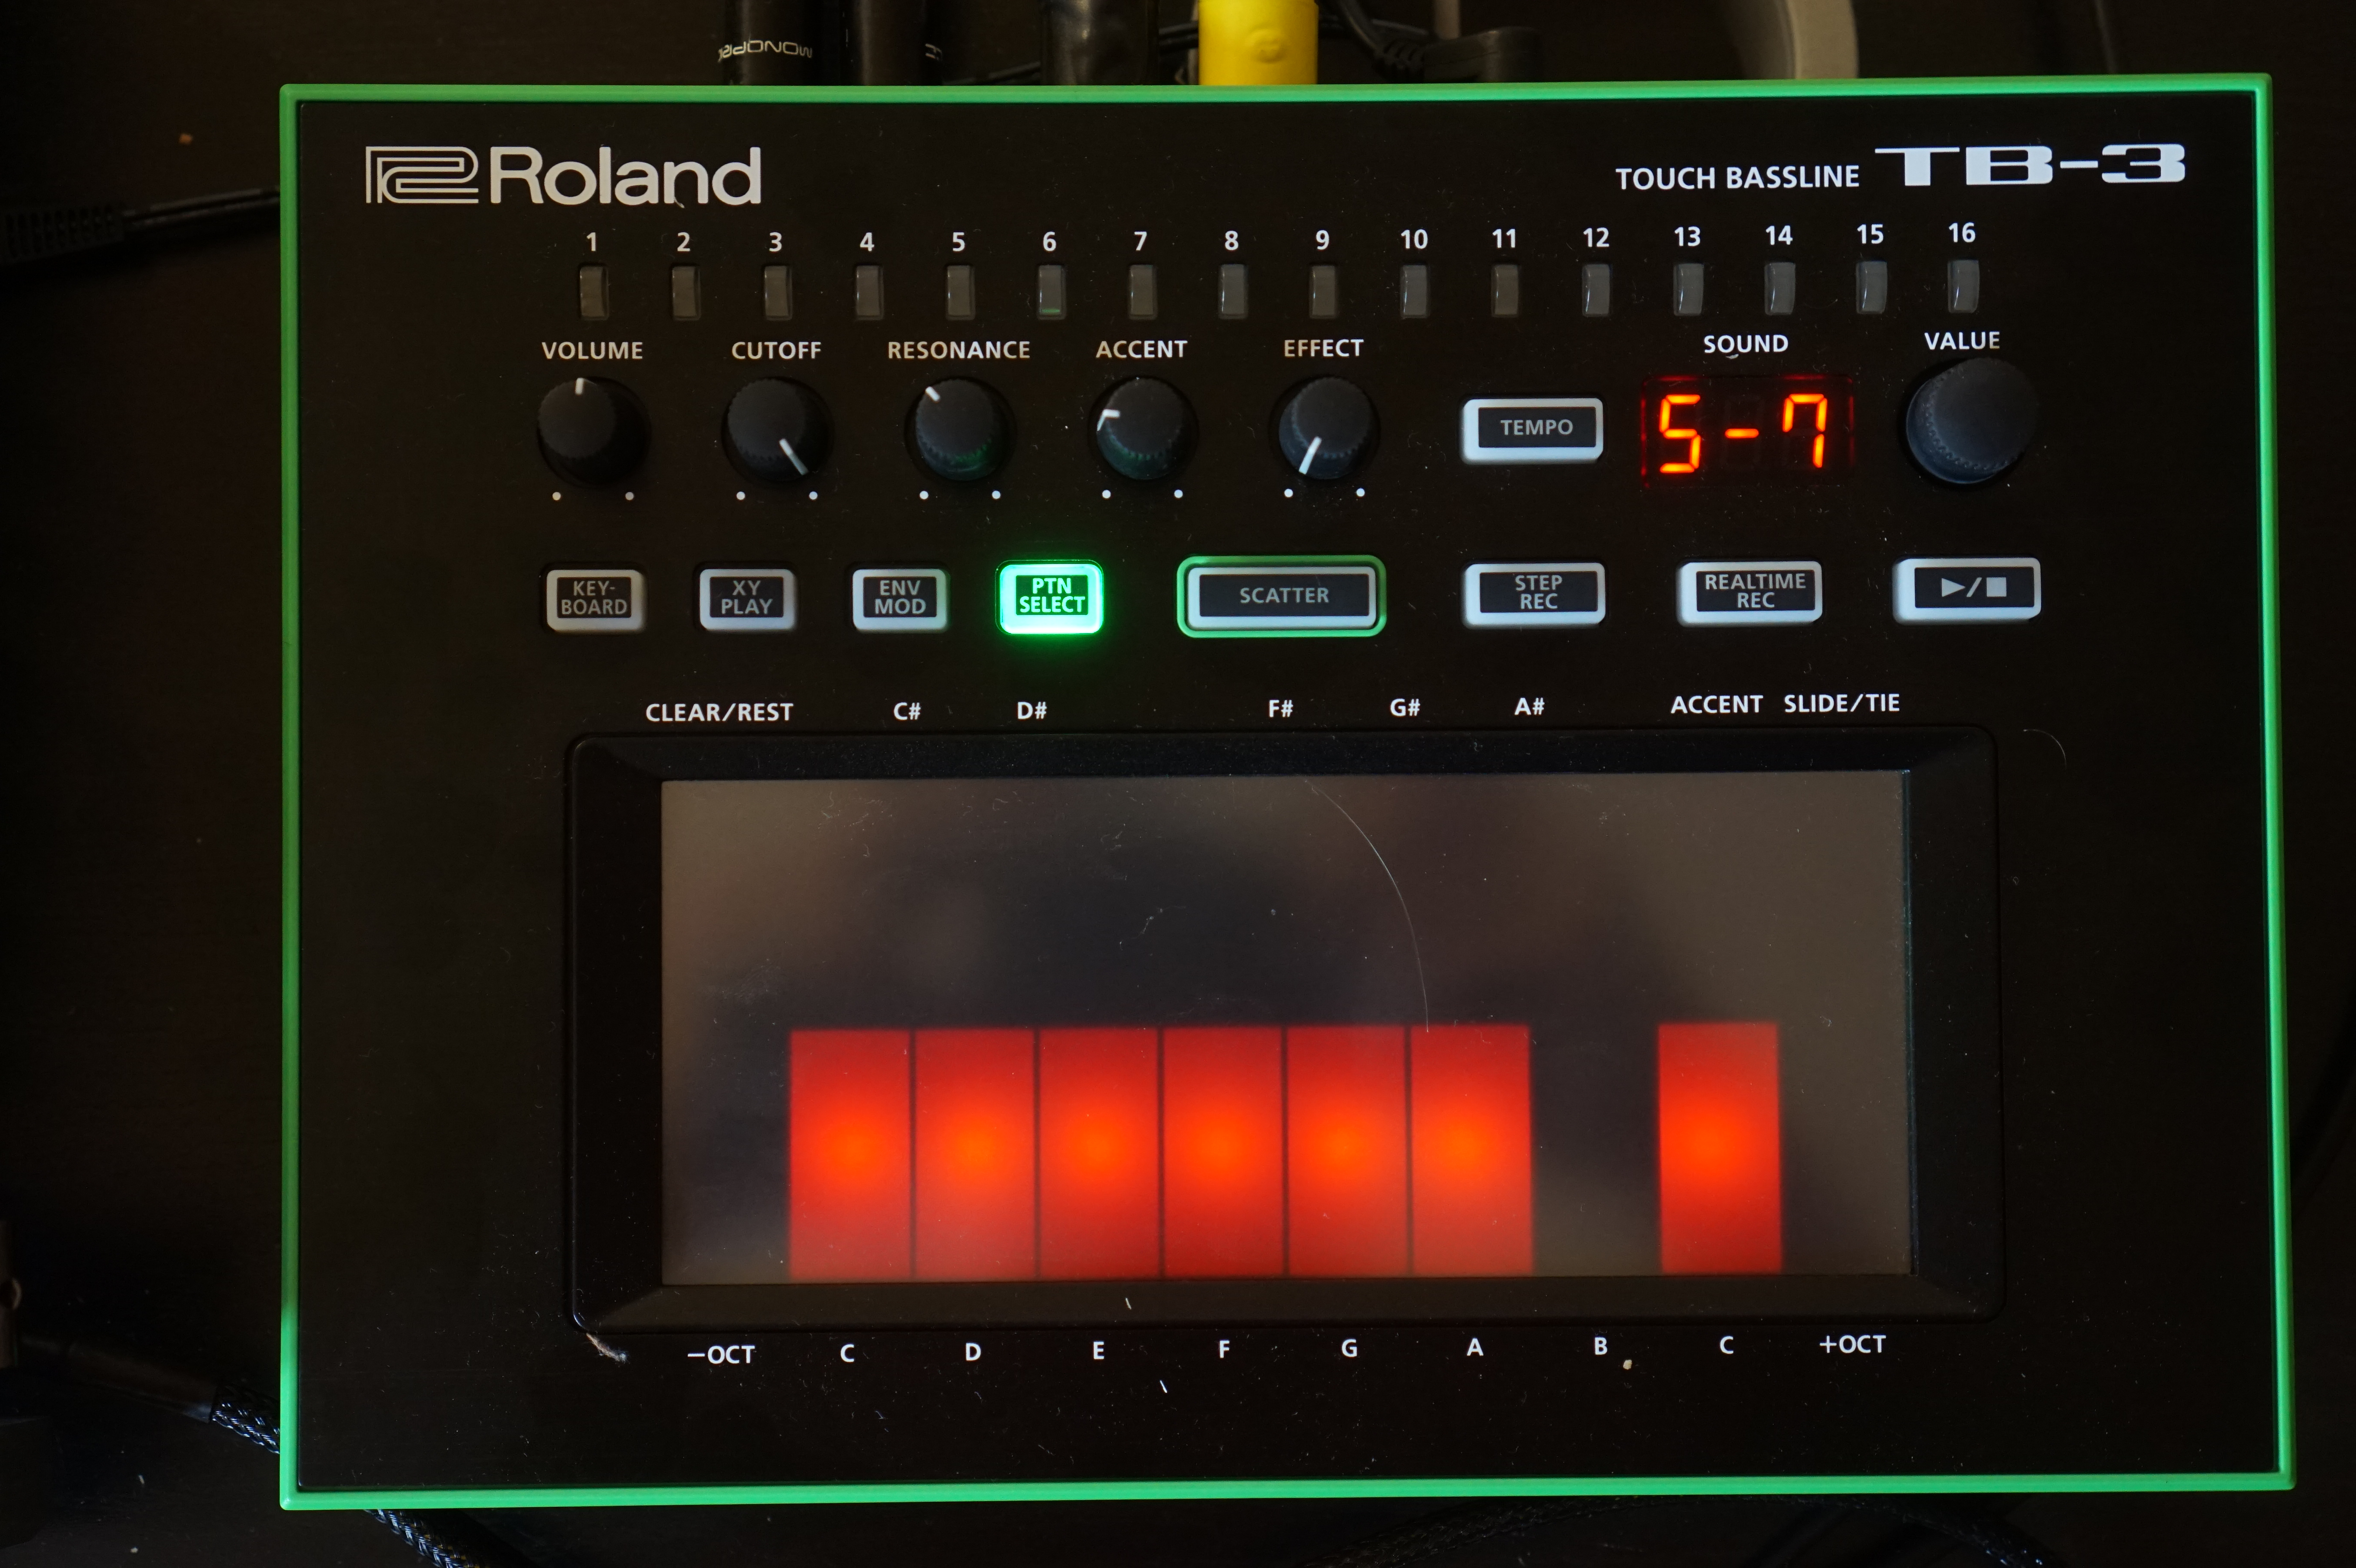
- Now choose the pattern you’d like to record into your sequencer. I chose two: 1-6, a straightforward one, and 5-7, a really slide-y one.
- Now get your sequencer ready to record. Make sure there are no feedback loops since you will have midi cables both in and out of the TB-3 (this is where turning off midi thru functionality comes in handy). Press play/record on your sequencer, which should trigger the pattern, and record it into your DAW or sequencer. Stop at the end of the phrase.
- Now unplug the midi out cable from the TB-3 to prevent feedback loops, change to the empty pattern and play back what you recorded into your DAW or sequencer.
If this works, then you’ve bypassed the TB-3’s sequencer.

Now you can use the TB-3’s internal sequencer to make a sequence, play it into your DAW, and bypass the TB-3 internal sequencer with no loss of information. Additionally, there is no need to overwrite patterns you want to keep using this method.
Time to Have Fun
Now that we can control the machine externally, go to any pattern, and press PTN SELECT [hold] then press SCATTER to randomize the note pattern and KEYBOARD [hold] then SCATTER to randomize the accents, glides, and octaves. If you press REALTIME REC button in between switching from PTN SELECT to KEYBOARD mode, it won’t erase and start over. Save the pattern by pressing REALTIME REC or simply play the sequence into your sequencer and play it back from there. No need to back up patterns this way! And you can store patches as well, check out this page for more information.
Check out this document for the rest of the cheat codes. http://airainfo.org/files/tb-3_cheatsheet.pdf
İlber
Hi, sorry for wrong post because the blofeld multi mod comments are closed, i think you look so good at blofeld, i have problem with multi mode, please help me im going to be crazy contact me